
Exercise 30: Systemic Adaptation of Premium Polydentia Networks
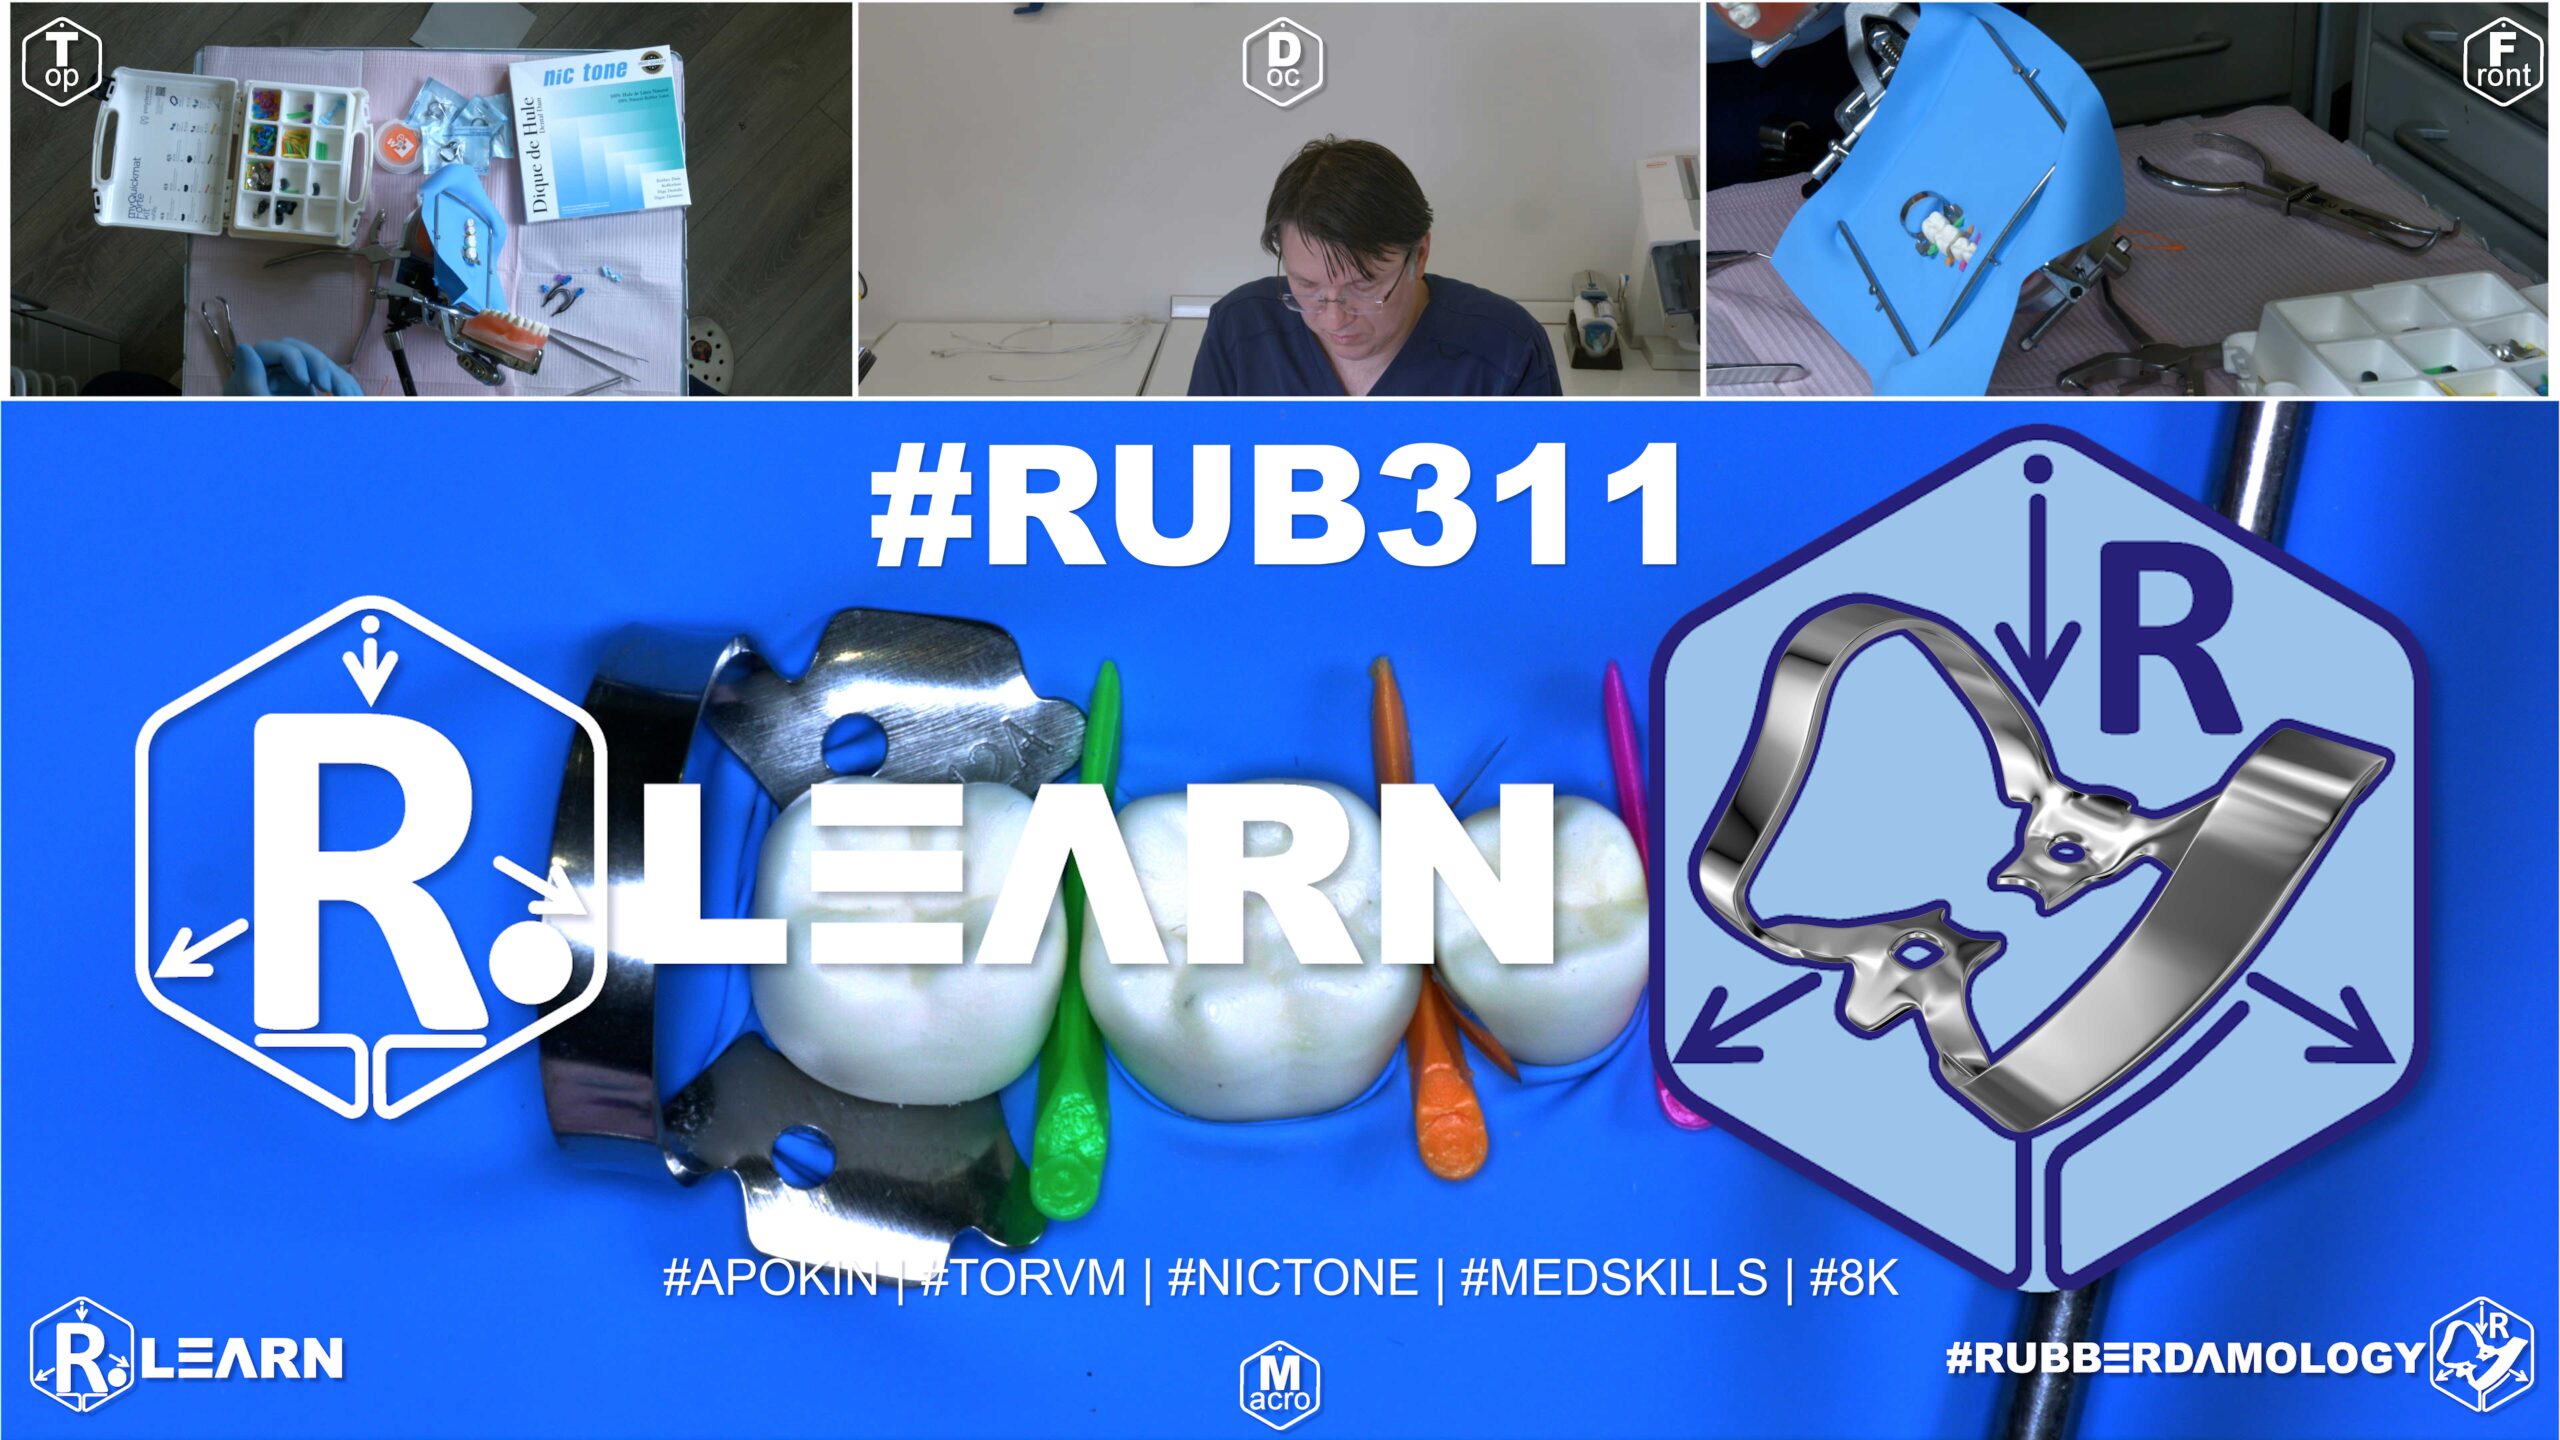
- Target Video Mapping: #RUB321 – Lesson 1 (Video Session 031)
- Core Mechanical Objective: Utilize advanced shape-memory alloys and silicone tines to adapt matrices around complex, wide preparations.
- Practical Execution Sequence: Set up the Polydentia myQuickmat Forte system on a wide molar preparation. Expand the NiTi ring and position the myTines silicone feet so they wrap around the tooth anatomy, pressing the matrix strip tightly against both the buccal and lingual margins.
1. Exercise Transcription & Notes (Polydentia Matrix System Overview and Customizable Ring Kinetics)
This module shifts focus to advanced restorative mechanics, providing a comprehensive clinical overview and application protocol for the premium Polydentia Quick Matrix System (Quickmat Forte Kit) under absolute rubber dam isolation [00:45, 01:26].
Dr. Apokin breaks down the system’s interchangeable components on a mandibular right posterior segment (Teeth #47 to #44) and demonstrates how to handle anatomical variations, crown crowding, and multi-surface separation using customizable ring systems [02:54, 11:52, 17:22, 30:59].
- Polydentia Quickmat Forte Kit Inventory:
- Matrices: Sectional contour matrices in six distinct configurations, including thin premolar, standard molar, dark molar (high contrast), and specialized deep margin elevation (DME) bands [01:26, 01:40].
- Anatomical Wedges: Plastic interproximal wedges color-coded by size: Pink (ultra-small/soft), Orange (medium), Green (large), and Yellow (extra-large/deep) [01:58].
- Interchangeable Ring Tines: Removable, modular plastic tines (tine blocks) categorized by size: Light Blue (large molar curves) and Pink (smaller premolar curves) [02:02, 12:07, 15:35].
- Separation Rings: Two structural core ring profiles: a standard heavy-spring ring expanded via traditional ring forceps, and a compact, hand-tightened ring (MyQuickmat) operated entirely with fingers [02:17, 20:24].
- Customizable Tine Configurations for Crowding and Asymmetry:
- The baseline mandibular posterior isolation is executed using a Tor VM winged clamp on molar #47, low-third template-free punching on a Nic Tone sheet, and flawless floss inversion [03:06, 06:01, 09:09].
- The Anatomy Matching Rule: Dr. Apokin details how to adjust the Polydentia system to match variations in crown anatomy [11:52]. The plastic tines are asymmetrical. When clipping them onto the square tips of the steel ring, turning the larger tine block distally and the smaller block mesially provides a custom fit for the tapered taper of standard molar walls [12:53, 13:32].
- The Cross-Mated Tine Solution for Crowding: For arches with tooth crowding, rotations, or severe asymmetry (e.g., a massive buccal surface paired with a narrow lingual wall), the ring can be modified mid-procedure [17:22, 18:04]. The clinician can cross-mate a Blue molar tine on the buccal side with a Pink premolar tine on the lingual side of the same ring [18:11, 18:37]. This mixed layout allows the ring to adapt securely to distorted surfaces without slipping off [18:04].
- Subgingival Matrix Trimming and Wedge Calibration:
- The Tab Trimming Rule: When sliding a tall molar sectional matrix band down a deep proximal box, the wide lateral edges of the metal can catch on the subgingival rubber dam or crush the adjacent gingival papilla [27:49, 28:49]. To ensure smooth seating, Dr. Apokin uses crown scissors to cleanly clip away the lower corner tabs of the matrix band [28:58]. Trimming the tabs prevents the metal from catching on the latex and allows it to slide cleanly subgingivally past the box floor [29:14].
- Wedge Optimization: For tight bicuspid spaces, select the Pink wedge, using a needle holder turned perpendicular to the tooth axis for comfortable intraoral delivery [23:27, 30:08]. Wide periodontal spaces or loose teeth require stepping up to the rigid Orange or Green wedges to stabilize the matrix base [24:08, 24:41].
- The Multi-Ring Interlocking Sequence: To restore mesial and distal cavities simultaneously on tooth #46, place the mesial separation ring first, driving it down until it sits low and horizontally [30:59, 31:28]. The distal ring is then expanded and stacked directly above it, facing backward [31:35]. This stacked layout applies constant multi-point separation pressure without the hardware colliding, allowing the clinician to quickly build up both walls with composite [31:48, 32:08].
2. Mentioned Items & Concepts (Equipment Inventory)
- Polydentia Quickmat Forte Kit Core System:
- MyQuickmat Forte Rings: Heavy spring separation ring operated via forceps [02:17].
- MyQuickmat Hand-Tightened Rings: Compact finger-operated separation rings [02:17, 20:24].
- Interchangeable Tines (Blue Molar / Pink Premolar): Asymmetric, modular plastic tine blocks [12:07, 15:35].
- Anatomical Color-Coded Wedges: Pink, Orange, Green, Yellow plastic wedges [01:58].
- Sectional Matrix Selection: Thin premolar, standard molar, dark molar, DME bands [01:26, 01:40].
- Consumables & Core Barrier Framework:
3. Key Takeaways & Conclusions
- Cross-Mating Tines Adapts to Tooth Crowding: For crowded or rotated teeth where standard matrix rings slip off, utilize a customizable ring system like Polydentia [17:22]. Cross-mating a large molar tine on the buccal side with a smaller premolar tine on the lingual side of the same ring allows the hardware to adapt perfectly to asymmetrical shapes, ensuring a slip-free hold [18:11, 18:37].
- Trimming Matrix Tabs Prevents Canvas Catching: Wide lateral tabs on molar matrix bands can catch on your rubber dam canvas or crush the gingival papilla during placement [27:49, 28:49]. Always clip away the lower corner tabs using crown scissors; this allows the matrix to slide smoothly into deep subgingival box cavities without tearing the sheet [28:58, 29:14].
- Horizontal-First Ring Placement Prevents Collisions: When restoring adjacent Class II cavities simultaneously, avoid ring collisions by placing the mesial ring first, seating it low and horizontally [31:28]. The distal ring can then be safely stacked directly above it facing backward, providing steady multi-point tooth separation without the hardware colliding [31:35, 31:48].
Modular Matrix Architectures: Custom Tine Matching and Interlocking Multi-Ring Systems
Restoring complex Class II proximal cavities under absolute rubber dam isolation requires a system that can adapt to anatomical variations, tooth crowding, and multi-surface decay. Traditional fixed-tine matrix rings feature rigid metal loops that can easily slip off rotated premolars or tilted molars.
+-----------------------------------------------------------------------------+
|                      MODULAR SEPARATION RING DYNAMICS                       |
+-----------------------------------------------------------------------------+
|                                                                             |
|   [ ASYMMETRICAL TINE CONFIGURATION ]                                       |
|    - Turn the large blue molar tine distally and the small tine mesially.   |
|    =====> EFFECT: Matches the natural anatomical taper of standard molars.  |
|                                                                             |
|   [ CROSS-MATED SYSTEM FOR CROWDING ]                                       |
|    - Combine a blue molar tine (buccal) with a pink premolar tine (lingual). |
|    =====> EFFECT: Adapts to severe tooth rotations without slipping off.    |
|                                                                             |
|   [ HORIZONTAL-FIRST MULTI-RING STACK ]                                     |
|    - Seat the mesial separation ring first, pushing it low and horizontally.|
|    - Stack the distal ring directly above it, facing backward.              |
|    =====> EFFECT: Provides steady multi-point tooth separation.             |
|                                                                             |
+-----------------------------------------------------------------------------+
To achieve a predictable, slip-free hold on irregular crowns, the clinician must implement a modular matrix ring system featuring interchangeable plastic tines (such as the Polydentia Quickmat Forte System).
The primary clinical advantage of a modular system is the ability to customize your tine layout before entering the mouth. Because the plastic tine blocks are asymmetrical, turning the larger blue molar tine block distally and the smaller block mesially matches the natural anatomical taper of standard molar walls.
Furthermore, if the arch exhibits severe tooth crowding or rotation, the clinician can implement a Cross-Mated Tine Configuration, combining a large blue molar tine on the buccal side with a smaller pink premolar tine on the lingual side of the same steel ring. This mixed layout allows the ring to adapt perfectly to asymmetrical shapes, ensuring a rock-free hold on rotated teeth.
The next critical challenge is sliding a tall sectional matrix band down into a deep proximal box without tearing the tight rubber dam margins. Wide lateral tabs on standard molar matrix bands can easily catch on your rubber canvas or crush the gingival papilla during delivery.
To prevent this, the clinician must trim the band, using crown scissors to cleanly clip away the lower corner tabs. Trimming the tabs prevents the metal from catching on the latex and allows it to slide cleanly subgingivally past the box floor.
The assembly is completed by placing your matrix separation rings. When restoring mesial and distal cavities simultaneously on the same tooth, attempting to place two rings can result in an immediate mechanical collision.
To fit both rings smoothly, the clinician must implement a Horizontal-First Multi-Ring Stack Sequence. The mesial ring is placed first, driving it down until it sits low and horizontally. The distal ring is then expanded and stacked directly above it, facing backward. This stacked layout applies constant multi-point separation pressure without the hardware colliding, ensuring an anatomically perfect contact point and a bone-dry operating field throughout your adhesive protocol.
Exercise 31: Comparative Installation of Wagotrix Matrix Frameworks
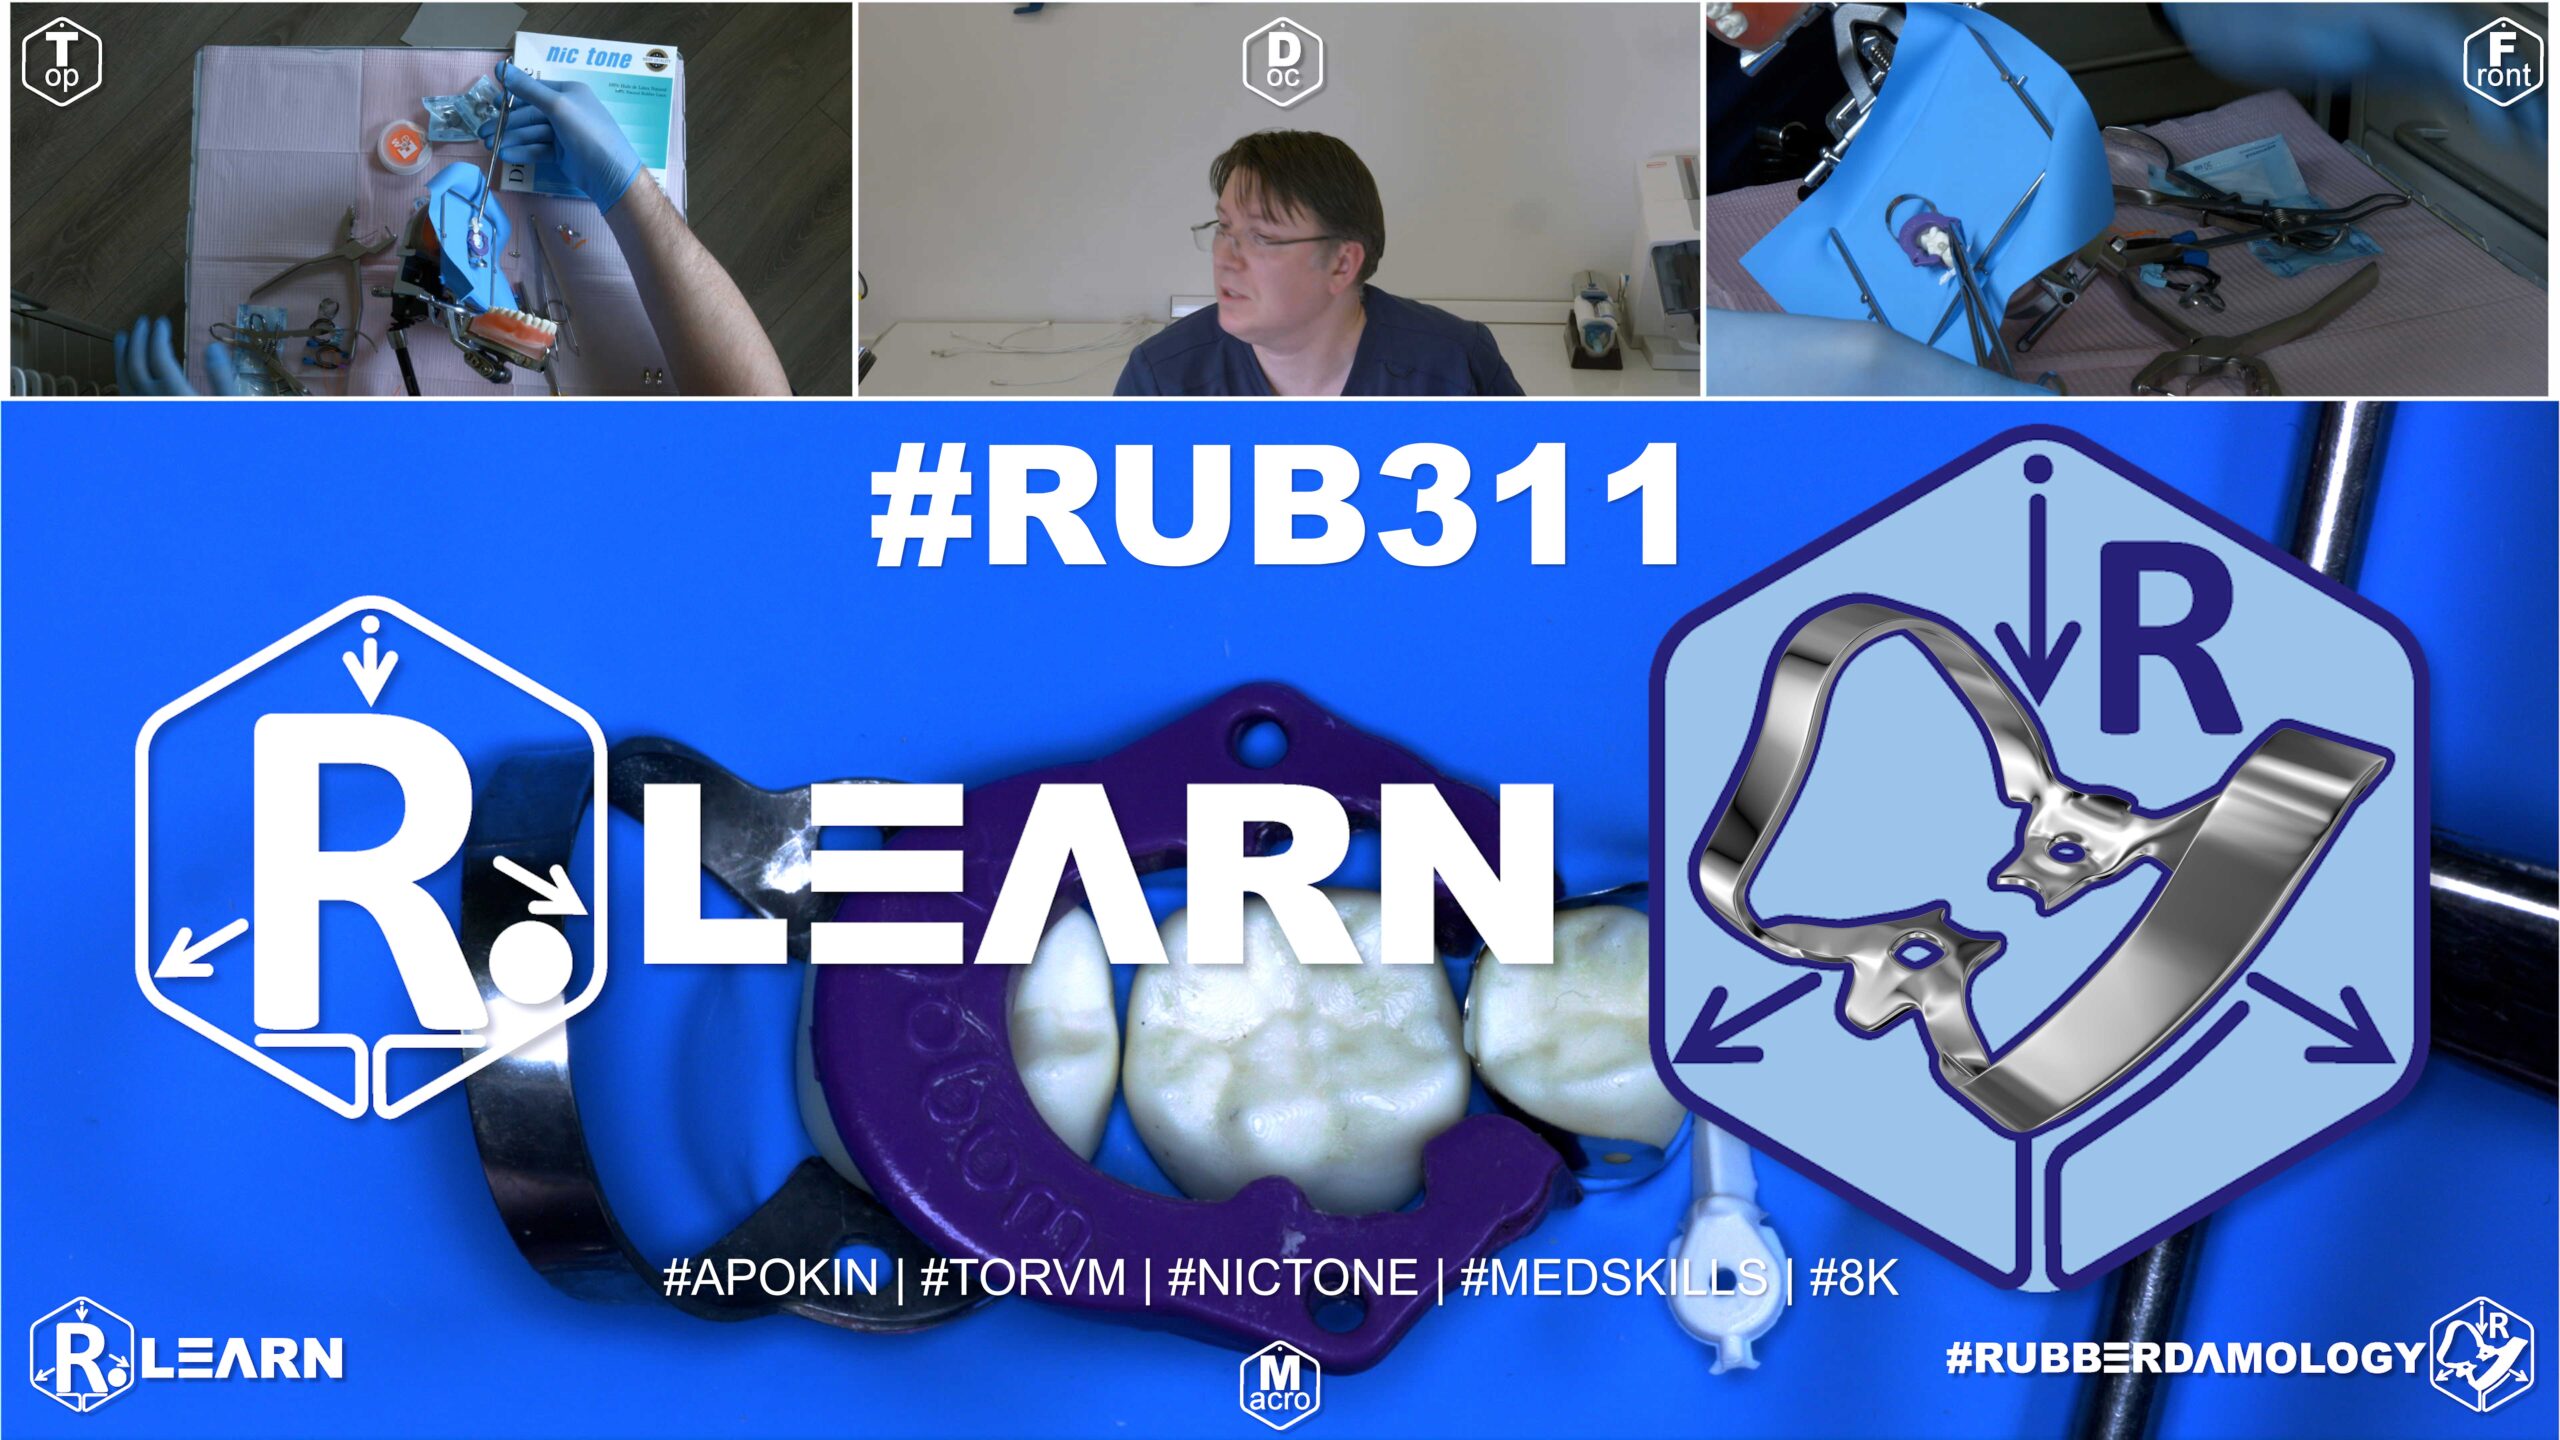
- Target Video Mapping: #RUB321 – Lesson 2 (Video Session 032)
- Core Mechanical Objective: Assess how different ring configurations affect cervical adaptation.
- Practical Execution Sequence: Set up a Wagotrix sectional matrix system on a matching posterior preparation. Compare the adaptation of its pins against standard silicone tines, looking for any micro-gaps at the line angles under high magnification.
1. Exercise Transcription & Notes (Wagotrix System Critique & Multi-Brand Matrix Integration)
This module provides a critical clinical review and hands-on assessment of the Wagotrix Sectional Matrix System under absolute rubber dam isolation [00:48]. Dr. Alexander Apokin evaluates the performance of the system’s components on a mandibular right posterior segment (Teeth #47 to #44) and demonstrates how to fix structural deficiencies mid-procedure by combining different brands [01:25, 07:34, 11:49, 16:26].
- Rear Anchor Selection for Matrix Ring Clearance:
- The baseline isolation is evaluated on the terminal molar segment [00:48]. While a standard wingless clamp (Tor VM W7) provides stable anchorage, Dr. Apokin swaps it out for a Tor VM W56 wingless clamp [01:08, 01:25]. The W56 features an elongated, backward-sweeping distal bow wire that completely clears the retromolar space [01:25, 01:41].
- The Wingless Choice Rule for Class II Restorations: Dr. Apokin issues a strict rule for all proximal box restorations that require matrix rings: always select a wingless rear anchor clamp [02:53, 04:25]. Traditional winged clamps feature wide horizontal side tabs that crowd the interproximal space [03:48]. This lack of clearance creates a hardware collision, leaving less than 1 mm of space and preventing matrix separation rings from seating deeply into the embrasures [04:01, 04:13]. Using a low-profile wingless clamp (like W56) leaves ample room to position sectional matrices and seat separation rings deeply [02:53, 10:28].
- Clinical Critique of the Wagotrix System Components:
- The Separation Ring (High Praise): Dr. Apokin gives high praise to the Wagotrix spring-loaded separation ring [01:57, 16:11]. He notes its compact size, excellent dimensional grip, and full compatibility with standard rubber dam forceps [01:57, 02:14].
- The Sectional Matrices (Severe Structural Failure): The instructor strongly critiques the Wagotrix sectional matrix bands, which feature a central handling tab (the “ears”) [04:49, 09:10]. He demonstrates that the matrix alloy is incredibly soft and lacks structural rigidity [10:50]. When pushed past tight rubber dam margins into a deep proximal box, the soft metal buckles, bends, and permanently loses its anatomical curve [10:50, 12:12, 15:26].
- He also shares his dislike for Carey’s SuperMat matrix system [06:17].
- The Plastic Wedges (Material Failure): The plastic Wagotrix interproximal wedges feature fine side retention tabs and are placed using a needle holder [07:13, 08:00]. However, Dr. Apokin reveals a major material flaw: the plastic compound is far too soft and brittle [07:34]. When pushed into a tight interproximal space under heavy friction, the wedge body folds, tears, and breaks completely in half [14:20, 14:34]. He deems these soft plastic wedges useless for dense contact points [14:48].
- The Multi-Brand Integration Strategy (The Hybrid Setup):
- To solve these hardware failures, Dr. Apokin abandons the Wagotrix matrices and wedges entirely, while keeping their premium separation ring [15:26, 16:11]. He introduces a Multi-Brand Integration Strategy to build a reliable hybrid setup [16:26]:
- Rigid Matrix Substitution: He swaps the soft Wagotrix bands for Tor VM stainless steel sectional matrices [15:47, 16:39]. These bands are highly rigid and can be held firmly with a needle holder, sliding deep into subgingival boxes past tight rubber margins without buckling [15:47].
- Heavy-Duty Wedge Substitution: The brittle plastic wedges are replaced with heavy-duty Tor VM wooden wedges (Yellow/Medium) or Polydentia adaptive plastic wedges [14:59, 16:52, 18:52]. These rigid materials can withstand high direct pressure, sealing the matrix band tightly against the root neck without breaking [14:59].
- The Interlocking Delivery Sequence: To seat the hybrid components smoothly without catching the rubber dam canvas, use a needle holder to guide the rigid Tor VM matrix band into the proximal box first [08:34, 17:48]. Slide the heavy wooden wedge into the embrasure base to lock the matrix adaptation [08:49, 18:04], and then expand the Wagotrix separation ring, seating its tines directly over the wedge [08:53, 18:12]. This combined setup applies steady separation pressure, ensuring a tight contact point [16:11, 19:15].
- To solve these hardware failures, Dr. Apokin abandons the Wagotrix matrices and wedges entirely, while keeping their premium separation ring [15:26, 16:11]. He introduces a Multi-Brand Integration Strategy to build a reliable hybrid setup [16:26]:
2. Mentioned Items & Concepts (Equipment Inventory)
- Wagotrix Matrix System Hardware:
- Wagotrix Spring-Loaded Separation Ring: Premium, high-retention separation ring [01:57, 16:11].
- Wagotrix Sectional Matrices (with Ears): Soft-alloy matrix bands featuring central tabs [04:49, 10:50].
- Wagotrix Plastic Interproximal Wedges: Soft plastic wedges featuring fine retention side points [07:13, 07:34].
- Substituted Premium Brand Hardware:
- Tor VM Stainless Steel Sectional Matrices: High-rigidity pre-contoured metal bands [15:47, 16:39].
- Tor VM Anatomical Wooden Wedges (Yellow/Medium): Rigid wood wedges [14:59, 16:52].
- Polydentia Adaptive Plastic Wedges: High-strength adaptive wedges [14:59, 18:52].
- Tor VM Wingless Molar Clamp No. W56: Low-profile rear anchor with an elongated distal bow wire [01:08, 01:25].
- Consumables & Bench Kit:
3. Key Takeaways & Conclusions
- Winged Clamps Cause Hardware Collisions: Never use traditional winged clamps when performing Class II restorations that require matrix separation rings [04:25]. The wide horizontal side tabs on winged clamps crowd the interproximal space, colliding with your matrix hardware [03:48]. Always select low-profile wingless clamps (like Tor VM W56) to ensure separation rings can seat deeply [02:53].
- Soft Matrix Alloys Buckle Against Rubber Dam Tension: Sectional matrices made from soft alloys will instantly buckle and bend when pushed past tight rubber dam margins into deep subgingival boxes [10:50]. To prevent this failure, swap them for high-rigidity stainless steel bands (like Tor VM) that can withstand vertical pressure without losing their anatomical shape [15:47, 16:39].
- Hybrid Systems Optimize Clinical Success: Do not limit yourself to using a single manufacturer’s kit if components fail [16:26]. Combining the premium Wagotrix separation ring with highly rigid Tor VM stainless steel matrices and heavy-duty wooden or Polydentia wedges creates a powerful hybrid setup that ensures an absolute moisture seal and an anatomically perfect contact point [16:11, 19:15].
Structural Rigidity in Posterior Restorations: Multi-Brand Hybrid Integration
Restoring Class II proximal cavities requires the clinician to carefully evaluate the mechanical limits of their restorative hardware. While many dental manufacturers market all-in-one matrix kits, a single system rarely performs flawlessly across all material types. When heavy rubber dam tension meets tight interproximal friction, relying on soft alloys or brittle plastics will result in buckling, component breakage, and immediate isolation failure.
+-----------------------------------------------------------------------------+
|                      MULTI-BRAND HYBRID INTEGRATION MATRIX                  |
+-----------------------------------------------------------------------------+
|                                                                             |
|   [ WAGOTRIX RETENTION CORE ]                                               |
|    - Spring-loaded separation ring provides high multi-point pressure.      |
|    - Sits low and stable; fully compatible with standard rubber dam forceps.  |
|                                                                             |
|   [ RIGID TOR VM METAL SUBSTITUTION ]                                       |
|    - Soft Wagotrix bands swap out for high-rigidity stainless steel bands.   |
|    =====> EFFECT: Matrix slides deep subgingivally without buckling.         |
|                                                                             |
|   [ HEAVY-DUTY WEDGE SUBSTITUTION ]                                         |
|    - Brittle plastic wedges swap for Tor VM wooden or Polydentia wedges.    |
|    =====> EFFECT: Withstands high direct pressure without breaking in half.  |
|                                                                             |
+-----------------------------------------------------------------------------+
A common technical breakdown occurs when attempting to deliver soft-alloy sectional matrices (such as Wagotrix bands) into deep subgingival boxes under high rubber dam tension. These soft-alloy bands lack structural rigidity.
When pushed vertically past tight rubber margins, the thin metal buckles and bends, permanently destroying the anatomical profile required to build a correct proximal contact point. To overcome this, the clinician must implement a Multi-Brand Hybrid Integration Strategy, discarding the soft bands in favor of high-rigidity Tor VM stainless steel sectional matrices. Held firmly with a surgical needle holder, these rigid bands can easily slide past tight rubber margins into deep cervical seats without distorting.
A similar material failure occurs when using soft, brittle plastic interproximal wedges in tight contact points. Under heavy friction, these plastic wedges bend, fold, and frequently snap completely in half at the center.
To ensure a tight cervical seal, the clinician must substitute heavy-duty Tor VM wooden wedges or high-strength Polydentia adaptive plastic wedges. These rigid wedges can withstand high direct pressure, locking the matrix band tightly against the root neck to eliminate any risk of composite overhangs.
The workflow is completed by leveraging the highest-performing component of the core system: the spring-loaded Wagotrix separation ring. Expanded via ring forceps, this compact ring is seated directly over the rigid wooden wedge. Lacking protruding side wings on your rear anchor clamp (e.g., using a wingless Tor VM W56), the separation ring tines can seat deeply into the embrasure without any hardware collisions.
This hybrid integration—combining the high separation force of the Wagotrix ring, the structural rigidity of Tor VM stainless steel matrices, and the heavy-duty strength of wooden or Polydentia wedges—guarantees maximum visual control, an absolute moisture seal, and an anatomically perfect contact point after composite polymerization.
Exercise 32: Intra-Operative Perforation Modifications Under Mechanical Tension

- Target Video Mapping: #RUB321 – Lesson 3 (Video Session 033)
- Core Mechanical Objective: Repair localized leaks or small tears without replacing the entire setup.
- Practical Execution Sequence: Simulate a small tear in the rubber dam near a proximal margin. Use a small piece of a fresh latex sheet or adapt light-cured liquid dam gel directly over the defect to seal the leak and keep the bonding zone perfectly dry.
1. Exercise Transcription & Notes (Direct Intraoral Scaling for Unplanned Quadrant Extensions)
This specialized problem-solving module focuses on a critical, stress-inducing clinical roadblock: extending the boundary of an active, pre-tensioned isolation field intraorally without removing or replacing the original rubber dam canvas [00:37, 00:46].
Dr. Apokin addresses how to safely incorporate an adjacent tooth (e.g., Tooth #45) mid-procedure using a precise intraoral scalpel slice technique, completely bypassing the need to discard your layout and rebuild the isolation scheme from scratch [00:56, 09:36].
- Initial Setup Layout & Template-Free Punching:
- The clinician mounts a high-strength Nic Tone medium latex canvas asymmetrically onto a standard metal U-frame [02:13, 02:43]. He notes that ensuring flat, even tension across the frame prongs outside the mouth is the baseline step for stable clinical orientation [01:46, 03:08].
- The Mandibular Layout Guard: For all lower jaw posterior quadrants, all perforations must be executed template-free along the lower third boundary line of the frame window [03:09, 03:38]. This leaves a wide, solid latex shield at the top to cover the patient’s face and protect their nasal passages for unhindered breathing [06:01, 06:22].
- He punches a large molar hole for the primary anchor tooth (#46) and a stepped-down bicuspid hole for the first premolar (#44), warning against accidental double-punches caused by a loose, shifting punch wheel [03:39, 03:52].
- Wings-First Seating: A traditional Tor VM No. 7 winged molar clamp is pre-loaded into the terminal hole outside the mouth [01:29, 04:02, 04:53]. The assembly is carried into the oral cavity with forceps, locked onto tooth #46, and a sharp dental probe releases the rubber margins off the metal side wings [05:41, 07:36].
- The Intraoral Scalpel Slit Refinement:
- The Mid-Procedure Roadblock: During treatment, the clinician discovers that an adjacent tooth (#45) is leaking moisture or needs unexpected restorative scaling [00:46, 09:36]. Breaking down a fully seated isolation field to replace the entire latex canvas wastes vital clinical time [00:56].
- The Micro-Slice Law: To modify the field directly in the mouth, Dr. Apokin uses his fingers to grip and pull the stretched rubber canvas firmly over the occlusal table of tooth #45, creating a small, high-tension latex fold [09:36, 09:46].
- Using an ultra-sharp surgical scalpel blade, he makes a tiny, controlled linear micro-slice straight through the center of the tense rubber fold [09:46]. Because high-grade latex has exceptional elasticity and tear resistance, this micro-slit expands under active tension into a smooth, perfectly round hole without snapping or propagating a tear line [09:46].
- Inversion and Floss Adaptation: Dental floss is instantly carried through the mesial and distal contact points of tooth #45 [10:10]. The newly created rubber hole expands and slides smoothly past the crown contours, and the margins are rolled apically into the cervical sulcus to establish a fluid-tight moisture seal around the new target [10:10, 10:27]. Complete the routine by folding a standard catchment envelope [10:48].
2. Mentioned Items & Concepts (Equipment Inventory)
- Surgical & Retorative Hardware:
- Surgical Scalpel Blade (with Handle): Micro-cutting tool used to execute precise intraoral linear cuts in stretched latex [01:52, 09:46].
- Tor VM Winged Molar Clamp No. 7: Symmetrical posterior anchor clamp [01:29, 04:02].
- Wagotrix Matrix Ring / Accessories: Sectional separation hardware referenced for proximal containment [01:52].
- Consumables & Core Framework:
- Nic Tone Medium Latex Canvas & Metal U-Frame: Moisture barrier core system [02:13, 02:43].
- Sanctuary Dental Perforation Punch & Forceps: Processing tools [01:06, 03:39].
- High-Visibility Dental Floss: Used to trace contacts and guide intraoral inversion loops [01:52, 08:22].
- Sharp Dental Explorer Probe: Hand tool used to guide rubber wing release loops subgingivally [07:28, 07:36].
- Anatomical Targets:
- Mandibular Quadrant Segment: Workspace bridging molar #46 onto premolars #45 and #44 [02:56].
3. Key Takeaways & Conclusions
- Breaking Down Active Fields for Extensions Wastes Time: When a hidden carious lesion or unexpected moisture leak is diagnosed on an adjacent tooth mid-procedure, do not waste time removing your entire isolation framework [00:56]. Modifying the field intraorally preserves your primary rear anchorage while keeping the procedure moving forward smoothly.
- Latex Elasticity Prevents Slit Tear Propagation: High-grade latex sheets possess incredible elastic recovery and tear resistance [02:13]. Making a tiny 2–3 mm linear micro-slice with a sharp scalpel through a tense rubber fold allows the material to stretch out into a smooth, round hole without ripping or snapping under heavy tension [09:46].
- Immediate Floss Inversion Secures the New Seal: Once the intraoral micro-slice is executed, dental floss must be passed through the proximal contact points immediately [10:10]. Flossing stretches the rubber margin over the crown contours, sliding it apically into the cervical sulcus to prevent any fluid or saliva leaks around the newly added tooth [10:27].
Emergency Mid-Procedure Field Extensions: The Intraoral Scalpel Slit Protocol
During advanced posterior restorative therapies, clinicians frequently encounter unexpected clinical complications mid-procedure. A common scenario involves isolating a specific segment under short-span conditions (e.g., Teeth #46 and #44), only to discover mid-procedure that an intermediate tooth (Tooth #45) is leaking moisture or exhibits hidden proximal decay that must be incorporated into the active preparation field.
+-----------------------------------------------------------------------------+
|                     INTRAORAL FIELD EXTENSION KINETICS                      |
+-----------------------------------------------------------------------------+
|                                                                             |
|   [ FIELD REBUILD FAILURE ]                                                 |
|    - Removing the entire framework, re-punching, and re-clamping.           |
|    =====> FAILURE: Wastes vital clinical time; increases patient anxiety.   |
|                                                                             |
|   [ THE INTRAORAL SCALPEL SLIT SOLUTION ]                                   |
|    - Pull the rubber sheet taut over the occlusal table of tooth #45.        |
|    - Execute a precise 2-3mm linear micro-slice using a sharp blade.        |
|    - Pass dental floss through the contacts to roll margins subgingivally.  |
|    =====> EFFECT: Field expands smoothly mid-procedure; fluid-tight seal.    |
|                                                                             |
+-----------------------------------------------------------------------------+
Breaking down a fully seated isolation field to replace the entire latex canvas is a highly inefficient approach. It wastes vital clinical time, squanders expensive materials, and increases patient discomfort.
To expand your isolation perimeter predictably without disrupting your primary rear molar anchorage, the clinician must implement The Intraoral Scalpel Slit Protocol.
The workflow begins by using the fingers of your non-dominant hand to firmly grip and pull the stretched rubber canvas directly over the occlusal table of the adjacent tooth (#45), creating a localized, high-tension latex fold. Using an ultra-sharp surgical scalpel blade, a precise 2–3 mm linear micro-slice is executed straight through the center of the tense rubber fold.
Because high-grade latex has exceptional elasticity and tear resistance, this micro-slit expands under active tension into a smooth, perfectly round hole without snapping or propagating a tear line.
Dental floss is instantly carried through the mesial and distal contact points of the newly exposed crown. Flossing stretches the rubber margin over the crown contours, sliding it apically into the cervical sulcus to prevent any fluid or saliva leaks around the newly added tooth.
This intraoral modification allows sectional matrices, wooden wedges, and separation rings to seat deeply without any loose latex bunching up inside the cavity walls, ensuring maximum visual control, absolute moisture exclusion, and an anatomically perfect restoration.