
Exercise 22: Clinical Patient Ergonomics and Airway Optimization
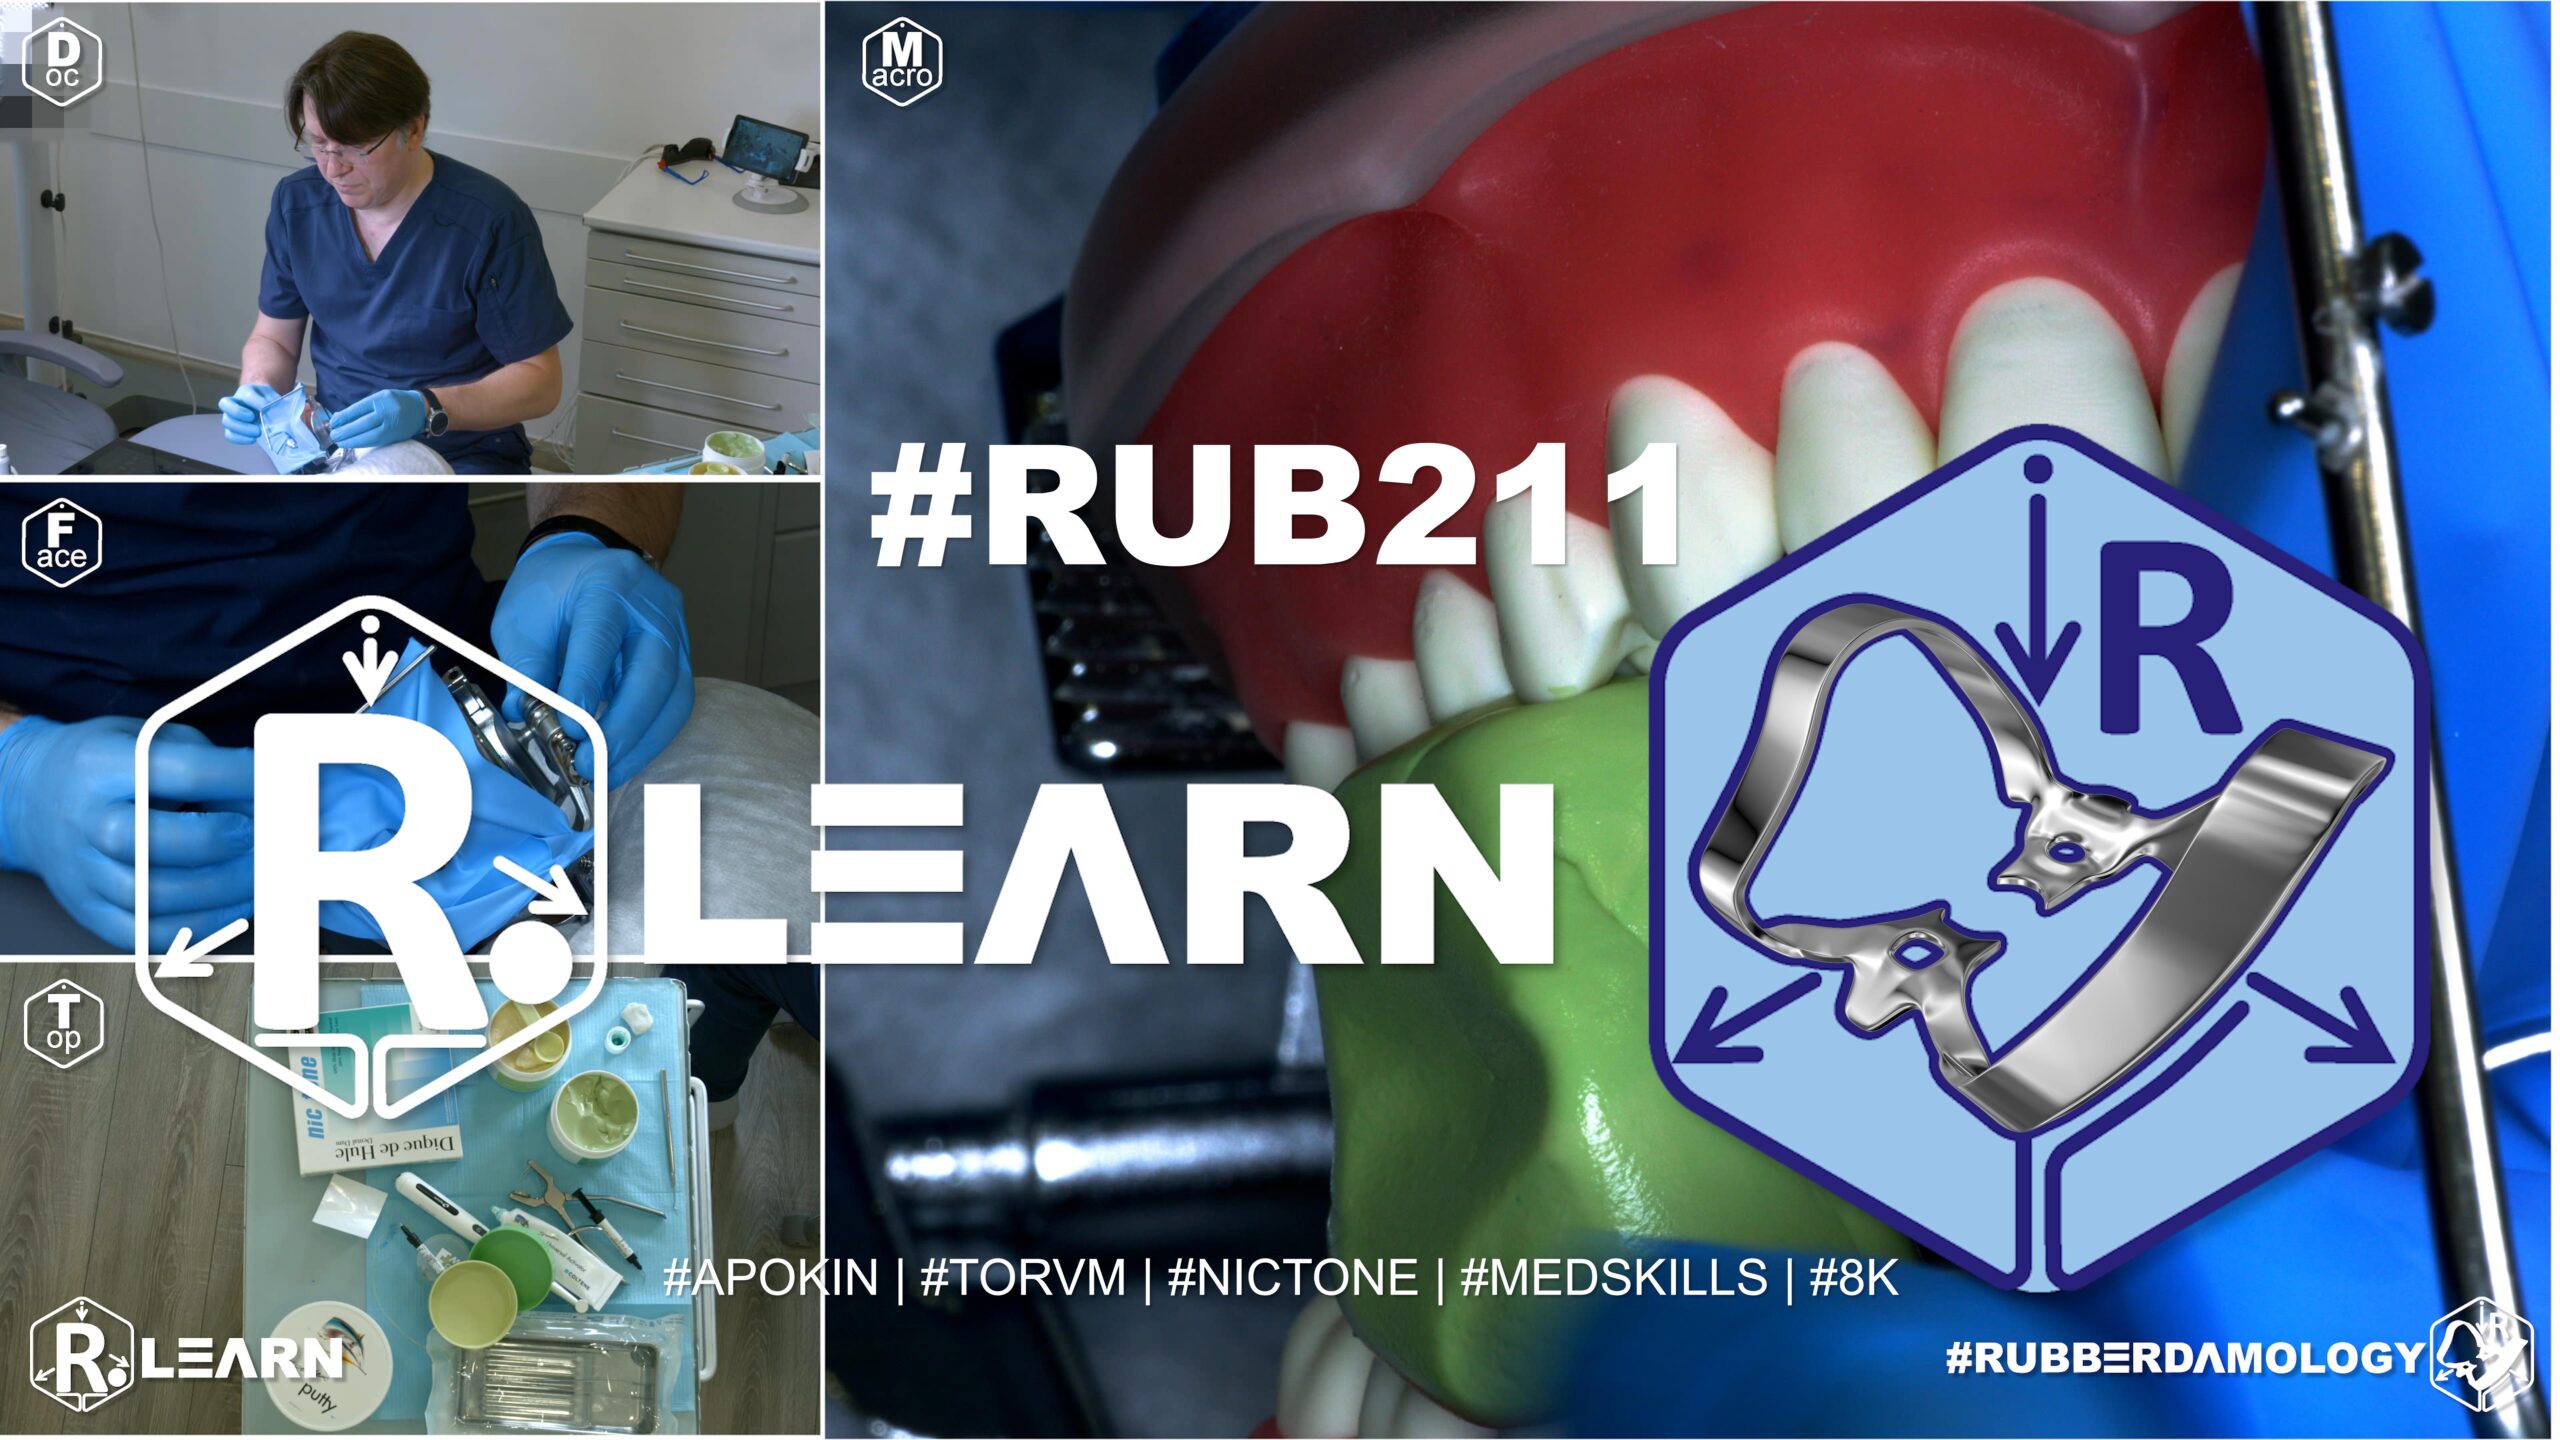
- Target Video Mapping: #RUB211 – Lesson 1 (Video Session 028)
- Core Mechanical Objective: Balance high sheet tension with patient breathing comfort.
- Practical Execution Sequence: Position a soft, absorbent napkin under the rubber dam sheet. Adjust the spring arms of the frame to keep the latex taut over the teeth while ensuring it stays away from the nose and lips, preventing breathing occlusion.
1. Exercise Transcription & Notes (Patient Ergonomics, Strategic Sealing, and Custom Bite Blocks)
This training module focuses on clinical ergonomics, patient comfort, and chairside problem-solving during extended rubber dam isolation [00:33]. Dr. Alexander Apokin details the mechanical differences between precise, targeted sealing and wasteful fluid-barrier flooding [06:10]. He also demonstrates how to troubleshoot patient jaw fatigue using chairside custom-polymerized silicone bite blocks [11:43].
- Baseline Setup & The Fallacy of Liquid Dam Flooding:
- The instructor places a single-tooth isolation on a mandibular left first molar (Tooth #36) using a Tor VM No. 12A winged clamp and a Nic Tone sheet canvas [01:04, 01:20, 04:06]. Margins are cleanly inverted using dental floss passed down and extracted vestibularly [04:43, 05:07].
- The Micro-Sealing Rule: Dr. Apokin points out that if the rubber dam sheet is properly flosed and inverted apically into the cervical sulcus, liquid dam is completely unnecessary on a macro scale [06:10, 06:23]. If a minor tear or microscopic margin gap exists, you should apply liquid dam strictly into the localized corner spaces between the tooth neck and the clamp jaws [06:45].
- The Flood Error Critique: He strongly critiques a common mistake made by young dentists: flooding the entire perimeter of the crown with massive amounts of liquid dam material [06:10, 07:43]. This excess “wall of resin” does not improve your isolation seal; instead, it wastes clinical time, squanders expensive materials, and creates severe breakdown bottlenecks, as the clinician must spend extra time peeling the hardened resin block off the teeth and clamp frames [08:12, 09:12]. Liquid dam is better used to quickly patch accidental holes caused by a bur [08:35].
- Advanced Respiratory & Soft Tissue Ergonomics:
- The Airway Paper Shield: To shield the patient from handpiece water mist while maintaining a relaxed airway during maxillary or deep posterior isolations, pack a dental cotton roll under the upper margin lip of the sheet [09:58]. Overlay this with a small, clean piece of mixing paper bent like a roof over the patient’s nose [10:03]. This creates an open breathing tent while deflecting water droplets entirely away from the nasal passages [10:17].
- Frame Pressure Relief: To prevent the hard metal prongs of the U-frame from digging into the patient’s skin under active tension, wedge a cotton roll behind the frame’s rear points to serve as a soft cushion [10:44, 10:59].
- Chairside Custom Silicone Bite Blocks:
- The Clinical Problem: During long procedures, a patient’s masticatory (jaw) muscles become exhausted, leading to involuntary jaw tremors, frequent closing, or fatigue [11:19, 11:30]. If commercial bite blocks are missing from your tray, you must fabricate a custom block chairside rather than struggling against the patient’s jaw [11:51, 12:14].
- Option A: C-Silicone Blocks (Highly Rigid): Mix a scoop of standard heavy-body C-silicone putty with its paste catalyst [12:37, 13:07]. Roll the material into a tight block. Unhook only the lower frame corners of the active rubber dam to gain oral access [13:48]. Instruct the patient to open wide, insert the putty block between the teeth opposite your working quadrant, and have the patient bite down slightly to indent the material [13:48]. Once cured, this yields a highly rigid block that does not bond to the plastic teeth [14:25].
- Option B: A-Silicone Blocks (High Precision): Mix equal parts of base and catalyst from a high-precision A-silicone putty kit into a smooth cube [14:52, 15:27]. Place the cube directly into the patient’s mouth over the non-working occlusal tables, molding it to find a comfortable resting position [15:34, 15:49].
- Clinical Safety Tip: While A-silicone can stick to dry plastic training models, natural intraoral saliva completely prevents this adhesion in live patients, allowing the customized block to release cleanly with a perfect indentation map [16:24, 17:46]. This customized support lets the patient fully relax their jaw muscles during the remainder of the restorative procedure [18:13].
2. Mentioned Items & Concepts (Equipment Inventory)
- Consumables & Core Barrier Framework:
- Nic Tone Latex Sheets & Metal U-Frame: Baseline moisture barrier system [01:20, 01:41].
- Tor VM Winged Clamp No. 12A: Specialized posterior anchor clamp [01:04].
- Targeted Liquid Dam Resin (e.g., Find Dam): Light-curable resin barrier [05:56].
- Dental Cotton Rolls & Rigid Mixing Paper: Repurposed as skin protectors and nasal airway shields [09:58, 10:03, 10:44].
- Elastomeric Impression Polymers:
- Anatomical Targets:
3. Key Takeaways & Conclusions
- Excessive Liquid Dam Coating is a Bad Habit: Avoid flooding the entire tooth circumference with a thick wall of liquid dam [07:43]. Proper mechanical flossing and apical inversion naturally form a fluid-tight seal against the root neck. Liquid dam application must be restricted strictly to pinpoint gaps or open corner margins to save clinical time and expensive materials [06:10, 09:22].
- Mixing Paper Roofs Maintain Respiratory Comfort: Placing a small sheet of mixing paper over a cotton roll at the top of the frame creates a protective roof over the patient’s nose [10:03]. This simple trick maintains a clear, comfortable airway while deflecting water mist entirely away from the nasal passages [10:17].
- Putty Compounds Offer Instant Custom Jaw Support: If a patient struggles with jaw fatigue during long appointments, you can easily fabricate custom bite blocks chairside using C-silicone or A-silicone putty [11:51, 12:05]. Placing a small block between the teeth on the non-working side supports the jaw muscles, completely eliminating muscle tremors and keeping the patient relaxed [15:34, 18:13].
Neuromuscular Ergonomics, Airway Protection, and the Fallacy of Margin Flooding
Achieving a dry operating field is only half the battle during advanced restorative procedures. Long clinical procedures require the dentist to manage the patient’s neuromuscular comfort and respiratory mechanics. If a patient experiences breathing difficulties or severe jaw muscle fatigue, their involuntary movements will quickly disrupt your isolation framework, leading to bond failure.
+-----------------------------------------------------------------------------+
|                      NEUROMUSCULAR & MOISTURE MANAGEMENT                    |
+-----------------------------------------------------------------------------+
|                                                                             |
|   [ LIQUID DAM FLOODING ERROR ]                                             |
|    - Coating the entire crown circumference in a thick resin wall.          |
|    =====> RESUT: Wastes material and creates serious removal bottlenecks.   |
|                                                                             |
|   [ TARGETED CORNER PATCHING ]                                              |
|    - Rely on proper mechanical flossing and apical latex inversion.         |
|    - Apply minimal resin gel strictly to pinpoint corner micro-gaps.        |
|                                                                             |
|   [ CUSTOM PUTTY BITE BLOCKS ]                                              |
|    - Mix C- or A-silicone putty chairside and place on the non-working side.|
|    =====> RESULT: Relieves jaw muscle fatigue and prevents tremors.         |
|                                                                             |
+-----------------------------------------------------------------------------+
A common technical error made by junior dentists during moisture management is flooding the entire crown circumference with a thick wall of liquid dam material. This practice is driven by a poor understanding of latex physics.
When a rubber dam sheet is properly flosed and inverted apically into the cervical sulcus, the elastic memory of the latex naturally forms a fluid-tight seal against the tooth neck. Liquid dam application should never be used as a structural wall; it must be restricted strictly to targeted, pinpoint placement within corner micro-gaps. Flooding the entire crown squanders expensive material and creates serious removal bottlenecks, as the clinician must waste time chipping hardened resin off the teeth and clamp frames at breakdown.
To maintain patient comfort during long appointments, clinicians must address airway management and jaw fatigue. Placing a small, rigid piece of mixing paper over a cotton roll at the top of the frame forms an elegant roof over the patient’s nose. This simple modification creates a protected airway tent, keeping the patient comfortable while deflecting water spray entirely away from the nasal passages.
Furthermore, if a patient exhibits jaw tremors or muscle fatigue during a long procedure, the clinician should instantly fabricate a custom bite block chairside using high-viscosity elastomeric putty (C-silicone or A-silicone).
A small cube of putty is mixed, placed directly between the teeth on the non-working side, and indented slightly by the patient’s bite. Once polymerized, this customized support allows the patient to fully relax their masseter and temporalis muscle networks, completely eliminating tremors and ensuring a stable, quiet operating field for the remainder of your adhesive protocol.
Exercise 23: Last Molar Distal Surface Isolation
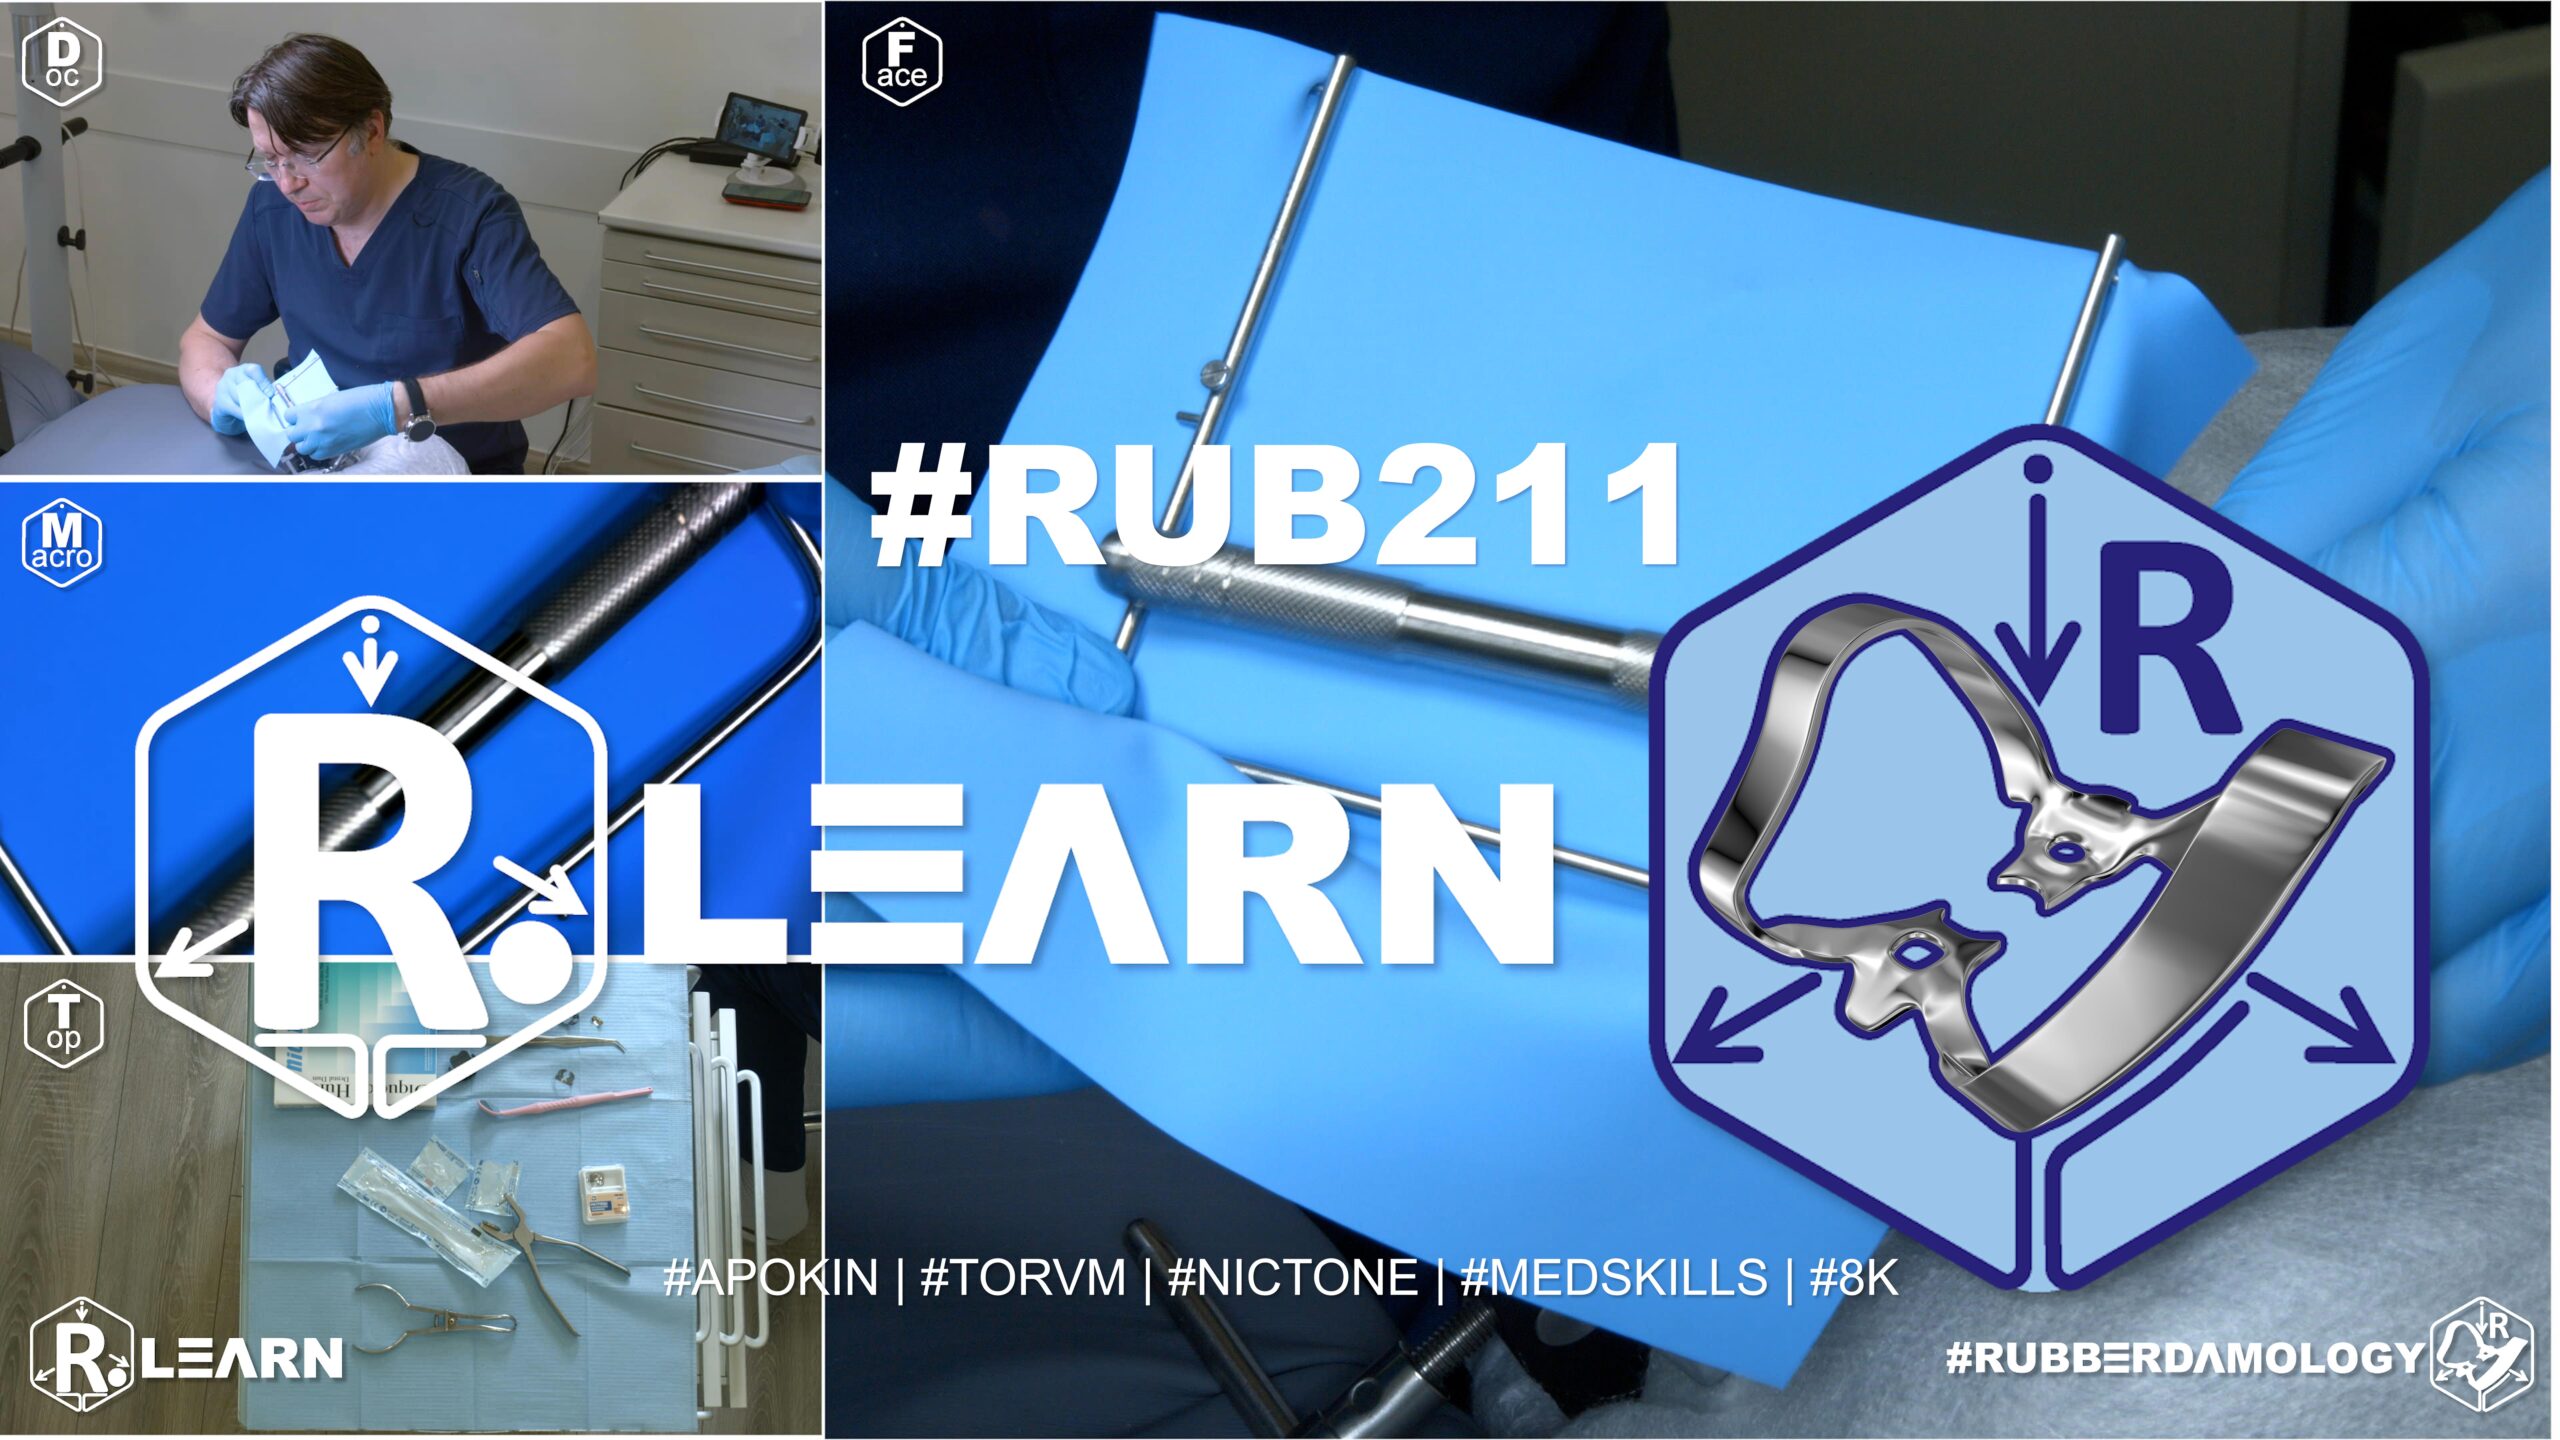
- Target Video Mapping: #RUB211 – Lesson 2 (Video Session 027)
- Core Mechanical Objective: Isolate terminal molars when space in the retromolar area is extremely limited.
- Practical Execution Sequence: Choose a specialized, apically inverted clamp featuring a small, distal-set bow (such as #8A or #W8A). Seat the jaws directly onto the distal root surface below the gumline, pulling the latex back to fully expose deep subgingival Class II or Class V defects.
1. Exercise Transcription & Notes (Deep Isolation Mechanics for the Distal Surface of Terminal Molars)
This module addresses one of the most mechanically restrictive scenarios in restorative dentistry: isolating and accessing a Class II carious lesion or structural fracture located deep on the distal surface of a terminal second or third molar (Tooth #37 or #47) [01:55, 02:07]. Dr. Alexander Apokin systematically analyzes the architectural limitations of standard posterior clamps and introduces a specialized, ultra-distal angulated wingless clamp framework [01:05, 03:33, 13:24].
- Standard Posterior Constraints vs. Deep Distal Architecture:
- When treating intermediate molars, a standard wingless clamp (e.g., Tor VM W3) works perfectly [01:24]. However, when forced onto the furthest terminal tooth in the arch, the horizontal position of a standard clamp’s metal bow wire creates a severe roadblock [01:43]. The bow sits directly above the distal marginal ridge, leaving zero physical space to insert a matrix band, place a mirror, or maneuver a rotating dental handpiece with a bur [03:11, 03:23, 10:09].
- The Ultra-Distal Solution (The W56 Framework): To clear this workspace, Dr. Apokin introduces the Tor VM W56 wingless clamp [01:05, 03:33]. The W56 features an elongated, hyper-angulated metal bow that drops down and sweeps far back distally [01:24]. This specialized curve shifts the physical bulk of the steel loop entirely behind the tooth crown, freeing up the distal workspace [03:52]. This extra clearance allows the clinician to smoothly adapt anatomical matrix bands, gain clear visualization in a mirror, and safely navigate handpieces along the furthest distal margins [04:04, 04:18].
- Mid-Procedure Clamp Swapping Kinetics:
- Dr. Apokin demonstrates how a clinician can safely execute a live “clamp swap” mid-procedure if they discover visual or structural interference from an initial clamp selection [10:21].
- The Swapping Method: The clinician uses the index finger of their non-dominant hand to firmly support the local rubber canvas, holding the sheet down to preserve peripheral tension and prevent saliva leaks [10:35, 11:40].
- The dominant hand engages forceps into the initial clamp, expands it gently, and lifts it completely off the tooth neck [10:50]. The alternative clamp (W56) is instantly grabbed with forceps, carried down through the still-tensioned canvas hole, and seated onto the root neck [11:07]. This rapid swap prevents isolation breakdown and saves significant clinical time [11:22, 11:31].
- The Clamps-In-Dam Assembly for Tight Retromolar Spaces:
- When seating the deep-sweeping W56 clamp directly onto a terminal molar, the bone structure of the lower jaw (the retromolar pad and ascending ramus) leaves almost zero space for manual finger manipulation behind the bow [13:03]. Therefore, the standalone Dam-Over-Bow method becomes incredibly difficult and uncomfortable for the patient [13:14].
- The Pre-Loaded Technique: Dr. Apokin mandates using the Clamps-In-Dam Technique for these tight posterior slots [13:24].
- The raw latex sheet is pre-tensioned onto the frame corners [05:52]. Holes are punched low along the lower third boundary for the mandibular track [06:13]. Outside the oral cavity, the steel body of the wingless W56 clamp is pushed completely through the terminal molar hole like a ring until the rubber tightly encircles its subgingival jaws, keeping the elongated bow fully exposed above the canvas [13:39].
- Foolproof Asymmetric Corner Punch Coding: To prevent the dentist from losing orientation while handling a fully bunched-up pre-loaded sheet, Dr. Apokin uses his punch wheel to clip asymmetric coding holes into the corners of the sheet margins before entering the mouth [14:51, 15:43]. He punches two holes into the left margin corner and one hole into the right corner [15:16]. This quick layout guide allows him to instantly match the correct corners to the frame prongs within seconds, eliminating mid-procedure confusion [16:08, 16:19].
- The bunched clamp-dam block is carried into the mouth, seated directly onto the cervical neck of tooth #37 [13:56, 14:09], and the coded canvas corners are quickly aligned over the frame prongs [16:08]. Margins are cleanly inverted using a flat tool, and interdental septa are rolled subgingivally [16:38, 16:52]. Because the procedure takes place at the furthest posterior limit of the arch, a standard catchment envelope is omitted; the assistant can easily place high-volume suction directly into the dependent floor of the sheet canvas [18:09, 18:22].
2. Mentioned Items & Concepts (Equipment Inventory)
- Retaining Hardware Retainers:
- Consumables & Bench Processing Kit:
- Nic Tone Medium Latex Canvas & Metal U-Frame: Moisture barrier processing defaults [05:24, 05:52].
- Tor VM Perforation Punch & Slide-Locking Forceps: System handling tools [06:31, 10:50].
- Sharp Explorer Probe & Flat Plastic Tool: Used to safely trace margins and guide inversion layers around subgingival jaws [08:19, 16:38].
- Anatomical Targets:
3. Key Takeaways & Conclusions
- Standard Braces Block Terminal Class II Access: Never attempt to treat a deep distal Class II lesion on a terminal molar using a standard posterior clamp [01:55]. The standard horizontal bow wire sits directly above the distal marginal ridge, leaving zero physical space to adapt a matrix band or position a rotating handpiece.
- The W56 Elongated Bow Frees Up Retro-Molar Space: The hyper-angulated, deep-sweeping distal bow of the Tor VM W56 clamp shifts the physical bulk of the steel loop entirely behind the tooth crown [03:33, 03:52]. This specialized clearance opens up an unhindered workspace, allowing you to easily place anatomical matrices, position mirrors, and safely operate your handpieces along the furthest distal margins [04:04].
- Pre-Loaded Seating Bypasses Tight Ramus Resistance: Because the close proximity of the mandibular ascending ramus leaves almost zero space for manual finger manipulation behind a terminal molar, the standalone Dam-Over-Bow technique becomes highly difficult [13:03, 13:14]. Pre-loading the wingless W56 clamp inside the canvas via the Clamps-In-Dam method allows the entire block to be seated safely onto the tooth neck in a single, controlled motion [13:24, 14:09].
Advanced Retromolar Kinetics: Ultra-Distal Seating Frameworks for Terminal Molars
Isolating a Class II carious lesion or structural crown fracture located on the furthest distal aspect of a terminal mandibular second or third molar (Teeth #37 or #47) presents one of the most severe spatial challenges in adhesive dentistry. The close proximity of the soft-tissue retromolar pad and the vertical ascent of the mandibular ramus leaves almost zero physical workspace.
+-----------------------------------------------------------------------------+
|                      TERMINAL MOLAR DISTAL WORKSOME DESIGN                  |
+-----------------------------------------------------------------------------+
|                                                                             |
|  [ STANDARD MOLAR CLAMP (W3) BLOCK ]                                        |
|   - Horizontal metal bow sits directly over the distal marginal ridge.      |
|   =====> ROADBLOCK: Zero clearance for matrices, mirrors, or burs.          |
|                                                                             |
|  [ SPECIALIZED W56 DISTAL FRAMEWORK ]                                       |
|   - Elongated, hyper-angulated metal bow drops down and sweeps backward.   |
|   - Shifts the structural steel loop entirely behind the tooth crown.      |
|   =====> RESULT: Opens a clear workspace for predictable matrix adaptation. |
|                                                                             |
+-----------------------------------------------------------------------------+
If a clinician attempts to isolate this zone using a standard posterior wingless clamp (such as Tor VM W3), the flat, horizontal profile of the steel bow wire sits directly above the distal marginal ridge. This creates an immediate mechanical roadblock, leaving zero clearance to slide in an anatomical matrix band, position an intraoral mirror, or safely guide a rotating handpiece bur without slashing the rubber canvas.
To open an ergonomic workspace, the standard posterior clamp must be abandoned in favor of the specialized Tor VM W56 Ultra-Distal Wingless Framework. The W56 features an elongated, deeply dropped metal bow that sweeps significantly backward. This custom engineering shifts the structural bulk of the steel loop completely past the distal contours of the crown, creating an unhindered, crystal-clear operational window directly over the carious lesion.
Furthermore, because the close proximity of the ascending ramus leaves almost no room for manual finger manipulation behind a terminal crown, attempting the standalone Dam-Over-Bow method is highly counterproductive. Instead, the clinician must utilize the Pre-Loaded Clamps-In-Dam Technique, pushing the body of the wingless W56 clamp through the molar hole outside the mouth so that the entire block can be carried intraorally and locked onto the tooth neck in a single, fluid motion.
To maintain efficiency during this pre-loaded setup, the clinician must implement Asymmetric Corner Punch Coding, clipping two technical holes into the left canvas margin corner and one into the right before entry. This simple layout guide allows the correct corners to be matched to the frame prongs within seconds, eliminating mid-procedure confusion and establishing a stable, dry operating environment for highly predictable posterior adhesive restorations.