
Exercise 15: Alternative Anchorage Mechanics for Mandibular Molars (Clamp 7 vs. W7)

- Target Video Mapping: #RUB201 – Lesson 1 (Video Session 002)
- Core Mechanical Objective: Evaluate the stability differences between winged and wingless clamp mechanics.
- Practical Execution Sequence: Isolate tooth #36 twice: first using winged clamp #7 via the single-movement method, and second using wingless modification #W7. Test the lateral stability of both configurations using a rigid instrument to check for pivoting.
1. Exercise Transcription & Notes (Winged vs. Wingless Molar Isolation Techniques)
This module demonstrates the practical execution of single molar isolation on a maxillary left first molar (Tooth #26) [03:44]. Dr. Alexander Apokin systematically compares the application kinetics of winged molar clamps against wingless equivalents, highlighting three distinct installation strategies [00:40, 12:29, 17:24].
- Preliminary Canvas Mounting & Tensioning:
- The instructor mounts a high-grade latex sheet onto a standard metal U-frame [01:48, 02:04].
- He matches the top corner of the canvas to the top prong, stabilizes it using his thumb, and applies mild lateral tension (~1 cm) before securing the remaining frame prongs [02:15]. This produces balanced, flat canvas tension without damaging the membrane [02:32].
- The Maxillary Punch Height Adjustment: For maxillary posterior isolation, the perforation must be executed significantly higher up on the sheet canvas compared to mandibular layouts [04:36]. He selects the second largest hole diameter on the punch wheel to match molar anatomy [04:24].
- Dr. Apokin critiques the use of templates for plotting hole positions, calling it an unnecessary step meant for beginners [17:00]. Instead, the hole is punched template-free at the spatial center or slightly offset to the left [04:36, 05:16].
- Technique A: Winged Clamp Assembly (Wings-First Method):
- The instructor pre-tests the stability of a Tor VM No. 7 winged molar clamp directly on tooth #26 [01:12, 03:44]. Using his finger, he taps the clamp arc to ensure a balanced, rock-free four-point seat [03:44].
- He removes the clamp and holds it like a ring [05:52]. Using a two-finger grip, he expands the rubber dam hole and slides it over the clamp’s structural side wings [06:00].
- The combined clamp-dam-frame unit is gripped with Dentech forceps, the handle stopper is locked, and the assembly is carried into the mouth to seat the clamp onto the tooth neck [06:29, 07:10].
- A sharp dental explorer probe is used to gently slide the rubber sheet margins off the underlying metal wings [08:08]. Dental floss is then passed through the interproximal contacts to complete the subgingival inversion [08:29].
- Technique B: Standalone Wingless Seating (Dam-Over-Bow Method):
- Dr. Apokin rotates the rubber sheet 90 degrees clockwise on the frame to expose a fresh, clean canvas area for the next drill [11:45].
- He selects a wingless Tor VM W3 molar clamp and seats it directly onto tooth #26 using Sanctuary forceps, verifying its stability [12:42, 13:23].
- He unhooks the rubber dam sheet from the lower frame prongs to maximize its elasticity [13:41]. Using his fingers, he expands the puncture hole, carries the sheet into the mouth, and stretches it directly over the metal bow wire of the pre-wedged clamp [13:57].
- Once the hole snaps beneath the clamp belly, the sheet is re-attached to the frame prongs [14:09]. He notes that this method is faster and more streamlined in a live patient mouth than using winged alternatives [15:38].
- Technique C: Pre-Loaded Wingless Assembly (Clamps-In-Dam Method):
- The sheet is rotated another 90 degrees clockwise [16:36].
- The wingless W3 clamp is pre-loaded directly into the rubber sheet outside the mouth [17:24]. Because wingless clamps lack projectable side wings, the metal spring body of the clamp is pushed completely through the hole like a ring until the rubber margins tightly encircle the subgingival jaws [17:28].
- He hooks the forceps into the clamp seating holes, stretches the assembly, and seats both the clamp and sheet onto the tooth neck simultaneously [17:53, 18:10]. He highlights that while saliva makes stretching the sheet over teeth easy in patients, dry training models generate significant friction, requiring an assistive flat plastic tool to guide the rubber margins into position [18:36, 18:58].
2. Mentioned Items & Concepts (Equipment Inventory)
- Consumables & Core Hardware:
- Retaining Hardware:
- Hand Instruments & Handling Profile:
- Dentech Forceps: Long-handled forceps featuring a slide locking stopper [06:29].
- Sanctuary Forceps: An alternative, more compact profile forceps compared to the Dentech model [12:58, 13:09].
- Sharp Dental Explorer Probe & Flat Plastic Instrument: Used to safely manipulate and slide rubber canvas margins off metal clamp components [07:59, 18:36].
- Dental Floss: 25 cm strand used to guide interdental inversion [08:29].
3. Key Takeaways & Conclusions
- The Standalone Wingless Method is Faster in Patients: For single molar isolation, seating a wingless W3 clamp on the tooth neck first and stretching the sheet over its bow wire (Technique B) is clinically faster and more predictable than using winged options [15:38]. It ensures optimal visual clarity, allowing you to verify a stable, four-point seat before adding the sheet canvas [13:23].
- Posterior Isolation Demands High Canvas Punctures: Maxillary posterior isolation requires shifting your punch map significantly higher up on the rubber dam canvas [04:36]. Centering the holes leaves too little material at the top, causing the sheet to pull taut across the patient’s open lips, which breaks the peripheral seal.
- Molar Clamps Serve as Full-Arch Anchors: In multi-tooth or long-span restorations, posterior molar clamps act as a strong structural anchor [20:36]. They take on the primary elastic pulling forces of the frame canvas, allowing the intermediate segment to sit tension-free over the front teeth [20:58].
Posterior Anchoring Mechanics: Winged versus Wingless Molar Workflows
When transitioning isolation protocols from the flat, accessible surfaces of the anterior segment to the deep, moisture-heavy molar quadrants, the structural forces acting on the rubber dam canvas shift dramatically. Posterior isolation requires managing high lateral elastic forces while preserving clear access for handpieces and mirrors.
+-----------------------------------------------------------------------------+
|                      MOLAR QUADRANT SEATING STRATEGIES                      |
+-----------------------------------------------------------------------------+
|                                                                             |
|  [ TECHNIQUE A: WINGED ASSEMBLY ]                                            |
|   - Pre-load canvas over metal side-wings outside the mouth.                 |
|   - Seats clamp-dam-frame unit as one combined block.                       |
|   - Requires an explorer probe to peel margins off wings subgingivally.     |
|                                                                             |
|  [ TECHNIQUE B: STANDALONE WINGLESS ]                                       |
|   - Seat wingless clamp directly onto root neck first (Clear Vision).        |
|   - Slacks frame canvas and stretches hole directly over metal bow wire.    |
|   - Snaps beneath clamp belly instantly; clinically fastest in patients.    |
|                                                                             |
+-----------------------------------------------------------------------------+
Choosing between a winged clamp (e.g., Tor VM No. 7) and a wingless alternative (e.g., Tor VM W3) dictates your entire clinical workflow. Winged clamps allow the clamp, dam, and frame to be seated as a single combined block, but they require using an explorer probe subgingivally to peel the tight rubber margins off the metal side wings.
Conversely, the standalone wingless technique provides optimal visual clarity during seating, allowing you to directly confirm stable, four-point tooth engagement above the gingival attachment before stretching the sheet over the bow wire.
Furthermore, because wingless clamps lack protruding side wings, they are far more compact once seated. This extra clearance keeps the posterior workspace free of metallic obstructions, giving you unhindered access for rotating burs and matrix adaptation during deep Class II or core restorations.
Exercise 16: Standard Mandibular First Molar Isolation
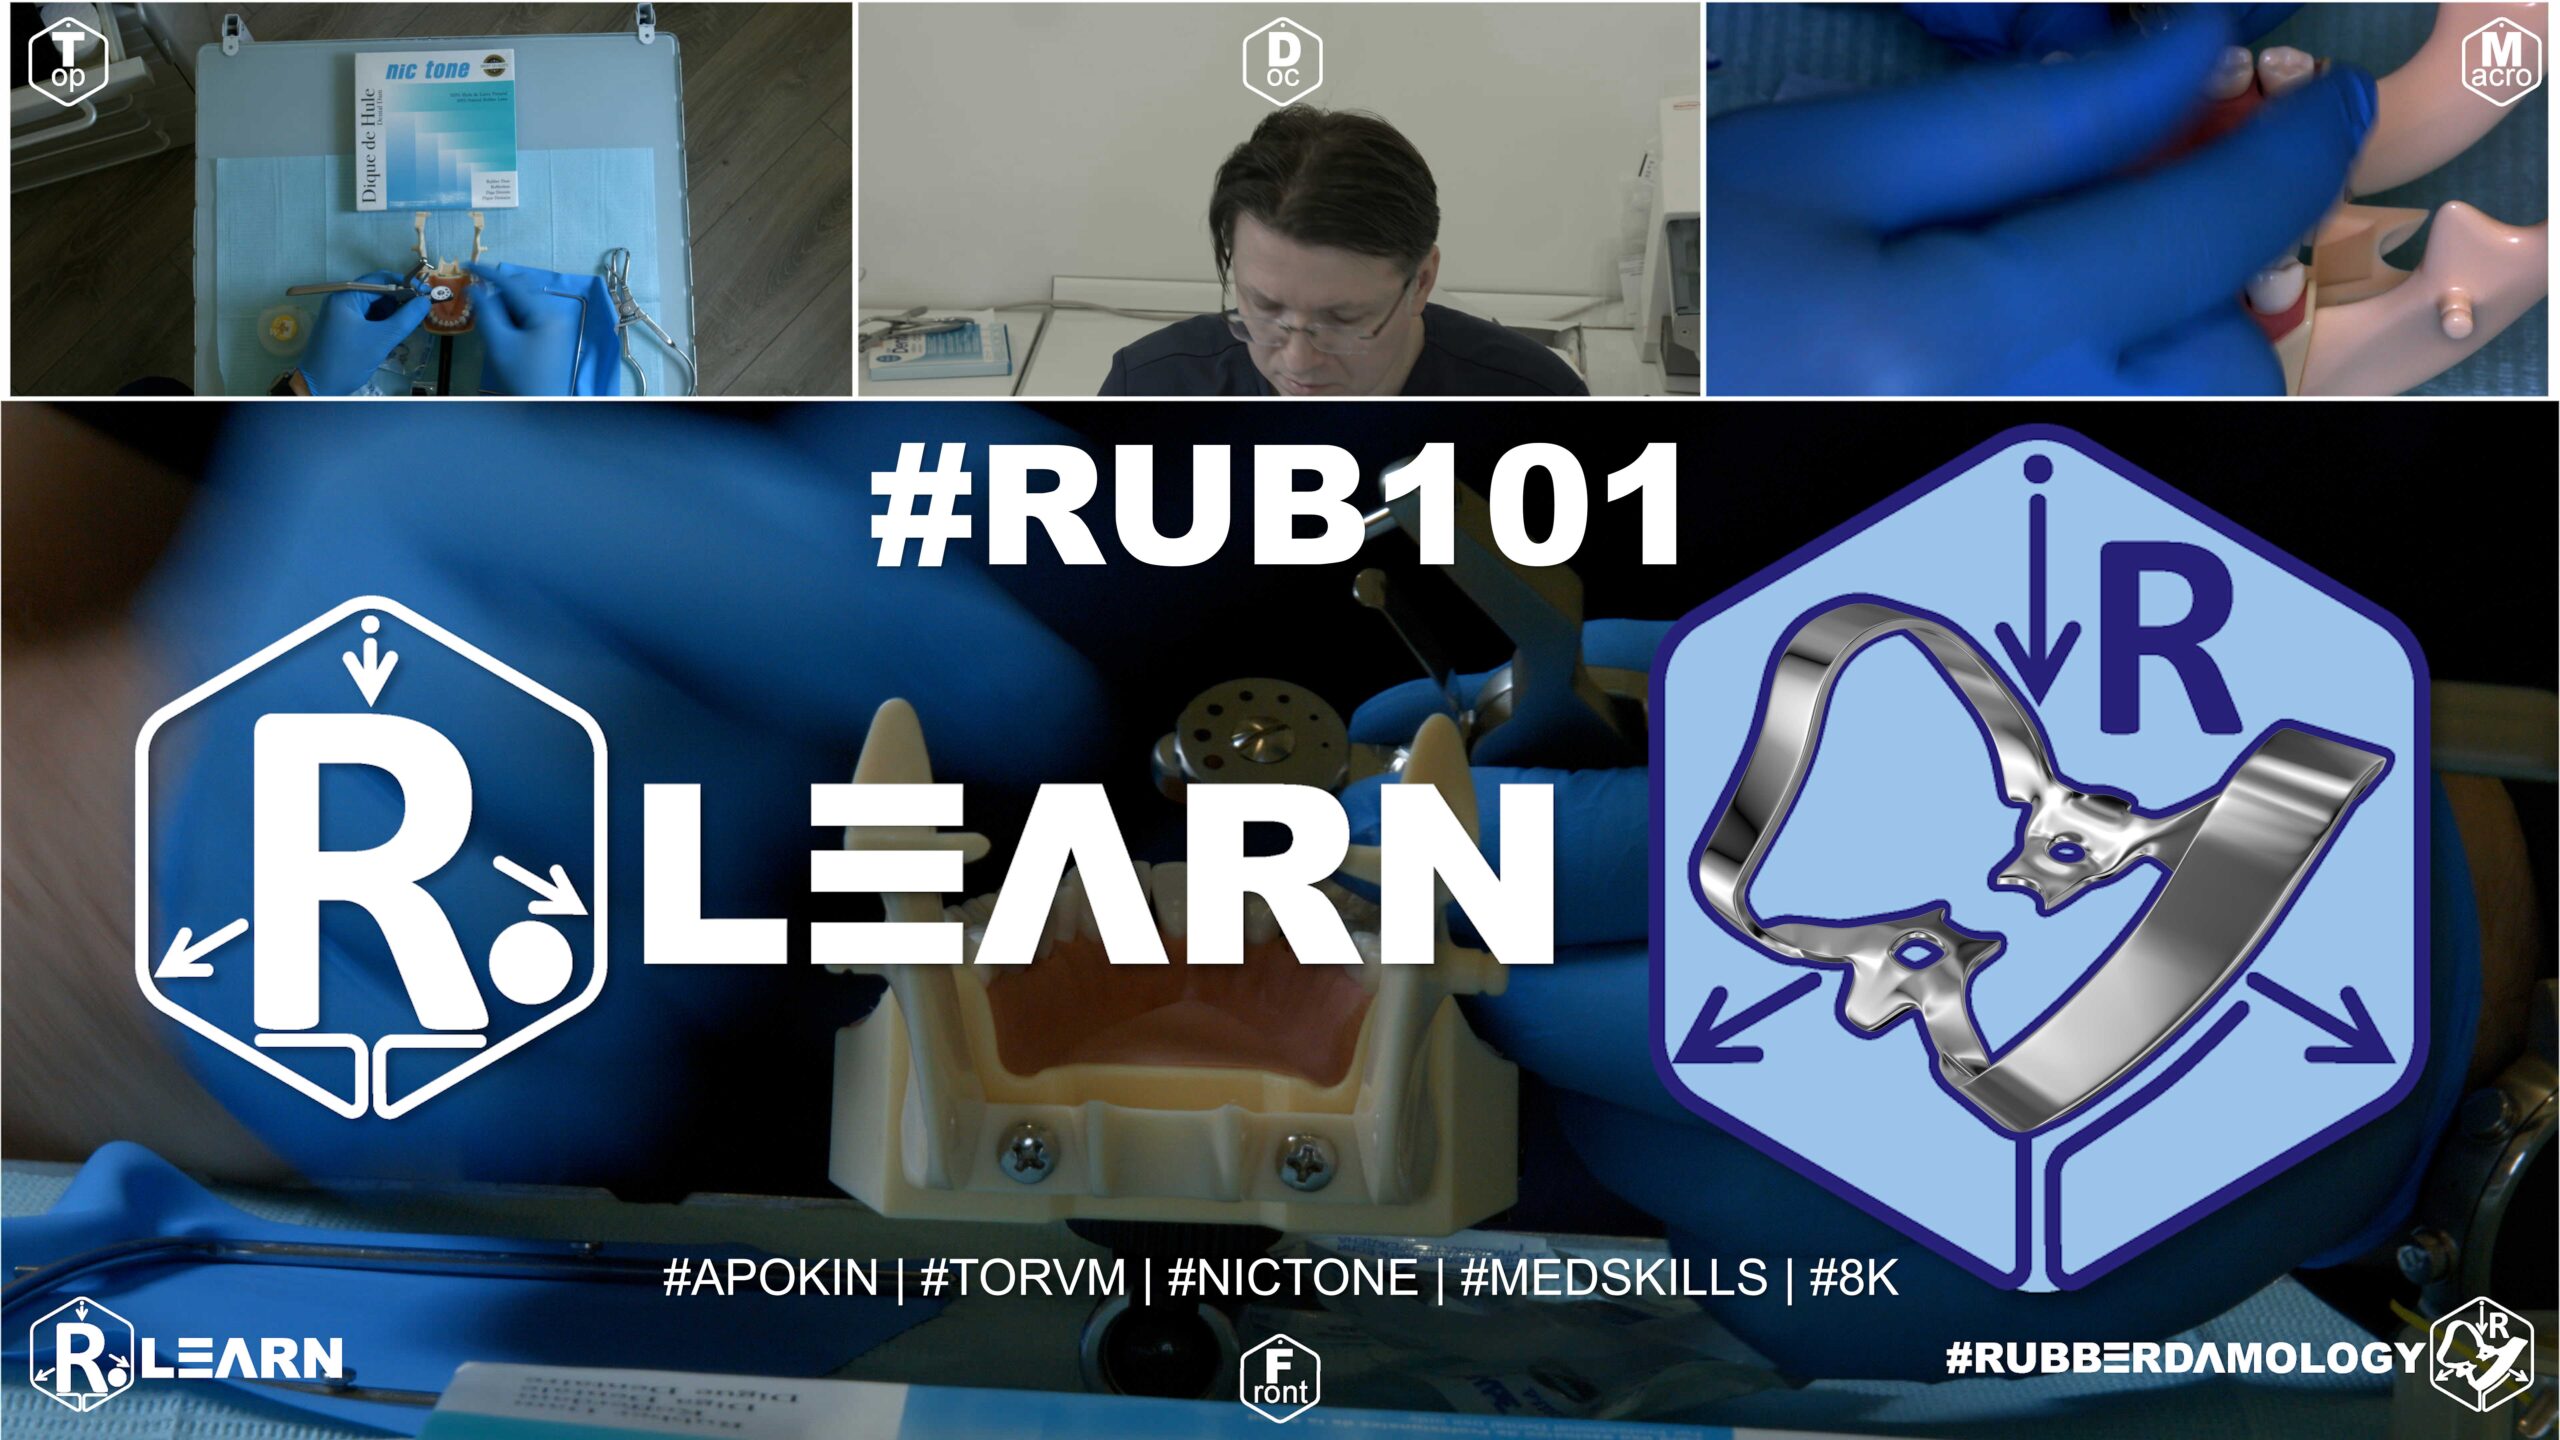
- Target Video Mapping: #RUB201 – Lesson 2 (Video Session 001)
- Core Mechanical Objective: Standardize everyday single-unit isolation.
- Practical Execution Sequence: Perform rapid isolation of a standalone mandibular first molar (#36) using a heavy latex sheet and a standard molar clamp #7. Ensure that the sheet is inverted completely around the tooth’s cervical neck.
1. Exercise Transcription & Notes (Baseline Single Mandibular Molar Isolation)
This is the absolute foundational video (Exercise 001) in the English-language series of the #Rubberdamology self-training program. Dr. Alexander Apokin demonstrates single-tooth isolation for a lower left first molar (Tooth #36) optimized for single-access endodontic or occlusal restorative procedures [06:00, 06:15].
- Canvas Mechanics & Tensioning Rule:
- The instructor opens a fresh pack of Nic Tone thin dental dam sheets [04:19]. He notes that rubber sheets possess two distinct texturing faces: a glossy face (adapted toward the patient’s mouth) and a matte, non-reflective face (facing the clinician to prevent distracting light glare) [04:50, 05:08].
- To stretch the sheet onto a standard metal U-frame, place the top left corner over your non-dominant thumb, overlay the frame prong, press firmly, and introduce a slight stretch before popping the remaining frame corners sequentially into place [05:08, 05:29]. The target canvas tension must be secure but not hyper-stretched, preventing potential stress tearing under active clamp expansion [02:32].
- The Single-Access Midline Perforation Pattern:
- When the clinical objective is limited strictly to endodontic or occlusal therapy of a single standalone tooth, the perforation must be executed exactly at the spatial center of the rubber dam canvas window—not the center of the frame itself [06:30, 06:42].
- Using a high-precision Sanctuary Dental punch, he sets the multi-wheel wheel to the second largest hole diameter (molar sizing) and clicks down hard for a clean cut [06:00, 07:12]. Clean perforation walls prevent tear lines during active material stretching [09:30].
- The Over-the-Wing Loading Protocol (Wings-First Technique):
- Dr. Apokin takes a sterile Tor VM No. 7 winged molar clamp [01:30, 07:28]. He grips the steel clamp arc like a ring between his fingers [07:59].
- Using a two-finger stretch technique, he expands the single punched hole and slips the rubber margin completely over the large side wing first [08:11]. He then grabs the opposite margin, expands it, and stretches it over the opposite side wing [08:23]. Both retaining wings are now successfully loaded inside the canvas outside the mouth.
- He inserts Sanctuary forceps tips into the clamp engagement holes and sets the handle slide-lock stopper slightly forward so he can relax his hands [08:30, 08:41].
- To keep the sheet clear of the clinical line of sight during entry, he temporary unhooks the lower canvas margins from the frame, holding them tucked back with his fingers [08:59]. He seats the clamp firmly onto the root neck of tooth #36 and releases the forceps [09:23]. The sheet is then re-attached to the lower frame prongs [09:42].
- Flit Inversion & Fluid Catchment Envelope:
- The rubber dam material is still trapped over the top of the metal side wings. Dr. Apokin selects a sharp dental explorer probe [09:58, 10:03]. He catches the edge of the rubber sheet and gently rolls it down off the metal wings into the cervical sulcus [10:17].
- The Catchment Envelope Mechanism: To avoid splashing water or irrigants, Dr. Apokin folds the loose lower boundary of the sheet upward symmetrically and anchors it onto the top frame prongs [10:29, 11:43]. This forms a tight pouch/envelope that holds water runoff and prevents liquids from leaking onto the patient [10:29, 12:29].
2. Mentioned Items & Concepts (Equipment Inventory)
- The Isolation Kit Matrix:
- Nic Tone & Sanctuary Dental Sheets: High-quality, elastic latex rubber dam sheets highlighted as global standard media [02:01].
- Sanctuary Dental Perforation Punch: Highly rated, heavy multi-wheel precision cutting tool [03:00].
- Sanctuary Dental & Unknown Pakistani Forceps: Comparative clamp handlers [02:39].
- Standard Metal U-Frame: Heavy-duty variable-retention frame canvas holder [03:22].
- Retaining Steel Clamps:
- Anatomical Simulation Target:
3. Key Takeaways & Conclusions
- Quality Isolation Dictates Clinical Success: Predictable restorative results, long-term hybrid layer survival, and safe endodontic sealing are directly dependent on clean, fluid-tight moisture control [00:41, 01:00].
- Single-Tooth Layouts Focus on Canvas Centering: When preparing a layout for a single-tooth endodontic or occlusal restoration, always punch the hole exactly at the center of the rubber sheet window itself—not the center of the metal frame [06:30]. This centering ensures even canvas coverage across all quadrants.
- The Catchment Envelope Isolates Fluid Splash: Every functional rubber dam layout must conclude with the folding of a secure catchment envelope [10:29]. This simple step captures pooling water from your handpiece and stops caustic endodontic irrigants (like sodium hypochlorite) from escaping onto the patient’s face [12:29].
Endodontic Isolation Kinetics: Single Mandibular Molar Configurations
When managing a single dental unit for root canal therapy or localized occlusal restorations, full segmental isolation is mechanically unnecessary. Instead, the focus shifts to maximizing single-point canvas economy while building a reliable liquid containment perimeter.
+-----------------------------------------------------------------------------+
|                      SINGLE-ACCESS ENDODONTIC ISOLATION                    |
+-----------------------------------------------------------------------------+
|                                                                             |
|                    [ Matte Operational Canvas Face ]                         |
|                                     |                                       |
|                                     v                                       |
|                  ( Spatial Midline Puncture: Molar Size )                    |
|                                     |                                       |
|                                     v                                       |
|                  ( Pre-loaded Winged Clamp No. 7 )                          |
|                                     |                                       |
|                                     v                                       |
|                  [ Subgingival Sulcus Inversion Seal ]                       |
|                                                                             |
+-----------------------------------------------------------------------------+
For a lower left first molar configuration (Tooth #36), the layout protocol dictates executing a single template-free puncture exactly at the spatial midline of the canvas window. Pre-loading a symmetric winged molar clamp (e.g., Tor VM No. 7) outside the oral cavity via the Wings-First technique minimizes the intraoral operational steps, allowing you to seat the clamp and sheet as a single combined block.
Once the steel jaws engage the root neck, a sharp explorer probe is traced along the side wings, sliding the rubber dam margins off the metal projections so they snap back into the cervical sulcus.
The procedure must always be completed by folding the loose lower boundary of the rubber sheet upward to form a standard fluid catchment envelope. This forms a reliable, fluid-tight basin that captures all cooling spray and caustic irrigants, preventing chemical burns on the oral mucosa and ensuring a perfectly dry operational field throughout endodontic therapy.
Exercise 17: Quadrant Isolation of Mandibular Molars and Premolars
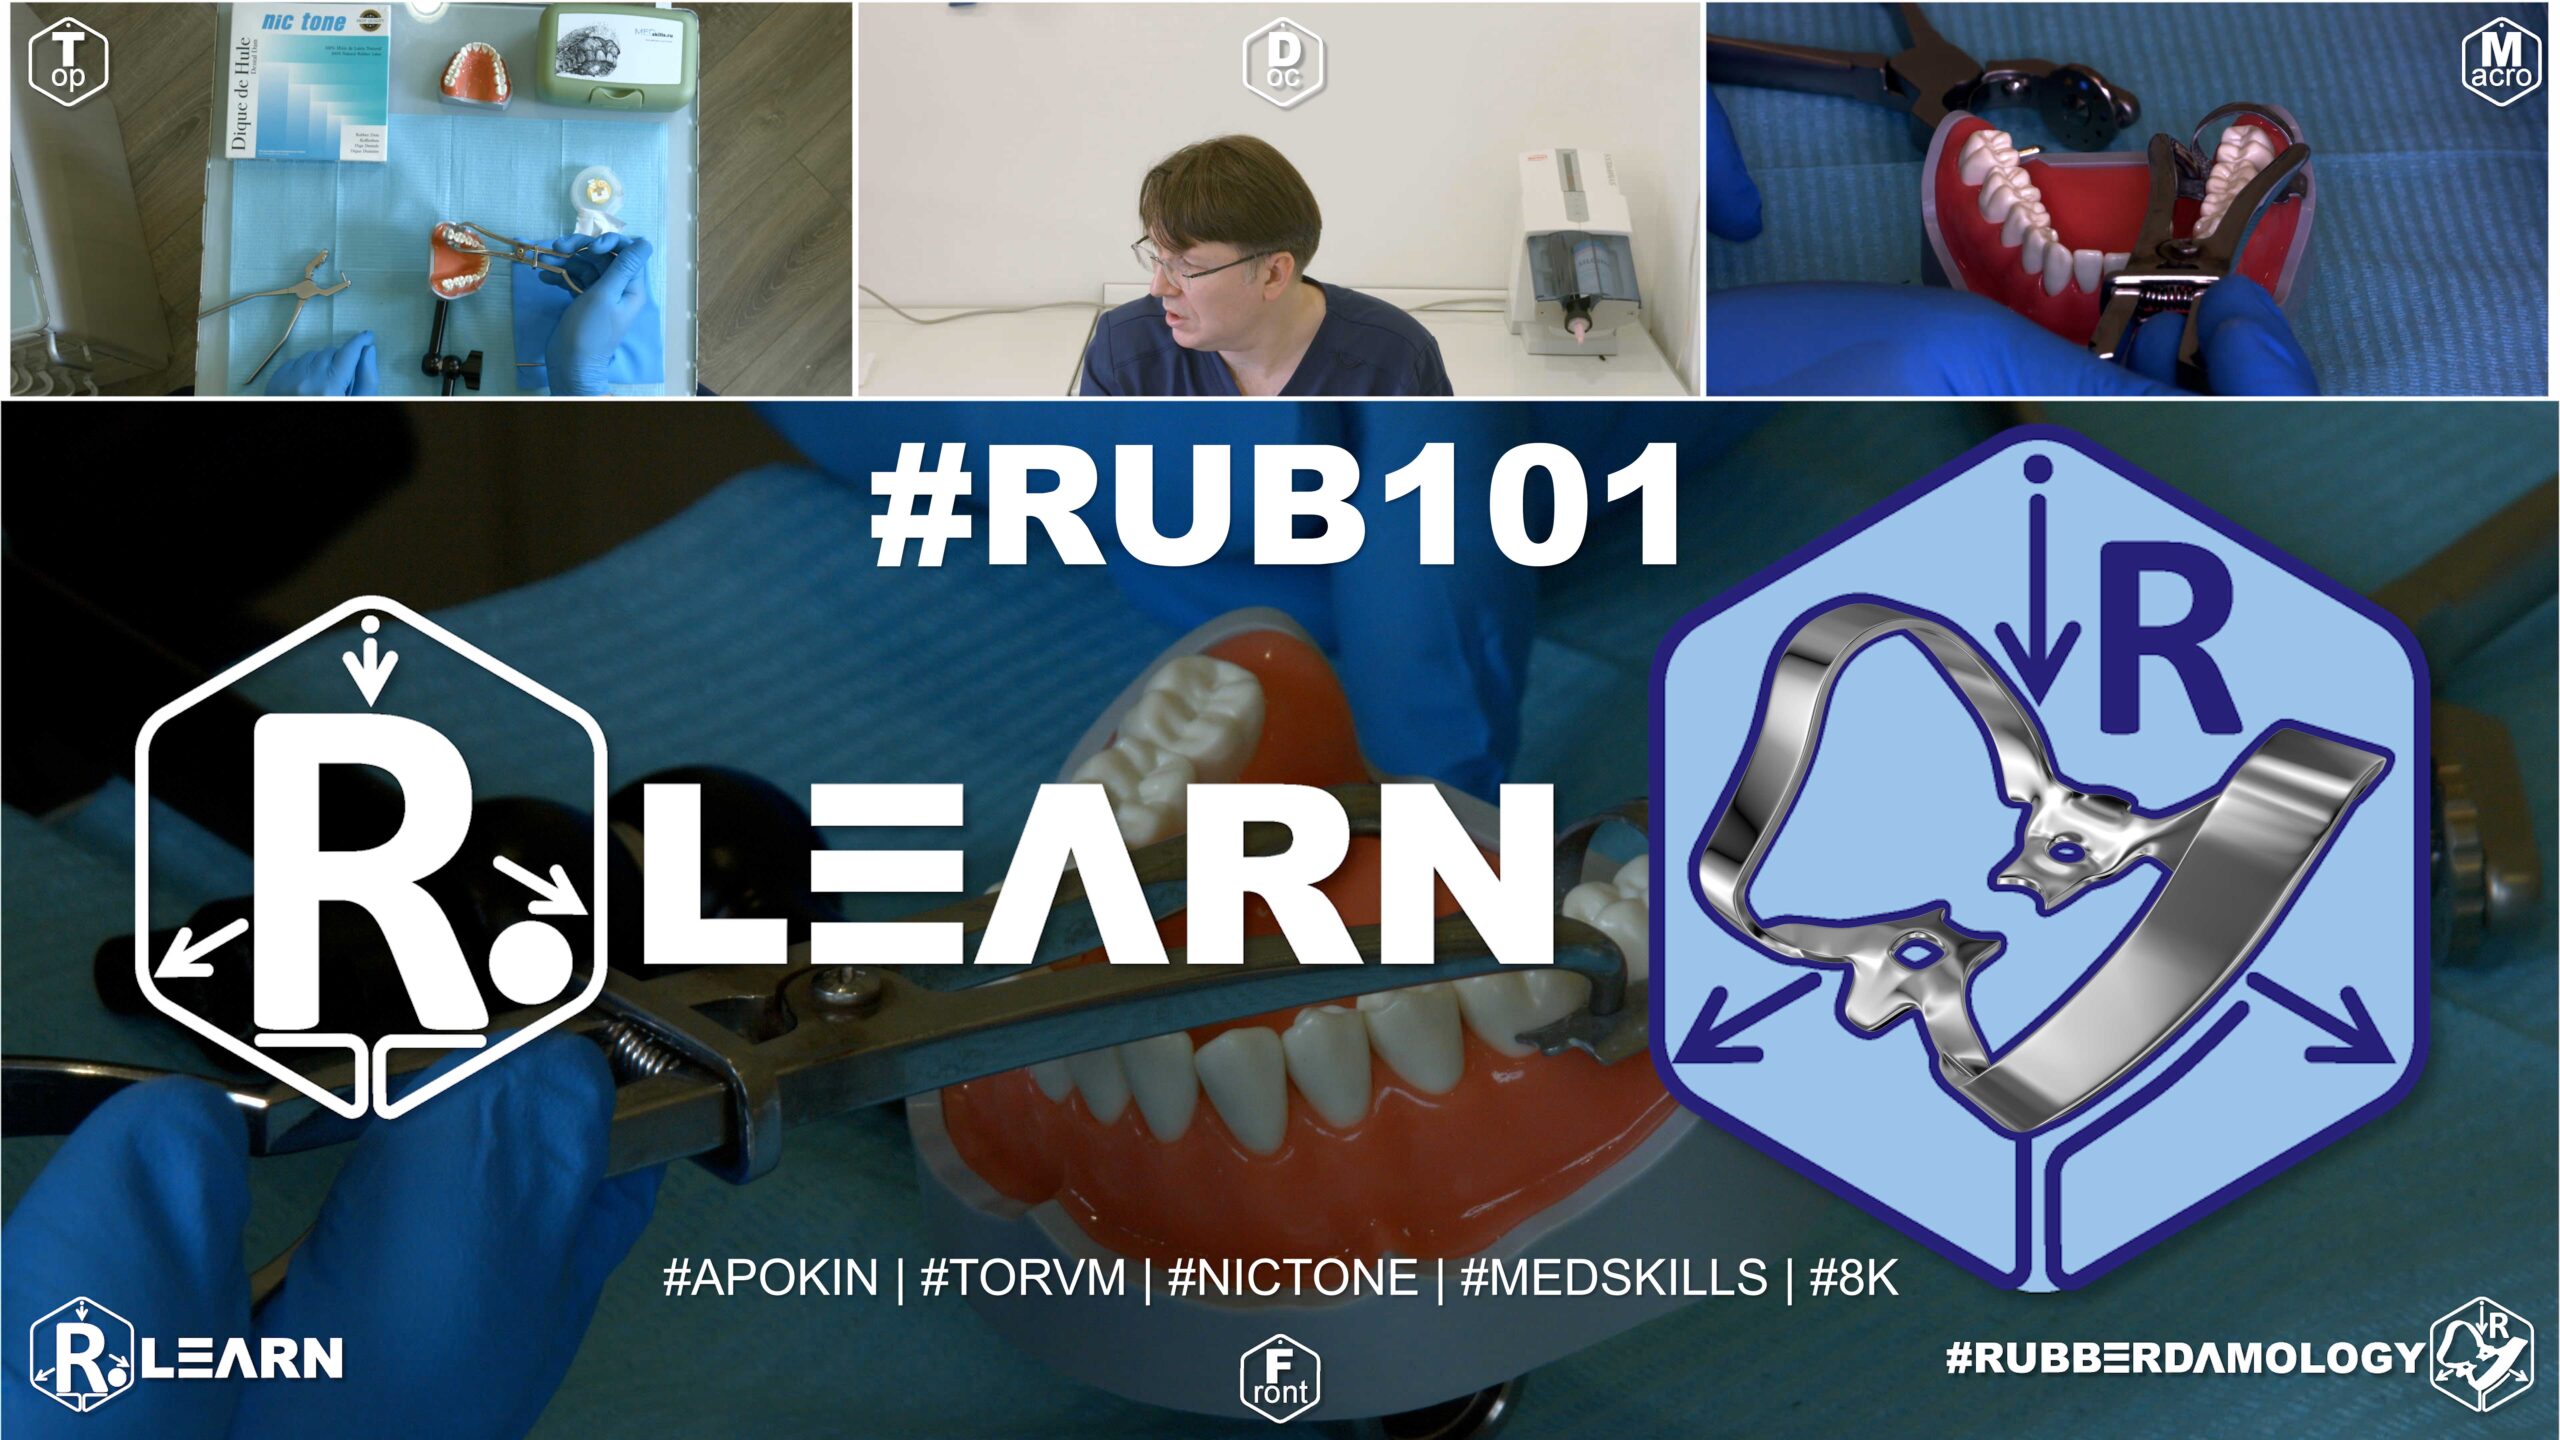
- Target Video Mapping: #RUB201 – Lesson 3 (Video Session 009)
- Core Mechanical Objective: Manage multi-tooth isolation across changing heights of contour.
- Practical Execution Sequence: Punch a four-hole sequence tailored to a lower posterior quadrant. Isolate the space from the first premolar to the second molar, completing full interproximal flossing and achieving inversion around each independent crown.
1. Exercise Transcription & Notes (Mandibular Posterior Isolation & Secondary Structural Seating)
Dr. Alexander Apokin teaches structural positioning rules for the mandibular posterior quadrant [01:15]. He demonstrates two progressive exercises: a short three-tooth isolation span (#36 to #34) using a primary anchor, followed by an advanced five-tooth multi-clamp technique (#47 to #43) utilizing an assistant “help-clamp” to combat dry model canvas resistance and tooth alignment deviations [03:30, 19:40, 21:47].
- Exercise A: Baseline Mandibular Molar-to-Premolar Span (#36 to #34):
- The instructor mounts a highly flexible Nic Tone sheet onto a standard metal U-frame [01:31].
- The Lower Boundary Constraint: To prevent the rubber canvas from pulling the lower jaw anchor clamps loose, never place perforations near the upper half of the sheet [03:01]. Holes must be kept low, near the lower third boundary line of the frame window [03:16]. This leaves a wide, un-punched canvas block at the top to cover the patient’s maxillary teeth and lips completely [02:40].
- He templates three holes matching the quadrant anatomy [03:30]. A large diameter hole is clicked for molar #36, stepping down the wheel diameter for the adjacent bicuspids/premolars (#35 and #34) with an explicit 5 mm inter-hole distance [04:36].
- The Over-the-Wing Loading: Dr. Apokin selects his primary daily choice: the Tor VM No. 7 symmetric winged molar clamp [05:36]. He loads the clamp directly inside the terminal molar hole outside the oral cavity using the Wings-First technique [08:45, 09:13].
- Using Dentech forceps locked with the handle stopper, he carries the assembly into the mouth and seats it onto the neck of tooth #36 [10:00]. The canvas is stretched over the premolars, and a sharp dental probe peels the rubber margins off the steel side wings into the sulcus [11:59, 12:12]. Floss is carried through the contacts to roll the sheet edge inward [12:42].
- Correcting Vertical Base Drift: If the elastic sheet gaps or pulls the clamp upward off the flexible gum base, Dr. Apokin advises gently expanding the clamp jaws with forceps, lifting the assembly slightly, and re-seating it firmly into the deep cervical track of the molar neck [14:29].
- Exercise B: Advanced Five-Tooth Segment via Secondary “Help-Clamp” (#47 to #43):
- To demonstrate a more stable approach for extensive posterior quadrants or high-friction setups, Dr. Apokin rotates the sheet 90 degrees clockwise to expose a fresh, clean canvas quadrant [18:47].
- He plots five sequential holes mapping teeth #47, #46, #45, #44, and #43 following the arch curve line [20:05].
- The Double-Clamp Framework: He introduces a dual-clamp framework to split the massive elastic tension of the full canvas segment [21:47]:
- Primary Anchor Clamp: A Tor VM No. 7 winged clamp is selected for the furthest distal molar (#47). Its metal bow wire is turned strictly distally (backward) toward the throat [21:58].
- Secondary Help-Clamp: A Tor VM No. 2 premolar clamp is assigned to the mesial terminal canine (#43) to act as a forward anchor pin. Crucially, the bow of this secondary helper clamp is rotated mesially (forward) toward the lips [21:58].
- Both clamps are pre-loaded into their respective outer holes of the rubber dam sheet outside the mouth [23:16, 24:16]. The primary anchor clamp is seated onto tooth #47 first [24:45], and then the canvas is pulled forward, allowing the secondary help-clamp to be locked onto canine #43 [25:45].
- This dual anchoring system completely locks the sheet in position, eliminating canvas wrinkling and keeping the intermediate holes perfectly aligned over the intermediate premolars [25:57].
- The Cross-Floss Inversion Sweep: He ties a cross-loop floss loop over the intermediate crowns, pulling the strands back and forth dynamically while a sharp probe guides the rubber edges subgingivally [28:14].
- Once the intermediate track is fully inverted and stabilized, the forward help-clamp on tooth #43 is unseated and removed, as it is no longer needed [29:09]. A small wedge cut from raw rubber dam material (a rubber widget) can be slid into the canine contact point to act as a passive anchor wedge [29:43].
2. Mentioned Items & Concepts (Equipment Inventory)
- Retaining Hardware Retainers:
- Tor VM Winged Clamp No. 7: Stiff, symmetric molar anchor clamp utilized as the primary rear anchor [05:36].
- Tor VM Wingless Clamp W3 / WV3: Compact alternatives discussed for narrow access slots [05:36].
- Tor VM Winged Clamp No. 2: Standard premolar clamp repurposed here as a forward-facing mesial “help-clamp” [21:52].
- Consumables & Hand Tools:
- Nic Tone Thin Latex Canvas & Metal U-Frame: Moisture barrier core system [01:20].
- Sanctuary 7-Hole Punch & Dentech Forceps: Processing tools [04:12, 06:29].
- Sharp Explorer Probe & Dental Floss: Hand tools used to guide wing release, stabilize cross-floss loops, and remove ligatures safely [12:12, 14:58].
- Elastic Rubber Wedges (Widgets): Small pieces cut from extra rubber sheets, slid into contact zones to serve as passive anchors [29:43].
- Anatomical Targets:
3. Key Takeaways & Conclusions
- Lower-Third Hole Layout Prevents Arch Leaks: Mandibular posterior layouts require keeping all punch holes low, along the lower third of the canvas window [03:16]. This ensures that when the patient opens their mouth, the top half of the sheet remains loose and flexible enough to cover the upper teeth and lips without pulling the lower molar clamps loose.
- Opposing Help-Clamps Lock Full Canvas Alignment: When isolating long, high-tension posterior quadrants, use a temporary secondary help-clamp on the forward tooth (e.g., canine #43) with its bow facing forward [21:58]. This dual-anchor technique splits the elastic tension of the sheet, preventing canvas wrinkling and keeping the holes perfectly aligned over the intermediate premolars during inversion [25:57].
- Rubber Wedges Replace Aggressive Metal Clamps: Once the intermediate track of a long-span isolation is fully inverted and stabilized under subgingival slopes, the forward-facing metal help-clamp can be safely removed to clear workspace [29:09]. Sliding a small, passive rubber dam wedge into the terminal contact zone is sufficient to lock the canvas boundary without traumatizing the soft tissue [29:43].
Long-Span Mandibular Quadrant Isolation: The Dual-Opposing Clamp Framework
Isolating an extensive posterior segment in the lower jaw (spanning from the second molar across the bicuspids to the canine, e.g., #47 to #43) introduces significant mechanical resistance. The high elastic snap-back of a thick rubber dam canvas can easily cause a single distal molar clamp to twist, slide, or unseat entirely during intermediate tooth inversion.
+-----------------------------------------------------------------------------+
|                     THE DUAL-OPPOSING CLAMP FRAMEWORK                       |
+-----------------------------------------------------------------------------+
|                                                                             |
|  [ DISTAL ANCHOR: CLAMP No. 7 ]            [ MESIAL ANCHOR: HELP-CLAMP No. 2 ]|
|   - Seated on last molar (#47).             - Seated on canine (#43).        |
|   - Metal bow faces DISTALLY.               - Metal bow faces MESIALLY.      |
|                                                                             |
|  =====> RESULTS: Splits canvas elastic pull, locks linear alignment. <=====  |
|                                                                             |
+-----------------------------------------------------------------------------+
To counter these forces and achieve absolute stability during multi-tooth procedures, we mandate the Dual-Opposing Clamp Framework. This technique uses two separate clamps to balance the canvas tension: a primary anchor clamp on the furthest distal molar (#47) with its metal bow wire turned distally, and a temporary secondary help-clamp on the mesial terminal canine (#43) with its bow turned mesially toward the lips.
Pre-loading both clamps into their respective outer holes outside the oral cavity allows you to seat the distal anchor first, stretch the canvas forward, and lock the mesial help-clamp onto the canine. This dual-anchor setup completely controls the elastic pull of the sheet, preventing canvas wrinkling and keeping the intermediate holes perfectly centered over the premolars.
Once you complete the cross-floss inversion sweeps and stabilize the intermediate track, the aggressive forward help-clamp can be safely unseated. Sliding a passive rubber dam wedge into the terminal contact point is all that is required to hold the anterior boundary of your isolation, keeping the workspace completely clear of unnecessary metal projections.
Exercise 18: Rapid Single-Tooth Fast Isolation Under Endodontic Pressure
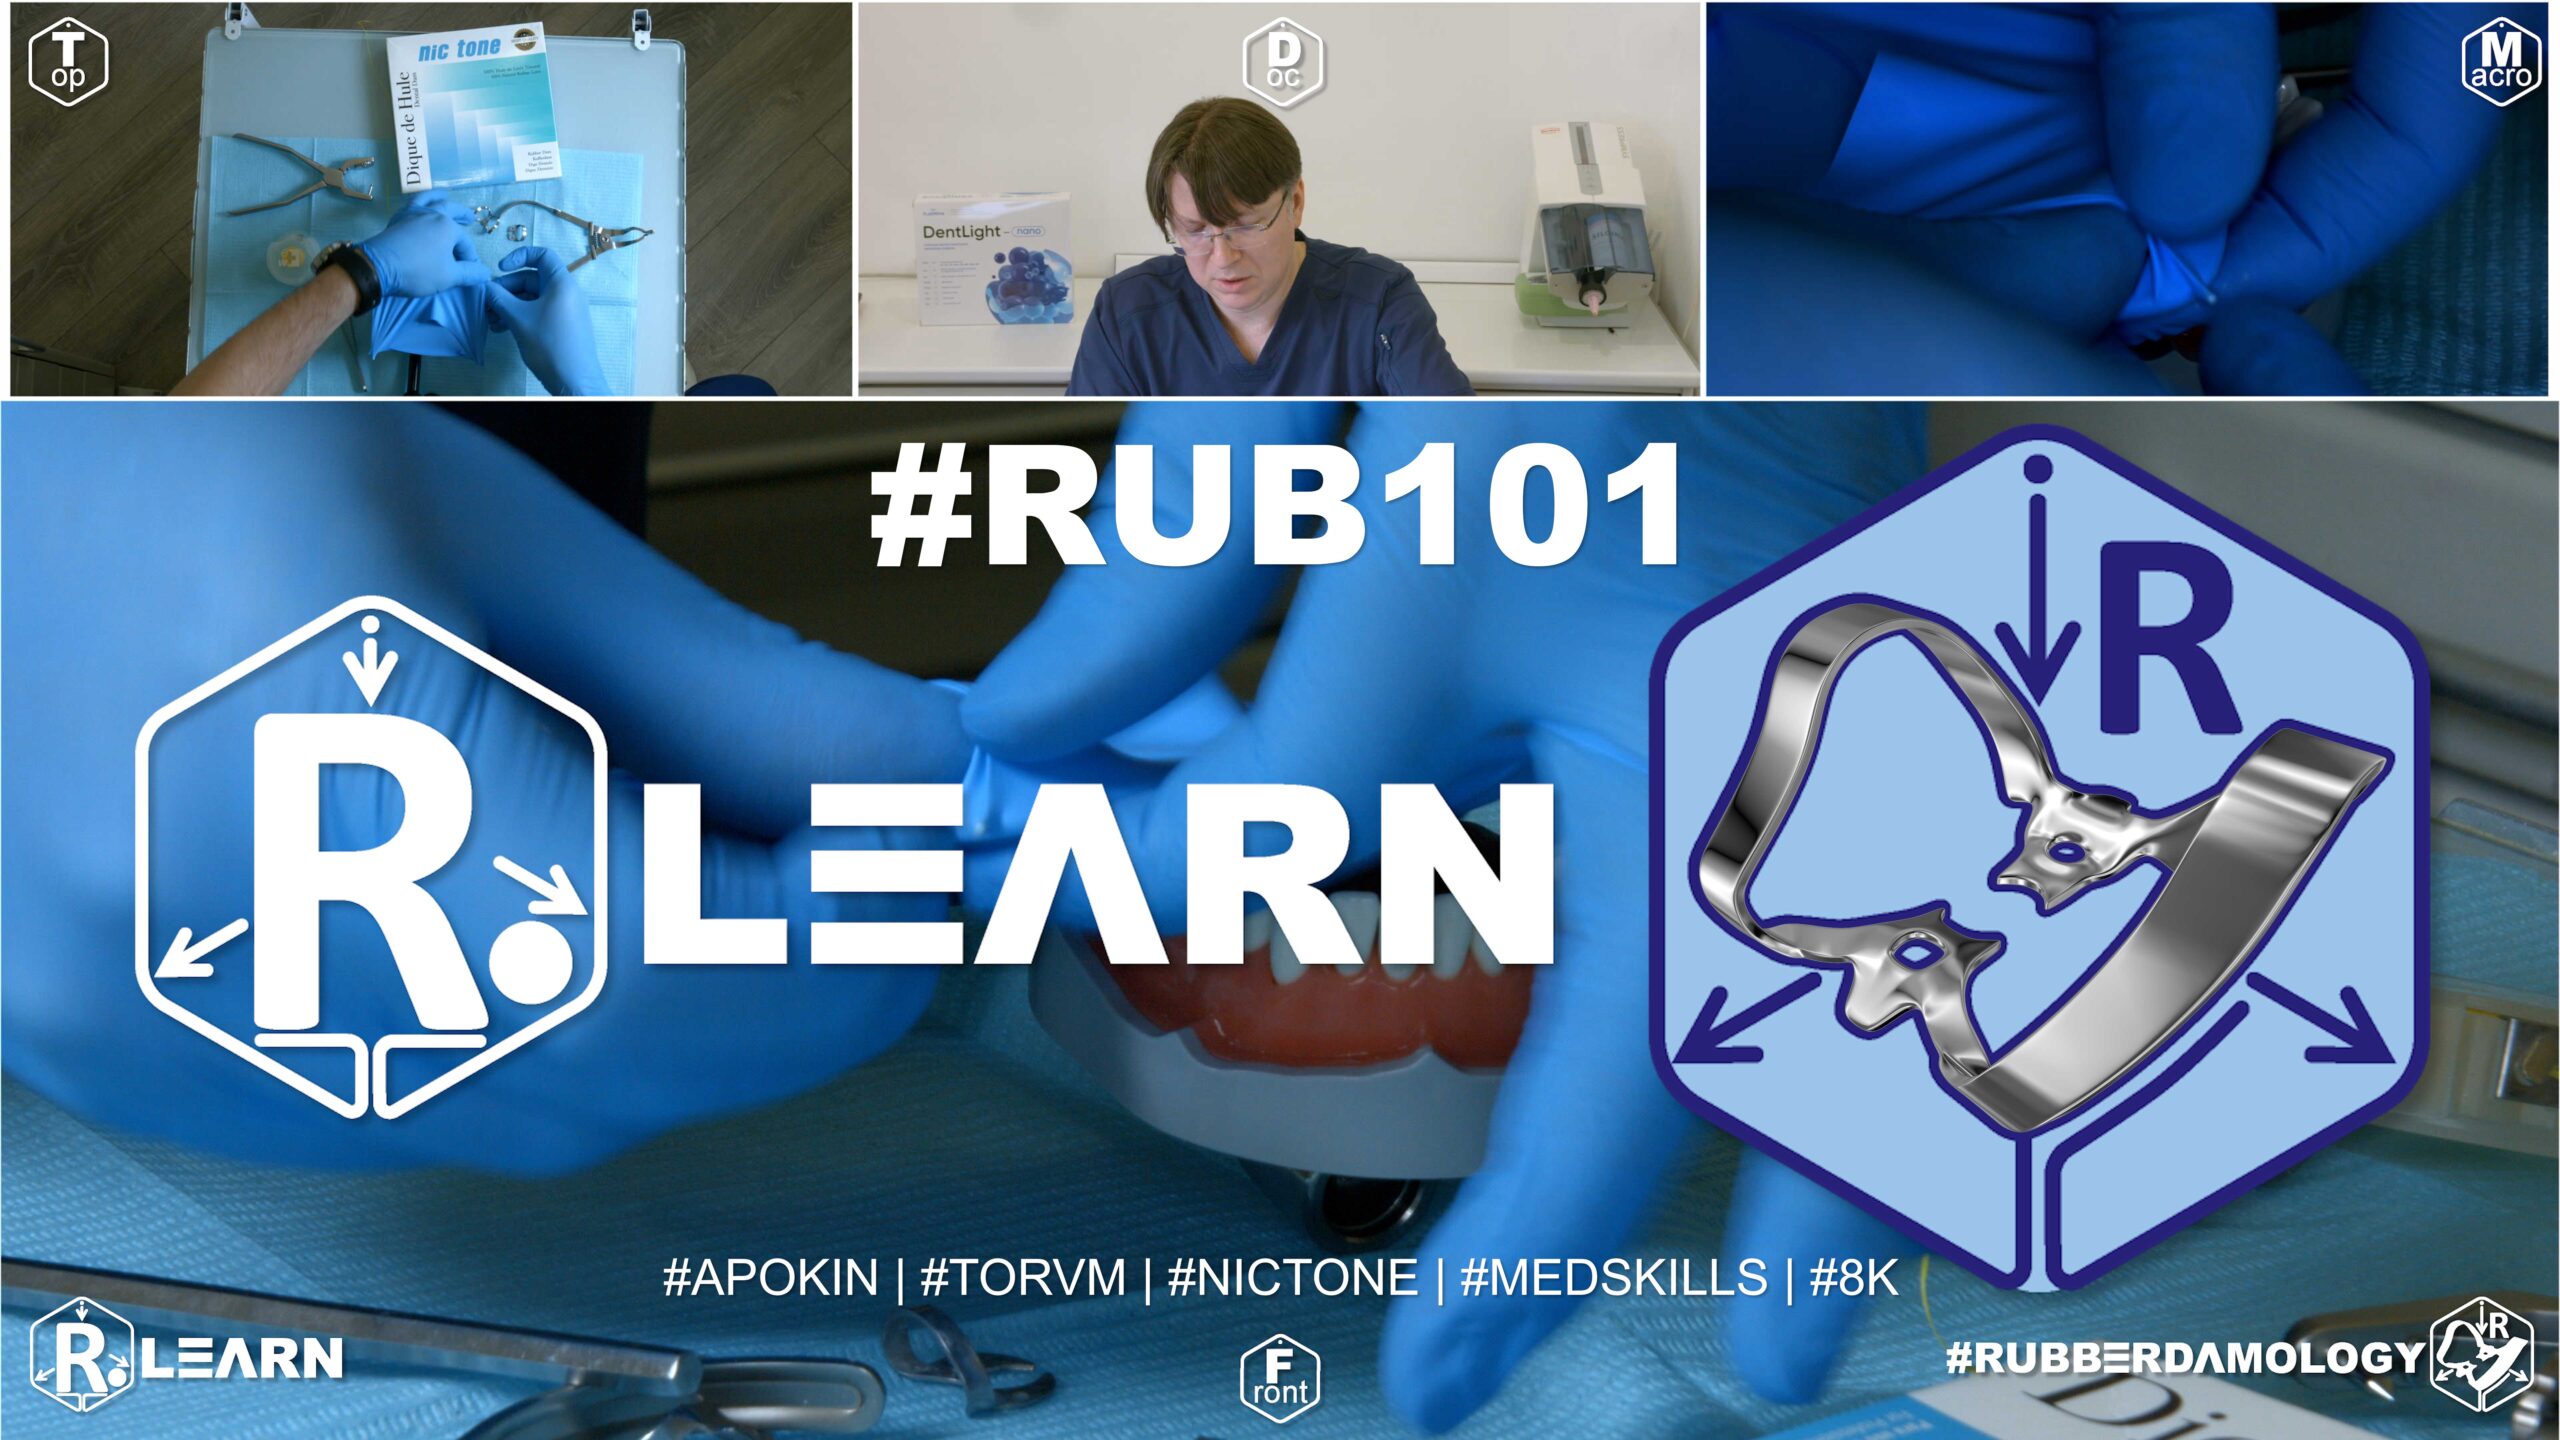
- Target Video Mapping: #RUB201 – Lesson 4 (Video Session 012)
- Core Mechanical Objective: Minimize setup time for emergency endodontic access.
- Practical Execution Sequence: Execute emergency single-tooth isolation on a lower molar using an optimized, high-velocity method. (Target benchmark for full isolation and structural inversion: under 30 seconds).
1. Exercise Transcription & Notes (Single-Tooth Mandibular Speed Isolation & Multi-Punch Stabilization)
Dr. Alexander Apokin demonstrates rapid single-tooth isolation techniques across different lower jaw tooth groups (incisors, premolars, and molars) [00:42]. He focuses on single-access setups optimized for endodontic or occlusal therapy and introduces a multi-punch technique to resolve leakage risks caused by aggressive single-hole tension on lower incisors [01:00, 08:59, 18:28].
- Baseline Canvas Rules & Anatomy-Driven Perforations:
- The instructor mounts a Thin Nic Tone latex sheet onto a standard metal U-frame, reinforcing correct canvas seating rules to keep the patient’s skin clear of metal prongs [05:45, 06:33].
- The Lower Third Placement Rule: For all mandibular single-tooth cases, execute punctures cleanly along the lower half or lower third boundary line of the frame window [07:24]. This leaves a wide canvas flap at the top to cover the patient’s face and upper teeth [02:40].
- Hole Diameter Calibration: Dr. Apokin highlights that stepping down your punch wheel diameter below standard guidelines increases the elastic recovery force of the latex around the tooth neck, providing higher mechanical soft-tissue retraction [08:30].
- Fast Single Molar & Premolar Workflows:
- Mandibular Molar (#46): A single molar-diameter hole is punched on the sheet [08:59]. A Tor VM No. 7 winged molar clamp is pre-loaded inside the hole (Wings-First technique) outside the mouth, carried into the oral cavity with forceps, and seated securely onto the neck of tooth #46 [09:58, 10:22]. A probe flips the rubber margins off the metal wings [10:49].
- Mandibular Premolar (#45): The canvas is rotated 90 degrees clockwise to expose a fresh area [13:10]. A single premolar-diameter hole is clicked [14:08]. A winged bicuspid clamp (Tor VM No. 2) is loaded via the Wings-First technique and locked onto the tooth neck, followed by wing release and folding a catchment envelope [14:21, 15:24]. Both molar and bicuspid single-access routines take less than 60 seconds in an everyday clinical setting [11:01, 15:35].
- Lower Incisor Challenges & The Multi-Punch Leakage Solution:
- The Single-Hole Tension Problem: Dr. Apokin rotates the sheet to isolate a lower central incisor (#41) using an aggressive anterior butterfly clamp (Tor VM #9) [16:13, 17:49]. He demonstrates that executing only one punch hole for a lower incisor creates severe, highly distorted lateral tension [18:17]. Because the sheet pulls taut across the tight adjacent contact points, it stretches flat and forms small micro-gaps on the mesial and distal aspects of the crown, causing saliva leakage between teeth #41 and #42 [18:17].
- The Three-Hole Multi-Punch Solution: To completely eliminate this leakage risk, Dr. Apokin rotates the canvas and punches three consecutive holes in a straight line mapping teeth #41, #31, and #42 [18:41].
- The aggressive butterfly clamp #9 is pre-loaded into the central hole of this three-hole track outside the mouth [19:19]. The assembly is seated onto tooth #41, and the extra side holes are unrolled over the left central incisor (#31) and right lateral incisor (#42) [19:38].
- Tension Relief Mechanics: This three-hole alignment completely relieves the lateral pull of the rubber canvas from the target tooth contacts [20:09]. It allows the rubber material to settle smoothly into the interproximal spaces, eliminating micro-gaps and establishing a fluid-tight moisture barrier around the lower incisor neck [21:21].
- Alternative Direct Seating: Alternatively, for tight lower incisor contacts, the sheet can be flossing-inverted over the three teeth first, and then the butterfly clamp #9 can be seated directly over the pre-adapted canvas [21:48, 22:46].
2. Mentioned Items & Concepts (Equipment Inventory)
- Retaining Hardware Retainers:
- Tor VM Aggressive Butterfly Clamp No. 9 / W9: Stiff anterior clamp utilized for lower incisor/canine retraction [01:10, 17:49].
- Tor VM Winged Clamp No. 2 & Wingless W2/WV2: Symmetrical bicuspid/premolar clamps [03:29, 04:15].
- Tor VM Winged Clamp No. 7 & Wingless W7/WV7: Standard posterior molar anchor clamps [05:00, 05:19].
- Tor VM Anterior Clamps No. 0 & 00: Small-diameter clamps noted for compact lower incisor seating [04:42].
- Consumables & Bench Kit:
- Nic Tone Thin Latex Canvas & Metal U-Frame: System defaults [05:45].
- Sanctuary Dental Punch & Forceps: High-precision multi-wheel punch and slide-locking clamp forceps [01:46, 08:16].
- Sharp Explorer Probe & Dental Floss: Hand tools used to release wings, trace interproximal contacts, and guide inversion loops [10:49, 19:55].
3. Key Takeaways & Conclusions
- Single-Access Isolation is Hyper-Efficient: When treating a single tooth endodontically or restoratively, a single-hole or short-span isolation workflow is incredibly fast, taking under 60 seconds to execute fully [11:01, 15:35]. This eliminates the need for extensive full-arch manipulation while providing a reliable moisture barrier [23:36].
- Single Punctures Leaks on Lower Incisors: Avoid using a single-hole layout when isolating lower central incisors with a butterfly clamp. The small diameter of lower incisor roots combined with high canvas tension creates triangular micro-gaps at the mesial and distal contacts, resulting in immediate saliva leakage [18:17].
- Three-Hole Tracks Eliminate Incisor Micro-Gaps: To achieve a fluid-tight seal on a lower incisor, punch three consecutive holes in a line to include the adjacent teeth [18:41]. This multi-hole track relieves the lateral pull of the rubber canvas, allowing the material to drop effortlessly into the interproximal spaces and completely sealing the root neck against micro-leakage [20:09, 21:21].
Single-Access Speed Workflows and the Lower Incisor Leakage Phenomenon
In modern clinical workflows, achieving rapid moisture control for localized endodontic therapy or simple occlusal restorations is vital for daily productivity. While single-hole isolation is hyper-efficient and takes less than 60 seconds to fully place on mandibular molars and premolars, attempting a single-hole layout on lower incisors introduces a dangerous clinical flaw known as the Incisor Leakage Phenomenon.
+-----------------------------------------------------------------------------+
|                      THE INCISOR LEAKAGE PHENOMENON                        |
+-----------------------------------------------------------------------------+
|                                                                             |
|   [ SINGLE-HOLE INCISED PUNCH ]                                             |
|    - Stretched with an aggressive butterfly clamp No. 9.                    |
|    - High canvas tension pulls flat across tight adjacent contacts.         |
|    =====> FAILURE: Forms triangular micro-gaps; immediate fluid leaks. <===== |
|                                                                             |
|   [ THREE-HOLE MULTI-PUNCH SUCCESS ]                                        |
|    - Three consecutive inline punches include adjacent teeth.               |
|    - Relieves lateral elastic pull across the target contacts.               |
|    =====> SUCCESS: Canvas drops subgingivally; fluid-tight perimeter. <===== |
|                                                                             |
+-----------------------------------------------------------------------------+
Lower central and lateral incisors exhibit extremely narrow root diameters and incredibly tight interproximal contact points. When a clinician punches a single isolated hole and stretches it using an aggressive anterior butterfly clamp (such as Tor VM No. 9), the high elastic tension of the sheet pulls completely flat across the adjacent contact edges.
Because the tight contacts prevent the rubber material from dropping down into the interproximal spaces, the sheet canvas forms small, triangular micro-gaps on both the mesial and distal aspects of the crown, leading to immediate saliva contamination.
To predictably resolve this issue, the single-hole approach must be abandoned in favor of a Three-Hole Multi-Punch Track. By executing three consecutive inline punctures with a strict 5 mm spacing, you include the target incisor and its two adjacent neighbors in the isolation scheme.
This short multi-hole track completely relieves the lateral elastic pull of the sheet canvas across the contact points. It allows the thin rubber septa to drop effortlessly into the interproximal spaces and hug the cervical root slopes snugly, completely eliminating micro-gaps and establishing a flawless, fluid-tight moisture barrier around the lower incisor perimeter.
Exercise 19: Immediate Fixed Partial Denture (Bridge) Isolation for Endo Retreatment
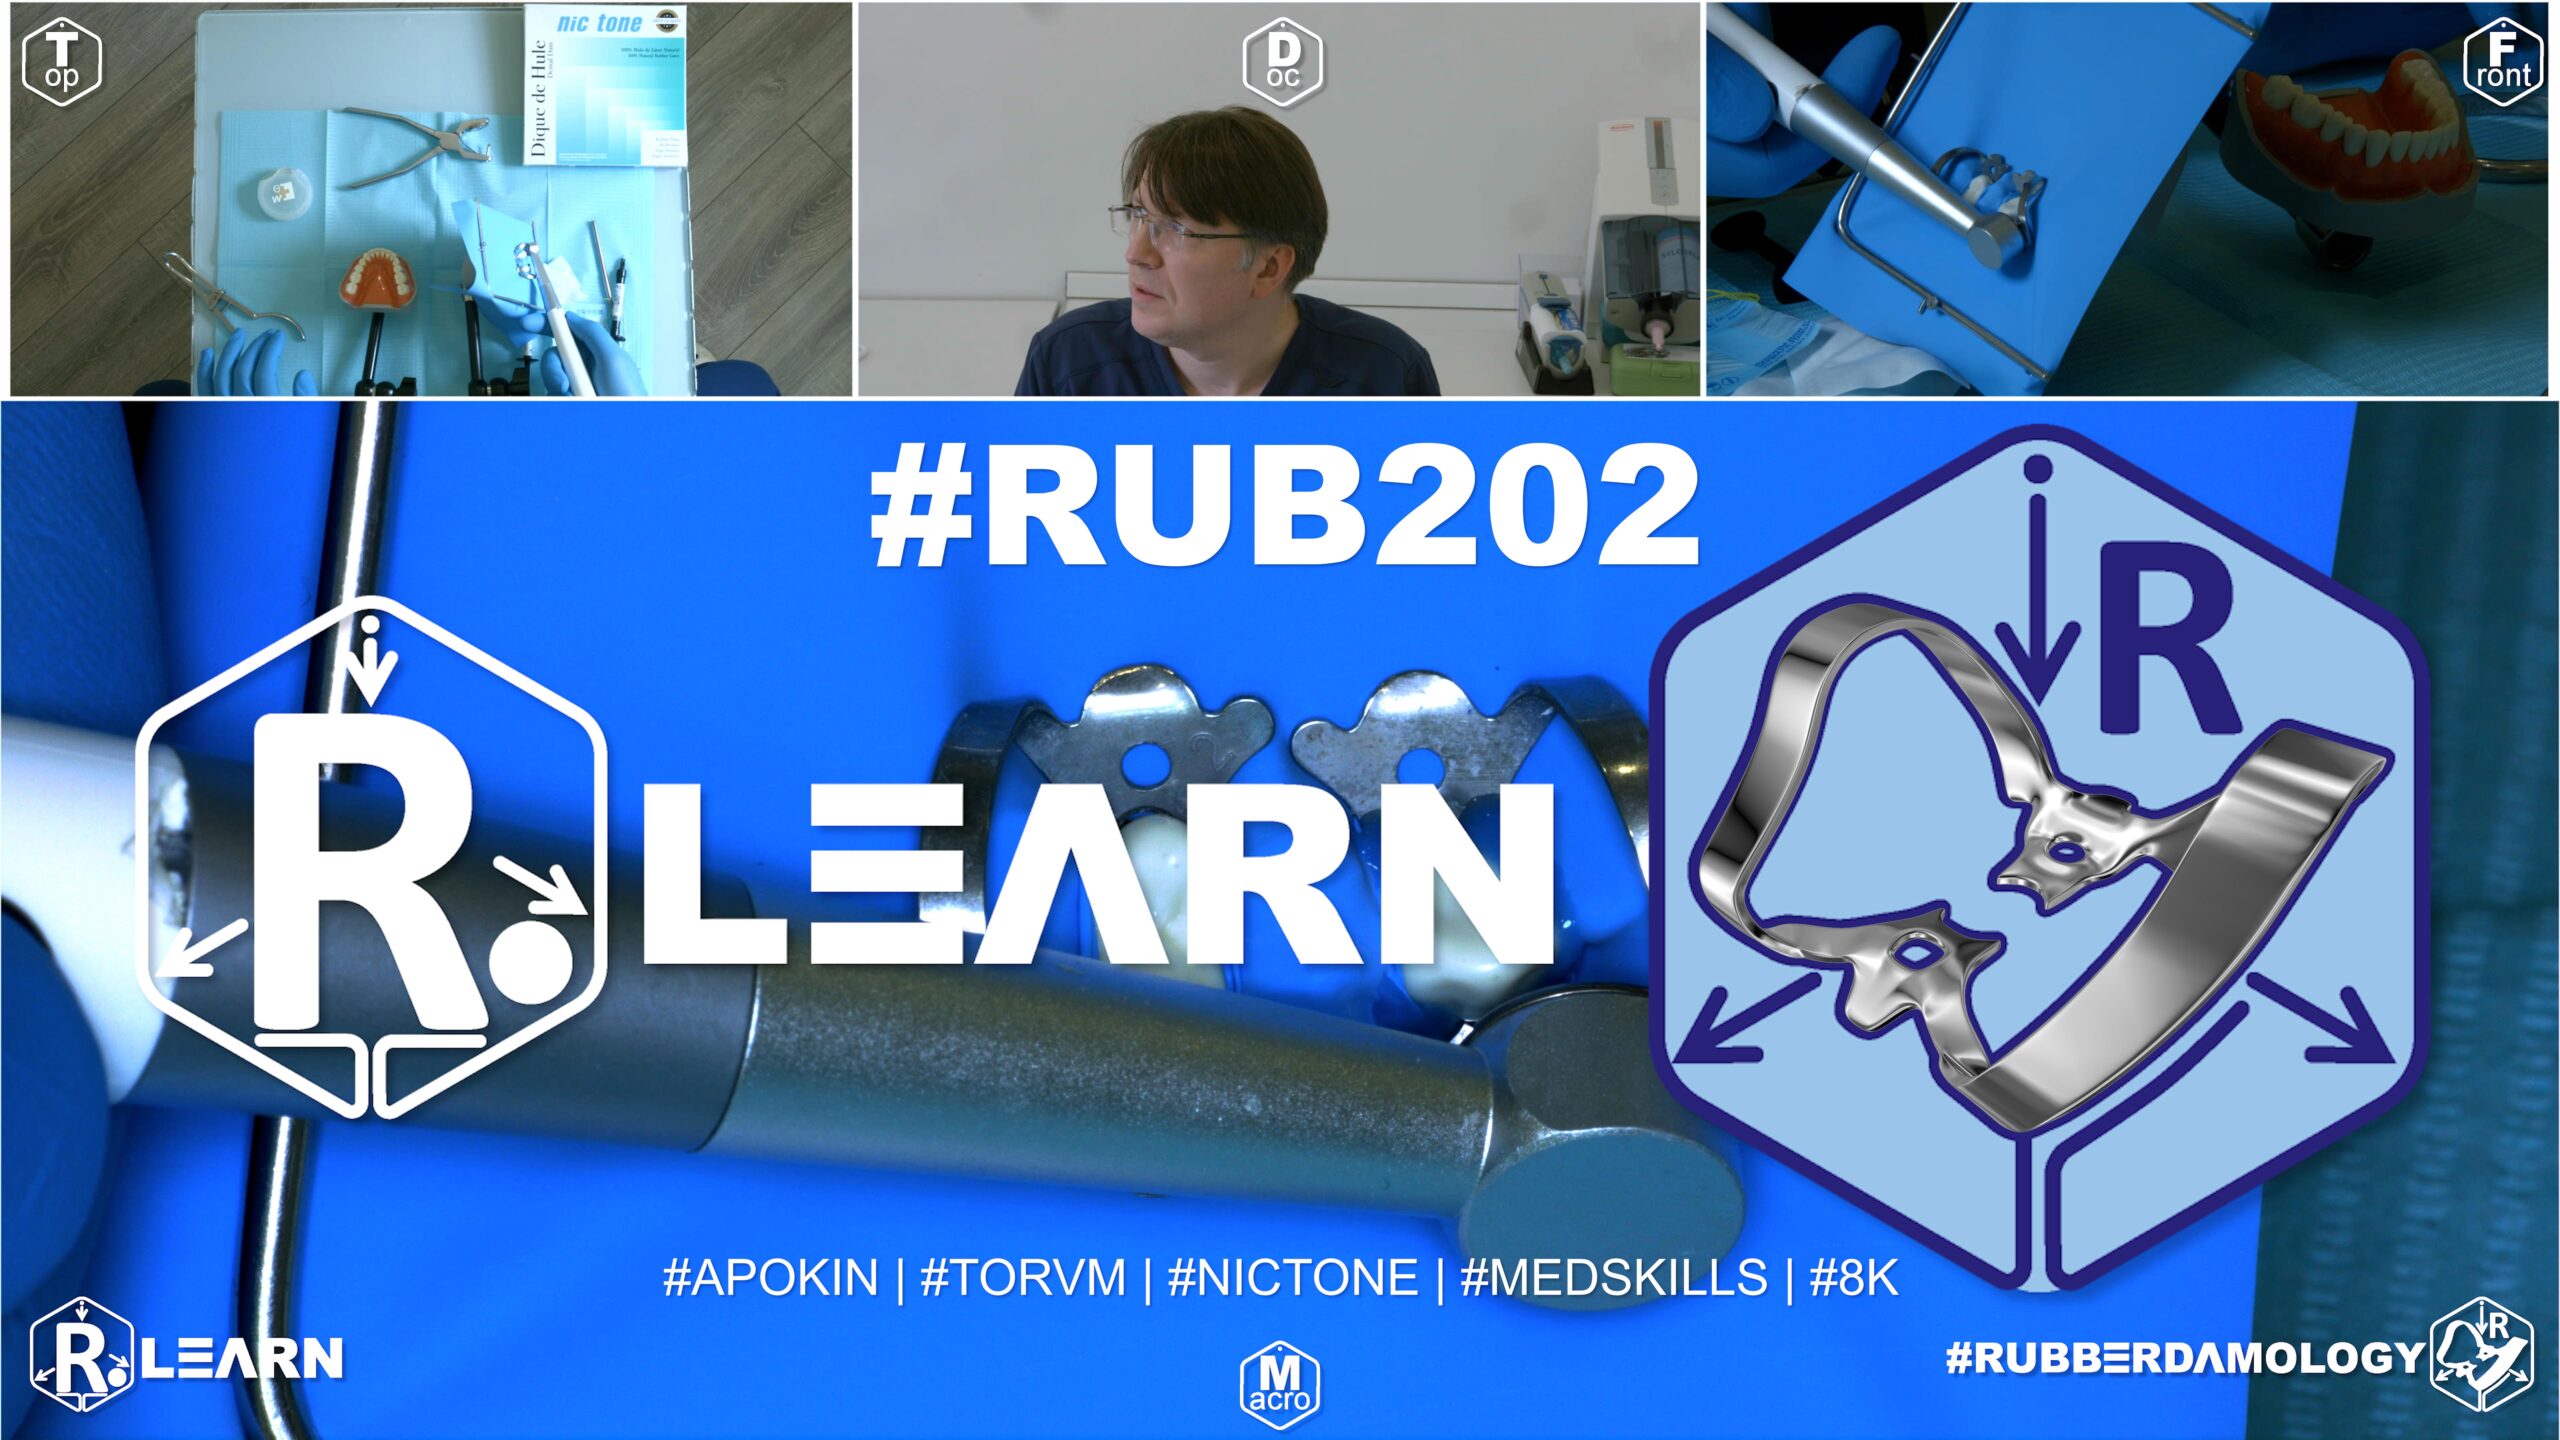
- Target Video Mapping: #RUB201 – Lesson 5 (Video Session 022)
- Core Mechanical Objective: Isolate a non-vital abutment tooth inside a fixed prosthetic bridge.
- Practical Execution Sequence: Pass a blunt suture needle holding a loop of floss horizontally under the bridge connector. Pull the rubber bridge of latex beneath the pontic, then cinch it tightly with a double-knotted floss ligature to prevent leakage.
1. Exercise Transcription & Notes (Provisional Bridge Isolation for Multidisciplinary Retreatment)
This module addresses a highly complex clinical roadblock: executing endodontic retreatment on underlying abutment teeth that are currently splinted beneath a multi-unit, solid provisional (acrylic/composite) temporary bridge [01:40, 02:44]. Because the interproximal spaces of the temporary bridge are entirely fused, standard interdental rubber flossing is physically blocked [02:16].
To model this clinical scenario on a Med Skills typodont, Dr. Apokin deliberately seals the interproximal contact zones using flowable resin composite [02:16, 11:52].
- Technique A: Maxillary Provisional Bridge Isolation (#25 to #23):
- The clinical scenario involves endodontic retreatment of the upper left second premolar (#25) and upper left canine (#23), which are splinted under a fused provisional bridge spanning #25–#23 [01:40, 02:54].
- The Bridge-Span Punch Strategy: Mount a medium Nic Tone latex sheet onto a standard metal U-frame [04:47]. Instead of punching individual holes for each tooth in the segment, Dr. Apokin punches only two holes corresponding to the terminal abutment crowns (#25 and #23) [05:04]. Crucially, he introduces an expanded raw canvas spacing between the two holes to match the total mesio-distal span of the temporary bridge [05:04, 05:21]. The middle bicuspid setting on a Sanctuary Dental punch wheel is selected [05:40].
- Two winged bicuspid clamps (Tor VM No. 2) are tested for stable seating [04:10] and loaded into the sheet canvas using the Wings-First technique outside the mouth [06:17].
- The assembly is carried into the mouth, seating the distal anchor clamp onto tooth #25 first, followed by the mesial anchor clamp onto tooth #23 [06:32, 06:45]. He emphasizes using an explorer probe to peel the rubber dam margins completely off the metal side wings to prevent irrigation leakage into the oral cavity [07:06, 07:19].
- Technique B: Mandibular Provisional Bridge Isolation (#46 to #44):
- Dr. Apokin flips the sheet 90 degrees clockwise on the frame to expose a fresh canvas quadrant [13:41]. He models a second provisional bridge blocking the lower right quadrant from the first molar to the first premolar (#46 to #44) [13:12, 13:26].
- The Punch-Hole Canvas Orientation Lock: To prevent confusing left and right corners under tension, Dr. Apokin uses his punch wheel to clip asymmetric coding holes directly into the margins of the sheet (one punch hole on the right margin, two holes on the left) [16:11, 16:25]. This creates a foolproof physical orientation guide that matches the frame boundaries without needing a felt marker [16:39, 16:49].
- He punches two expanded holes to bridge the span: a large molar hole for anchor #46 and a smaller bicuspid hole for anchor #44 [15:21, 15:40].
- Wingless Double-Seating Protocol: He selects wingless clamps: a Tor VM W3 for molar #46 and a Tor VM W2 for premolar #44 [12:57]. The standalone wingless W3 clamp is seated onto molar #46 first [17:15]. The sheet is then re-tensioned onto the frame corners [17:33], and the rubber dam hole is stretched directly over the metal bow wire of the pre-wedged molar clamp using an explorer probe [18:32].
- Next, the wingless W2 clamp is loaded into forceps, and its lingual jaw branch is seated onto the lingual neck of premolar #44 [19:08, 20:12]. While his assistant pulls the tight canvas downward to expose the facial margin, Dr. Apokin engages the facial clamp jaw branch subgingivally, anchoring the forward boundary of the bridge isolation [20:32, 21:06].
- The “Madness” of Over-Hermetization vs. Targeted Micro-Sealing:
- Because the intermediate pontic tracks cannot be inverted through fused contacts, minor triangular gaps will exist beneath the bridge embrasures [07:52]. To seal these, Dr. Apokin applies a micro-bead of light-cured liquid dam (such as Fine Dam) strictly into the open triangles between the teeth, clamps, and rubber canvas [08:03, 22:37].
- The Critique of Over-Hermetization: Dr. Apokin issues a strong warning against a common error made by junior dentists: over-hermetization [24:39]. Many beginners coat the entire ocusal and facial surfaces of the teeth with liquid dam simply because they are using a single-hole layout [24:50]. He calls this practice “madness” and a waste of clinical time and material [25:24, 25:46]. The occlusal adaptation of high-grade latex against provisional crowns is naturally fluid-tight; liquid dam must be limited strictly to open micro-triangles at the gingival line [08:34, 23:17]. Complete the layout by folding a catchment envelope [09:58].
2. Mentioned Items & Concepts (Equipment Inventory)
- Provisional Restorations:
- Retaining Hardware Retainers:
- Consumables & Sealing Materials:
3. Key Takeaways & Conclusions
- Expanded Spacing Bypasses Fused Bridges: When isolating a solid provisional bridge with fused contacts, do not attempt standard interdental punching. Instead, punch only two holes corresponding to the terminal abutment crowns, leaving an expanded canvas spacing between them that matches the total length of the bridge span [05:04, 15:21].
- Canvas Punch Coding Replaces Felt Markers: To maintain fast orientation during high-pressure isolation setups, use your punch wheel to clip asymmetric coding holes into the corners of the sheet margins [16:11]. This layout guide allows you to instantly align the corners with the frame prongs without needing a felt marker on your bench [16:39].
- Targeted Sealing Eliminates Liquid Dam Waste: Avoid coating entire teeth and occlusal surfaces with liquid dam material [24:50]. Latex canvas naturally forms a fluid-tight seal against the smooth margins of provisional acrylic crowns. Liquid dam application must be limited strictly to open micro-triangles at the gingival base to save time and material [08:34, 25:24].
Multidisciplinary Abutment Isolation Beneath Fused Provisional Fixed Prosthetics
In complex endodontic and restorative retreatment cases, clinicians frequently encounter abutment teeth that are splinted beneath a solid, multi-unit provisional fixed bridge. Because these acrylic or composite temporary crowns feature fully fused interproximal contact zones, standard interdental rubber flossing is physically blocked. Attempting to force a rubber dam septum through these fused zones will tear the sheet and cause immediate isolation failure.
+-----------------------------------------------------------------------------+
|                     PROVISIONAL BRIDGE ISOLATION KINETICS                   |
+-----------------------------------------------------------------------------+
|                                                                             |
|   [ EXTENDED-SPAN TWO-HOLE PUNCH ]                                          |
|    - Punch holes ONLY for the terminal bridge abutments (e.g., #46 and #44).|
|    - Leave an expanded canvas web matching the total length of the span.    |
|                                                                             |
|   [ TARGETED MICRO-SEALING REGIMEN ]                                        |
|    - Avoid coating entire crowns or occlusal tables with liquid dam.        |
|    - Apply liquid dam resin strictly inside open gingival micro-triangles.   |
|    =====> EFFECT: Saves time and material; preserves a fluid-tight seal.    |
|                                                                             |
+-----------------------------------------------------------------------------+
To achieve a predictable, fluid-tight moisture barrier in these cases, the standard one-hole-per-tooth punching strategy must be modified. The clinician must use an Extended-Span Two-Hole Punch Strategy, executing perforations only for the terminal abutments of the bridge (e.g., teeth #46 and #44) while leaving an expanded canvas web between them that matches the total mesio-distal length of the temporary span.
Once the primary anchor clamps secure the terminal tooth necks and the canvas is stretched over the bridge, minor triangular gaps will naturally remain beneath the fused embrasures.
To achieve hermetic sealing against caustic endodontic irrigants (such as sodium hypochlorite), you must implement a strict Targeted Micro-Sealing Regimen. Many junior dentists mistakenly coat the entire occlusal table and facial walls of the provisional bridge with liquid dam material—a wasteful practice driven by poor canvas adaptation.
Because high-grade latex naturally forms a fluid-tight seal against the smooth contours of acrylic temporary crowns, liquid dam application must be restricted strictly to open micro-triangles at the gingival base. This targeted sealing prevents leaks while saving significant clinical time and material during multidisciplinary retreatment workflows.
Exercise 20: Navigating Partial Adentia Space Using Winged Clamps

- Target Video Mapping: #RUB201 – Lesson 6 (Video Session 034)
- Core Mechanical Objective: Bridge edentulous spaces without losing sheet tension.
- Practical Execution Sequence: Increase the hole spacing on the sheet to match the width of the missing tooth gap. Apply a winged clamp on the distal abutment, using the extra rubber mass to seal across the edentulous ridge without creating folds.
1. Exercise Transcription & Notes (Isolation in a Partially Edentulous Posterior Area)
This module outlines the technical modifications required when executing rubber dam isolation across a partially edentulous gap (partial adentia)—specifically simulating the complete absence of a mandibular left first molar (Tooth #36) [00:37, 01:03]. To achieve an absolute perimeter seal without structural bunching, the clinician must alter the inter-hole punching span to match the linear span of the missing tooth gap [04:05].
- The Partially Edentulous Punch Strategy:
- To replicate the missing molar gap on a training model, tooth #36 is physically removed from the typodont base [01:03].
- The raw Nic Tone latex canvas is pre-tensioned onto a standard metal U-frame [01:51, 02:14]. For mandibular distal teeth layouts, the perforations must be plotted low down, near the lower third boundary line of the frame window, leaving a wide canvas flap at the top to clear the patient’s upper lip and airway [02:45].
- Using the largest wheel diameter on a Tor VM punch, the clinician executes a single anchor hole mapping the furthest distal molar (#37) [03:40, 03:50].
- The Gap Expansion Law: Instead of punching standard sequential intervals, you must leave a wide, un-punched raw canvas bridge measuring 1 cm or more immediately forward of the molar hole [04:05, 04:25]. This un-punched span acts as an elastic structural bridge that stretches flat across the smooth, toothless ridge area without tearing or gathering into loose fluid-leaking folds [04:05].
- Once the 1 cm gap span is measured on the canvas, the punch wheel is stepped down to a middle bicuspid setting to execute the second premolar hole (#35) [04:17, 04:37]. The final hole for the first premolar (#34) follows at a standard 5 mm interval [04:43].
- Seat Anchorage & Flaps Integration:
- Dr. Apokin selects a traditional Tor VM No. 7 winged molar clamp to anchor the rear of the segment [01:21, 05:12].
- Outside the mouth, the clamp’s large side wings are loaded directly inside the terminal molar perforation using the Wings-First technique [05:19, 05:33].
- The entire assembly is secured into clamp forceps, and the handle slide-lock stopper is clicked forward to maintain an effortless, rock-free grip during entry [06:00, 06:20].
- The assembly is carried into the oral cavity, seating the steel jaws firmly onto the cervical root neck of molar #37 [06:44].
- A sharp dental explorer probe is traced smoothly underneath the loaded margins to pop the rubber canvas completely off the underlying metal wings [07:01, 07:12].
- The forward bicuspid holes are then unrolled cleanly over premolars #35 and #34 [07:35, 07:43]. The wide, un-punched rubber span drops flush onto the edentulous ridge, establishing a tight barrier. Complete the routine by folding a catchment envelope [07:59, 09:06].
2. Mentioned Items & Concepts (Equipment Inventory)
- Retaining Hardware Retainers:
- Consumables & Core Bench Kit:
- Clinical Terminology & Targets:
3. Key Takeaways & Conclusions
- Edentulous Gaps Demand Expanded Punch Intervals: When isolating an arch containing an empty, missing tooth space, never use standard sequential hole spacing. You must leave an un-punched raw rubber bridge measuring 1 cm or more between the holes [04:05]. This extra span allows the canvas to stretch flat across the edentulous ridge, preventing structural tears and fluid leaks [04:05].
- Holes Placed Low Protect Mandibular Airway: Shifting your punch map down to the lower third of the canvas is a strict rule for mandibular quadrants [02:45]. Keeping the holes low leaves plenty of material at the top to cover the rest of the oral cavity safely, preventing debris or irrigation water from slipping down the throat [02:40].
- Wings-First Seating Enhances Visual Efficiency: Loading a winged clamp like the Tor VM No. 7 outside the oral cavity streamlines your workflow [05:19]. It allows you to place the clamp, canvas, and frame onto the rear molar as a single combined block, reducing intraoral handling time before unrolling the rest of the sheet forward over the premolars [06:00, 07:35].
Retorative Isolation Kinetics Across Partially Edentulous Quadrants
When managing deep carious decay or preparing abutments adjacent to an empty, long-standing missing tooth space (partial adentia, such as a missing mandibular first molar, #36), standard sequential perforation intervals will fail. Standard spacing templates assume a continuous row of crowns. If a clinician uses standard spacing across a missing tooth zone, the tight canvas will drop prematurely into the gap, wrinkling up and tearing when stretched.
+-----------------------------------------------------------------------------+
|                     PARTIALLY EDENTULOUS ISOLATION WORKFLOW                 |
+-----------------------------------------------------------------------------+
|                                                                             |
|   [ STANDARD SEQUENCE ERROR ]                                               |
|    - Normal 5mm spacing assumes a continuous row of crowns.                 |
|    - Rubber canvas wrinkles, gathers into folds, and leaks fluid.           |
|                                                                             |
|   [ EXTENDED GAP BRIDGE SUCCESS ]                                           |
|    - Leave an un-punched raw rubber web measuring 1cm or more.              |
|    - Material stretches flat across the smooth, toothless ridge.             |
|    =====> EFFECT: Prevents structural tears; maintains fluid-tight seal.    |
|                                                                             |
+-----------------------------------------------------------------------------+
To prevent this, the clinician must implement an Extended Gap Bridge Strategy. When plotting the puncture layout for a mandibular left quadrant scenario (#37 to #34 with #36 missing), a large molar perforation is executed for anchor tooth #37.
Instead of measuring the traditional 5 mm step, you must leave an un-punched raw rubber bridge measuring 1 cm or more directly forward of the molar hole. This un-punched span acts as an elastic structural bridge that stretches flat across the smooth, toothless ridge area without tearing or gathering into loose, fluid-leaking folds.
Once the gap span is calculated, the punch wheel is stepped down to a bicuspid diameter to perforate for the adjacent premolars (#35 and #34). Loading a symmetric winged clamp (such as Tor VM No. 7) into the terminal molar hole outside the mouth allows the entire rear block to be seated safely at the back of the mouth as a single unit.
Using an explorer probe to peel the rubber margins off the metal wings allows the sheet to snap into the cervical sulcus, while the extended rubber bridge drops flush onto the edentulous ridge. This targeted adjustment completely isolates the gap, preventing moisture leaks and ensuring a safe, dry operational field throughout subsequent restorative therapies.
Exercise 21: Navigating Partial Adentia Space Using Wingless Clamps

- Target Video Mapping: #RUB201 – Lesson 7 (Video Session 035)
- Core Mechanical Objective: Adapt the sheet across missing gaps using alternative anchor paths.
- Practical Execution Sequence: Secure a wingless clamp onto the distal molar tooth bounding the missing gap. Stretch the rubber sheet over the clamp bow, then use interdental wedges or latex cords to stabilize the mesial boundary of the edentulous zone.
(Note: Per your instructions, the Master Course Progress Tracking Log has been omitted and will be compiled at the very end of the course analysis).
1. Exercise Transcription & Notes (Wingless Bridge Isolation in a Partially Edentulous Area)
This training module focuses on resolving structural isolation hurdles in a mandibular left posterior quadrant demonstrating partial adentia—specifically, the complete absence of the mandibular left first molar (Tooth #36) [00:36, 00:46]. Dr. Alexander Apokin demonstrates how to manage elastic tension and spatial mapping using a compact wingless molar clamp (Tor VM W3), contrasting two distinct application techniques to safely clear intermediate tissues and expose deep subgingival margins [00:46, 04:44, 07:55].
- The Blueprint for Partial Adentia (Hole Spacing Laws):
- To simulate the missing tooth block, tooth #36 is un-screwed and pulled out from the Med Skills typodont base [00:46].
- A high-grade latex rubber dam sheet is pre-tensioned symmetrically onto a standard metal U-frame [01:12, 01:35]. For all mandibular posterior restorations, punctures must be executed strictly within the lower third quadrant of the frame canvas [02:33]. This preserves a wide, solid latex shield at the top to isolate the upper jaw and protect the patient’s airway.
- Using the large molar setting on a Tor VM punch, a single perforation is executed to map the furthest distal anchor tooth (#37) [02:50, 03:30].
- The 1 cm Linear Gap Extension Rule: To bridge across the smooth, toothless edentulous ridge without creating destructive material folds or tearing under active tension, the clinician must leave a wide, un-punched raw rubber bridge measuring exactly 1 cm or more directly forward of the molar puncture [03:41, 03:54].
- Once this 1 cm linear bridge is calculated, the punch wheel is stepped down to a smaller diameter setting to punch the second premolar hole (#35) [04:06]. A standard 5 mm step follows to perforate for the first premolar (#34) [04:32].
- Technique A: Pre-Loaded Wingless Seating (Clamps-In-Dam Method):
- The clinician pre-tests the stability of the wingless W3 clamp directly on tooth #37 to verify a stable, four-point mechanical seat [01:57].
- Outside the oral cavity, the metal spring body of the wingless W3 clamp is pushed completely through the terminal molar hole like a ring until the rubber margins tightly encircle the subgingival jaws [04:44].
- He detaches the lower canvas corners from the frame to increase material slack [04:48]. Forceps are engaged into the clamp anchor holes, the slide stopper is locked, and the entire clamp-and-dam assembly is seated onto the root neck of tooth #37 in a single motion [05:07].
- The canvas is re-attached to the frame prongs [05:07], and the intermediate rubber holes are unrolled forward over premolars #35 and #34 [05:28]. Dental floss is carried through the contacts to roll the margins subgingivally [06:18].
- Technique B: Standalone Wingless Seating (Dam-Over-Bow Method):
- To demonstrate a cleaner, highly visual alternative, the setup is disassembled and reset [07:08, 07:20].
- The wingless W3 clamp is seated directly onto the cervical neck of tooth #37 first, standing completely bare within the open oral cavity [07:55].
- The lower frame corners are unhooked to release tension [08:18]. Dr. Apokin stretches the terminal molar hole wide using a two-finger grip, carries the sheet into the mouth, and guides the opening directly over the tall metal bow wire of the pre-wedged clamp [08:31, 09:06].
- Once the hole clears the bow wire and snaps beneath the clamp belly, the canvas is pulled forward over the bicuspids, and the frame is fully locked back into its structural prongs [09:06, 09:27]. This method is highly favored in live patient scenarios because it maintains total visibility of the root margin during clamp delivery [08:59].
- Accessory Retraction for Deep Class V Lesions:
- Dr. Apokin outlines that this partial adentia layout provides optimal ergonomic clearance to treat mesial decay on tooth #37, distal surfaces on #35, or deep cervical (Class V) decay on the bicuspids [10:01, 10:32].
- To gain clear visual access to deep subgingival margins, he seats a secondary Brinker B4 cervical retractor directly over the isolated premolar [10:46, 11:00].
- To avoid tearing the latex, he reflections the rubber dam margin apically using the blunt backend handle of a mouth mirror or an explorer probe [11:13, 11:27]. He then slides the sharp jaws of the Brinker retractor deep onto the root neck, turning its structural bow wire distally to clear the working path [11:00, 11:58]. The sequence wraps up by folding a standard catchment envelope [12:15, 13:28].
2. Mentioned Items & Concepts (Equipment Inventory)
- Retaining Hardware Retainers:
- Tor VM Wingless Clamp W3: Compact molar anchor clamp lacking protruding side wings; serves as the primary rear anchor [00:46, 01:57].
- Tor VM Wingless Clamp W2: Compact bicuspid/premolar clamp referenced for intermediate arch locking [13:12].
- Brinker Retractor B4: Aggressive cervical retraction clamp utilized as an accessory wedge to reflect tissue apically in Class V zones [10:46, 11:00].
- Consumables & Hardware:
- Nic Tone Latex Sheets & Metal U-Frame: High-elasticity operating canvas and rigid frame system [01:00, 01:35].
- Tor VM Perforation Punch & Clamp Forceps: Standard processing tools [02:50, 05:07].
- Sharp Explorer Probe & Mirror Backend Handle: Non-destructive hand instruments used to guide rubber margins and slide sheet tracks apically [11:13, 11:27].
- Dental Floss: Used for intermediate interdental inversion loops [06:18].
- Anatomical Metrics & Notation:
3. Key Takeaways & Conclusions
- The Dam-Over-Bow Method Maximizes Seating Safety: For wingless posterior applications, seating the standalone clamp on the molar neck first and stretching the canvas over its bow wire (Technique B) is far safer than a pre-loaded assembly [07:55]. It provides an unhindered line of sight, allowing you to directly verify a stable, rock-free four-point seat on the root slopes before adding the sheet canvas [01:57, 08:59].
- Linear Web Extensions Shield the Ridge: When isolating across an edentulous gap, leaving a precise 1 cm un-punched raw rubber bridge between the holes is a strict rule [03:41]. This extra web length allows the latex to stretch smoothly over the ridge tissue without wrinkling, preventing fluid leaks and protecting the delicate mucosa from instrument scratches [03:54].
- Probes Prevent Tear Propagation During Retraction: Never use sharp clamp jaws to push a tight rubber dam sheet down apically. Always use the blunt backend handle of a mouth mirror or an explorer probe to spread the rubber margin open beforehand, then seat your Brinker B4 retractor directly onto the exposed tooth neck to avoid tearing the canvas [11:13, 11:27].
Wingless Fixation Architecture and Subgingival Retraction Across Edentulous Spans
When managing posterior quadrants complicated by partial adentia (e.g., a missing mandibular first molar, #36), selecting a wingless retention clamp (such as Tor VM W3) provides unique clinical advantages over traditional winged alternatives. Winged clamps possess large, projectable metallic side tabs that can easily block visual access to adjacent proximal walls and collide with secondary matrix bands or tissue retractors.
+-----------------------------------------------------------------------------+
|                     WINGLESS GAP RETRACTION DYNAMICS                        |
+-----------------------------------------------------------------------------+
|                                                                             |
|   [ WINGLESS COMPACTNESS ]                                                  |
|    - Tor VM W3 clamp sits flush against the root neck of anchor #37.         |
|    - Lacks protruding side tabs; maximizes proximal operational space.       |
|                                                                             |
|   [ ACCESSORY REGIMEN: BRINKER B4 ACCESS ]                                  |
|    - Spanned rubber canvas drops flat across the empty #36 ridge.           |
|    - Mirror handle reflects rubber margin apically over premolar #35.        |
|    - Brinker B4 jaws seat deep subgingivally for clean Class V exposure.    |
|    =====> EFFECT: Total visual clearance without hardware collision.         |
|                                                                             |
+-----------------------------------------------------------------------------+
By utilizing a compact wingless W3 clamp, the metallic framework sits completely flush against the cervical slopes of the rear anchor tooth (#37), maximizing your usable proximal space. To execute this predictably, the clinician must implement the Dam-Over-Bow Installation Method.
Seating the wingless clamp onto the molar neck first provides total visual clarity, allowing you to directly confirm stable, four-point mechanical seat engagement above the gingival attachment. The frame canvas is then carried intraorally, and the terminal molar hole is expanded and stretched directly over the tall metal bow wire of the pre-wedged clamp.
Once the rubber material snaps beneath the clamp belly and is unrolled forward across the 1 cm extended gap bridge to cover the premolars (#35 and #34), the entire edentulous ridge is sealed beneath a flat, smooth latex shield. This configuration leaves the adjacent bicuspid regions entirely open and free of mechanical obstructions.
If the treatment plan requires managing deep cervical (Class V) root decay along the isolated bicuspids, a secondary Brinker B4 retractor can be seated without any risk of hardware collision. The clinician uses the blunt backend handle of a mouth mirror or an explorer probe to pull the rubber canvas margin apically, exposing the lesion, and then slides the sharp jaws of the Brinker retractor deep subgingivally onto the root neck. This dual-clamp approach guarantees maximum visual clearance and a bone-dry operating field throughout advanced subgingival restorative therapies.