
Exercise 5: Selective Isolation of Central and Lateral Incisors
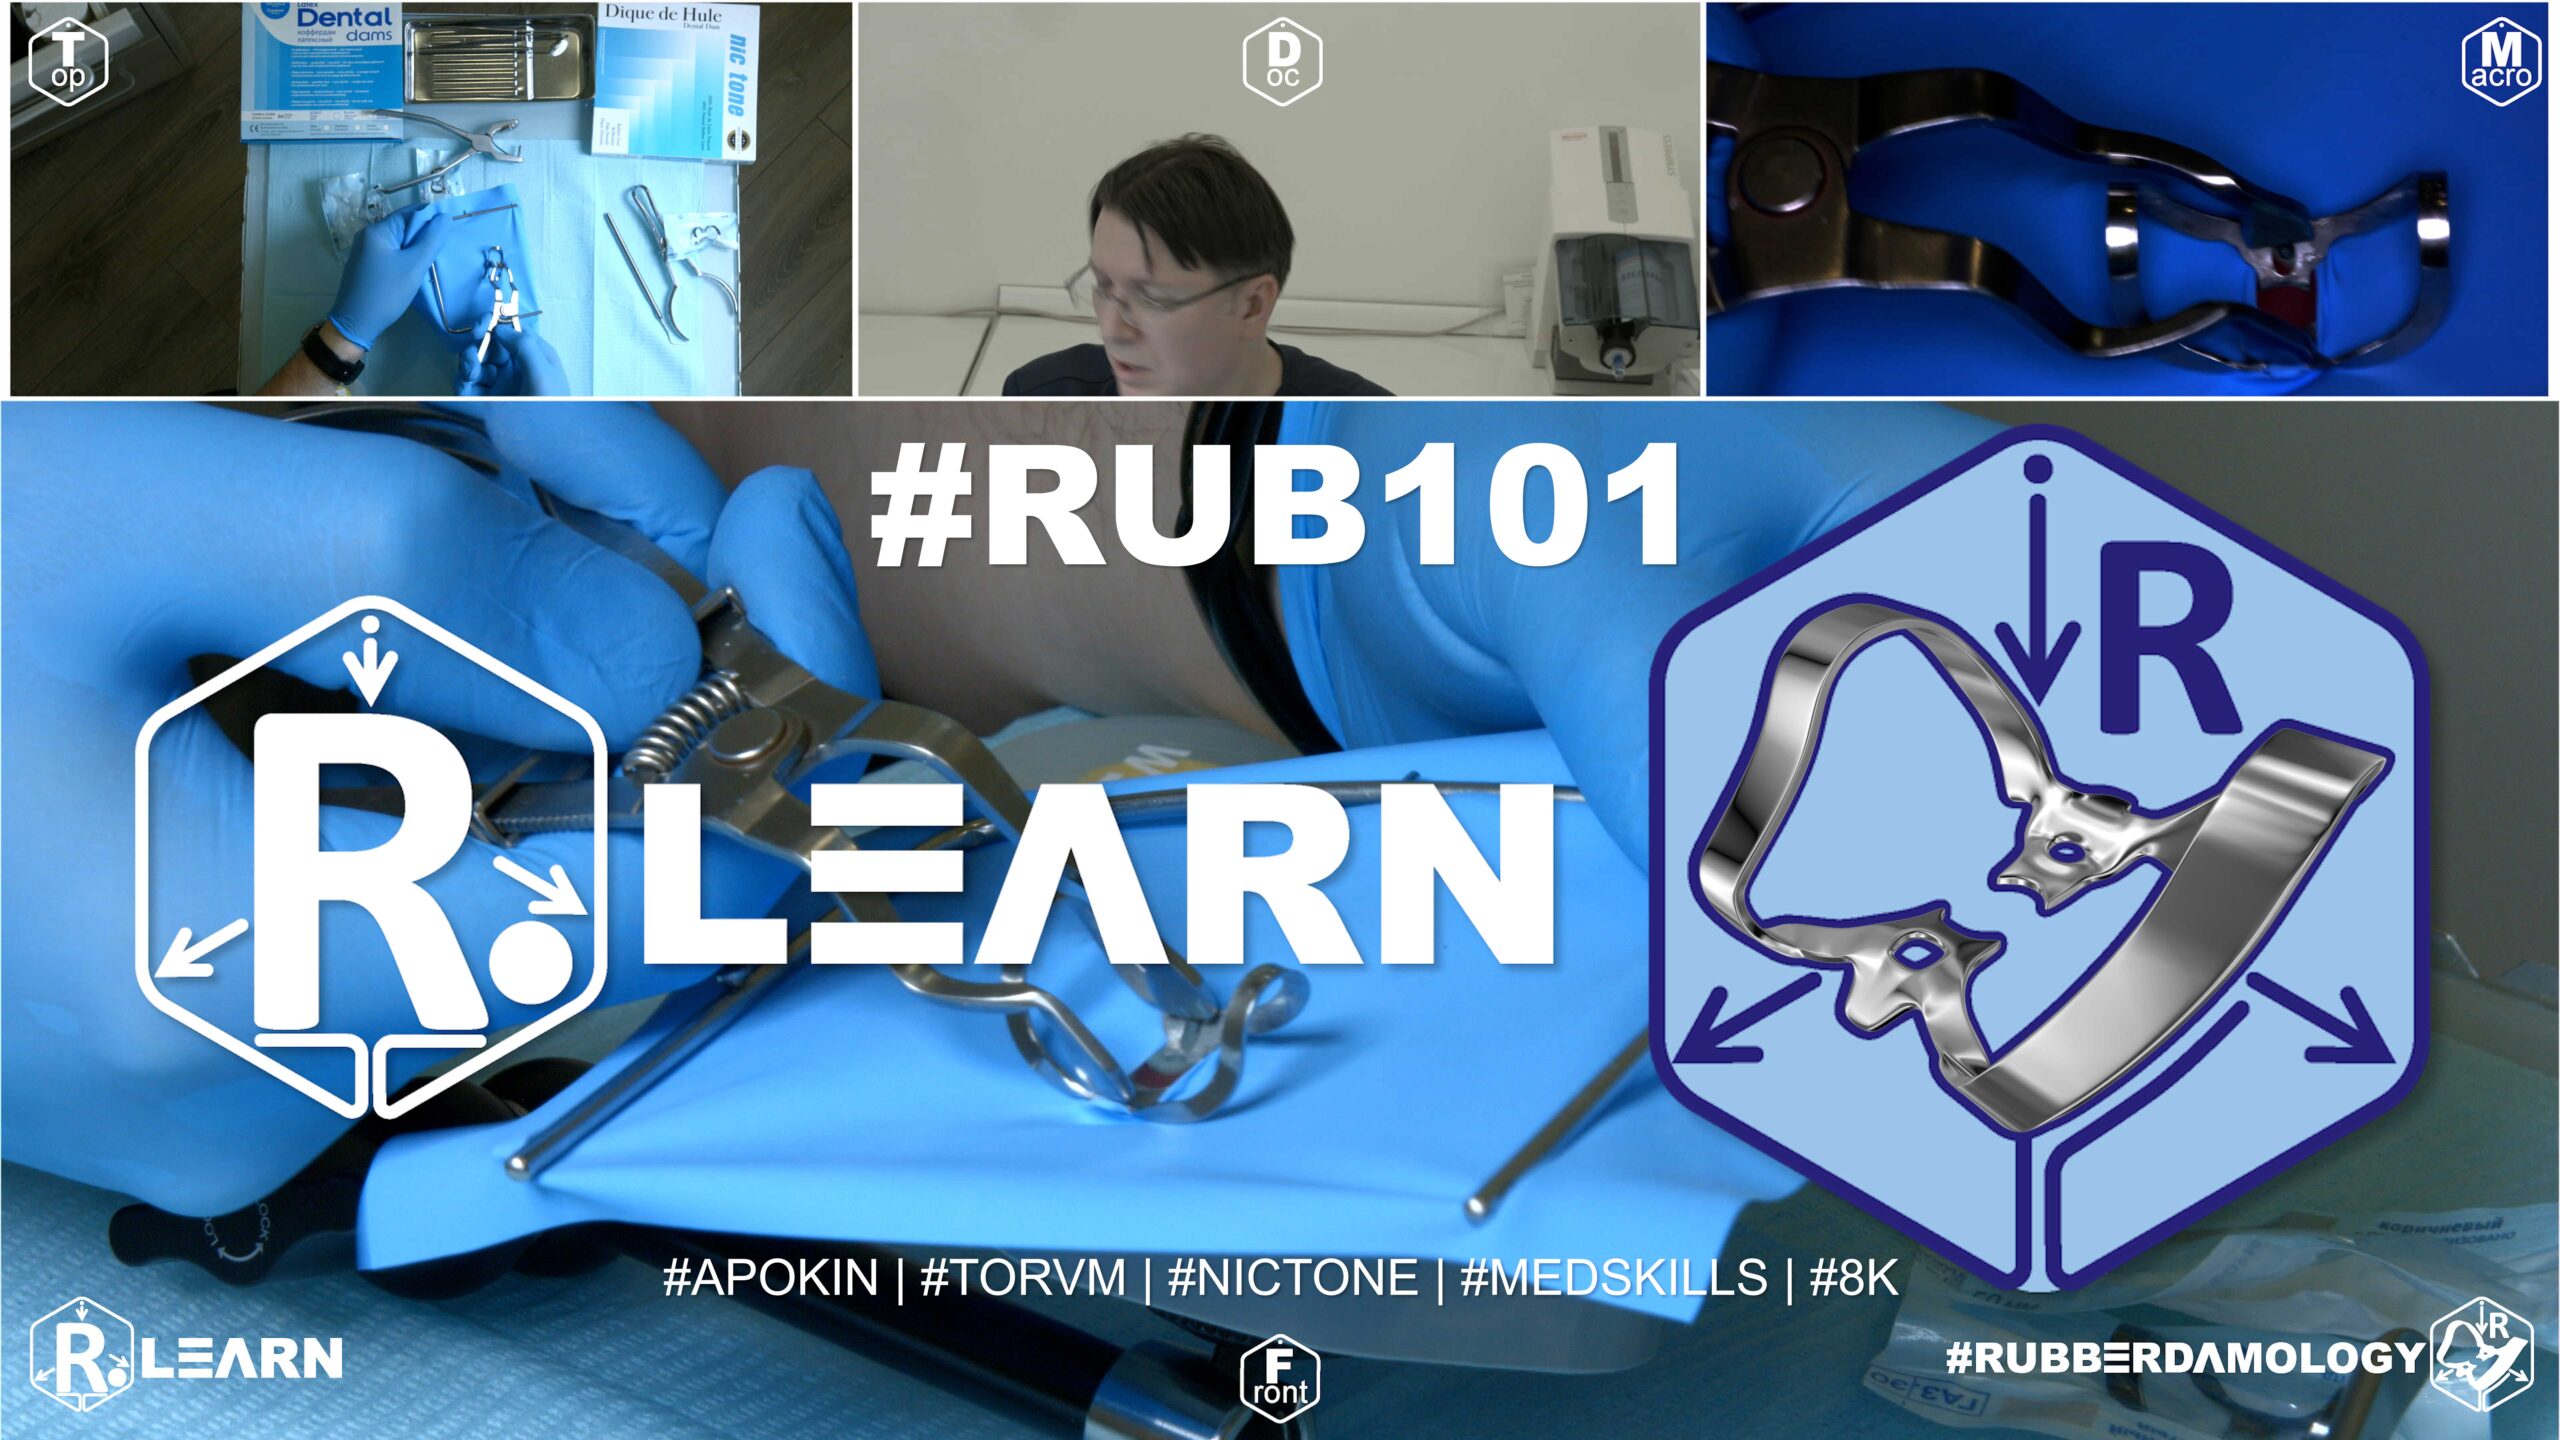
- Target Video Mapping: #RUB101 – Lesson 1 (Video Session 003)
- Core Mechanical Objective: Secure multi-point stability on highly tapered anterior crowns.
- Practical Execution Sequence: Execute absolute field isolation of tooth #11 utilizing winged clamp #210, and tooth #22 utilizing standard clamp #9 and wingless modification #W7. Slide the jaw tips apically past the cervical equator, confirming four-point mechanical contact with a probe.
1. Exercise Transcription & Notes (Single Anterior Tooth Endodontic Isolation)
Dr. Alexander Apokin demonstrates single-tooth isolation techniques for maxillary central incisors using butterfly clamps (#210 and #9) [00:42]. The clinical focus is simulating an endodontic treatment or structural core build-up on an anterior tooth.
- Step 1: Tensioning the Rubber Dam Frame:
- The instructor mounts a Thin Blue Nic Tone latex sheet onto a standard metal U-frame [01:14, 02:17].
- He matches the top corner of the sheet to the top metal prong of the frame, anchors it with his right thumb, and pulls it slightly (~1 cm) to the left to anchor the opposite side [02:59]. This ensures equalized tension across the frame canvas [03:47].
- To find the ideal puncture zone for single-tooth anterior isolation, the sheet is visually split between the upper and lower borders of the frame; the punch is executed right at the spatial center line [04:11]. He uses the middle hole size on the punch wheel [04:33].
- Technique A: Standard Incisor Isolation with Clamp #210:
- The instructor introduces butterfly clamp #210 [05:11]. He stresses its asymmetry: the vestibular (facial) jaw plate is wide, while the palatal jaw plate is small and contoured [05:44]. Reversing it is incorrect.
- The clamp is tested directly on the typodont’s tooth #11 [06:12]. The facial jaw sits exactly over the gingival margin, while the palatal jaw hooks below the cingulum (tuberculum) [06:29].
- The instructor removes the clamp, loads it into the forceps, locks the handle stopper, and stretches the rubber dam hole over the clamp’s wings beforehand (Wings-First technique) [07:48].
- The combined clamp-and-dam unit is seated onto the incisor [08:55]. A sharp dental explorer probe is carefully used to flip the rubber sheet material down off the underlying metal wings [09:19]. Dental floss is passed through the interproximal contact points to complete the peripheral inversion and seat the dam deep into the sulcus [09:52].
- Technique B: Advanced Isolation of a Damaged Crown with Clamp #9:
- For the second phase, the instructor replicates a more severe clinical challenge—a heavily broken-down central incisor where the crown part is missing or highly compromised [14:15].
- To achieve deep apical recession of the gingival margin, he selects Clamp #9 (traditionally used for lower incisors) [14:38].
- The rubber dam sheet is punched with three consecutive holes (one for the target tooth and two anchoring holes for the left and right adjacent teeth) to reduce excessive elastic pull [13:11].
- Using a dental probe or mirror handle, he reflects the rubber dam sheet edge apically, then drives the sharp jaws of Clamp #9 deep subgingivally onto the root neck [14:58]. This provides 360-degree perimeter clearance, exposing maximum tooth structure for an adhesive fiber-post core build-up or veneer preparation [15:30, 16:12].
- Step 2: Creating a Catchment Envelope:
2. Mentioned Items & Concepts (Materials & Anatomy)
- Core Systems:
- Anatomical Reference & Teeth:
- Diagnostic Instruments:
- Selected Clamps:
3. Key Takeaways & Conclusions
- The Power of Clamp #9 over #210: While clamp #210 is standard for intact maxillary central incisors, clamp #9 offers superior, aggressive apical retraction. Dr. Apokin prefers clamp #9 for nearly all anterior endodontic and restorative cases, as its stiff spring mechanics can firmly grasp a severely broken-down root neck where #210 would slip [15:49].
- Preventing Stress Fractures via Multi-Punching: When isolating teeth under high tension or when working on compromised structural margins, punching adjacent structural relief holes (multi-punching) relieves immediate lateral elastic force from the sheet. This prevents the rubber from tearing and stops the clamp from popping off mid-procedure [13:11].
- Mandatory Floss Inversion: Successful rubber dam isolation relies heavily on inversion. Passing dental floss through the contacts ensures the sheet rolls inward toward the tooth neck, establishing a reliable moisture barrier against saliva and endodontic irrigants [09:52].
This section serves as the integration for Exercise 5 of your training track, transitioning the focus from the posterior molar zone to the high-stakes aesthetic requirements of the anterior arch.
Anterior Precision — Selective Isolation of Central and Lateral Incisors
Isolating the anterior arch—specifically the central and lateral incisors—presents a unique set of biomechanical and aesthetic challenges. Unlike posterior teeth, where the primary objective is absolute retention for heavy-load restorative work, anterior isolation must balance the need for moisture exclusion with the preservation of the highly visible, fragile interdental papilla. An oversized or incorrectly placed clamp in this zone does not just risk a leakage; it risks irreversible iatrogenic recession and permanent aesthetic deformity (the “black triangle” effect).
+-----------------------------------------------------------------------------+
|                      ANTERIOR ISOLATION ARCHITECTURE                        |
+-----------------------------------------------------------------------------+
|                                                                             |
|   [ THE BUTTERFLY CLAMP LAW ]                                               |
|    - Anterior retractors (e.g., #9, #210) retract, they do not "anchor."    |
|    =====> EFFECT: Minimal force exerted on the delicate root anatomy.        |
|                                                                             |
|   [ PAPILLA PROTECTION PROTOCOL ]                                           |
|    - The clamp jaw must rest on the tooth neck, not the papilla tissue.     |
|    =====> EFFECT: Prevents gingival trauma and long-term recession.          |
|                                                                             |
|   [ THE AESTHETIC ACCESS WINDOW ]                                           |
|    - Clamping bows must be oriented to allow unhindered visual access.      |
|    =====> EFFECT: Enables complete visibility for adhesive bonding.         |
|                                                                             |
+-----------------------------------------------------------------------------+
The Butterfly Clamp Philosophy
In anterior isolation, we utilize specialized clamps, such as the #9 or #210 “Butterfly” clamps. It is essential to recognize the engineering intent here: these clamps are gingival retractors, not retention anchors. Their jaw structure is designed to sit low on the cervical curvature to expose the root neck for Class V restoration or veneer preparation. If the clinician applies the “anchoring force” typical of a posterior molar clamp, they risk crushing the fine gingival architecture. The clamp should feel secure, but it should never be forced into a position where it causes immediate blanching of the tissue.
The Papilla Protection Protocol
The interdental papilla in the anterior sector is the most sensitive tissue in the mouth. When inverting the rubber dam, the clinician must exercise extreme caution with the dental floss.
- The Inversion Law: The rubber dam must be inverted apically to the papilla. If the rubber remains caught on the crown of the papilla, it acts as a tourniquet, cutting off the blood supply and causing localized necrosis.
- The Visual Audit: Because this is the aesthetic zone, you must inspect the papilla immediately after inverting the rubber dam. If the tissue looks ischemic (pale white), the rubber dam is likely trapped; use a blunt explorer to gently lift the margin and release the trapped papilla.
The Aesthetic Access Window
In anterior restorations—such as composite layering or veneer luting—visual access is paramount. The anterior arch isolation should be mapped and punched to allow for a “clear field” approach.
- Bow Orientation: When applying the clamp, orient the bow wire toward the gingiva or the palate (depending on the access required for the veneer prep) to ensure your hand instruments, matrix strips, and light-curing tips have a clear, collision-free path.
- The Catchment Envelope: Because the patient’s lip activity is high during anterior procedures, the “envelope” fold of the rubber dam is doubly critical here. It prevents the patient from accidentally engaging the dam with their lip, which can tug on the clamps and disrupt the moisture seal during the critical polymerization phase of adhesive bonding.
By mastering Exercise 5, the clinician learns the difference between “forceful isolation” and “surgical retraction.” The anterior arch demands the finesse of a surgeon; the objective is to expose the cervical margin without traumatizing the gingival display that makes the final restoration an aesthetic success.
Exercise 6: Fabricating Retaining Floss Ligatures
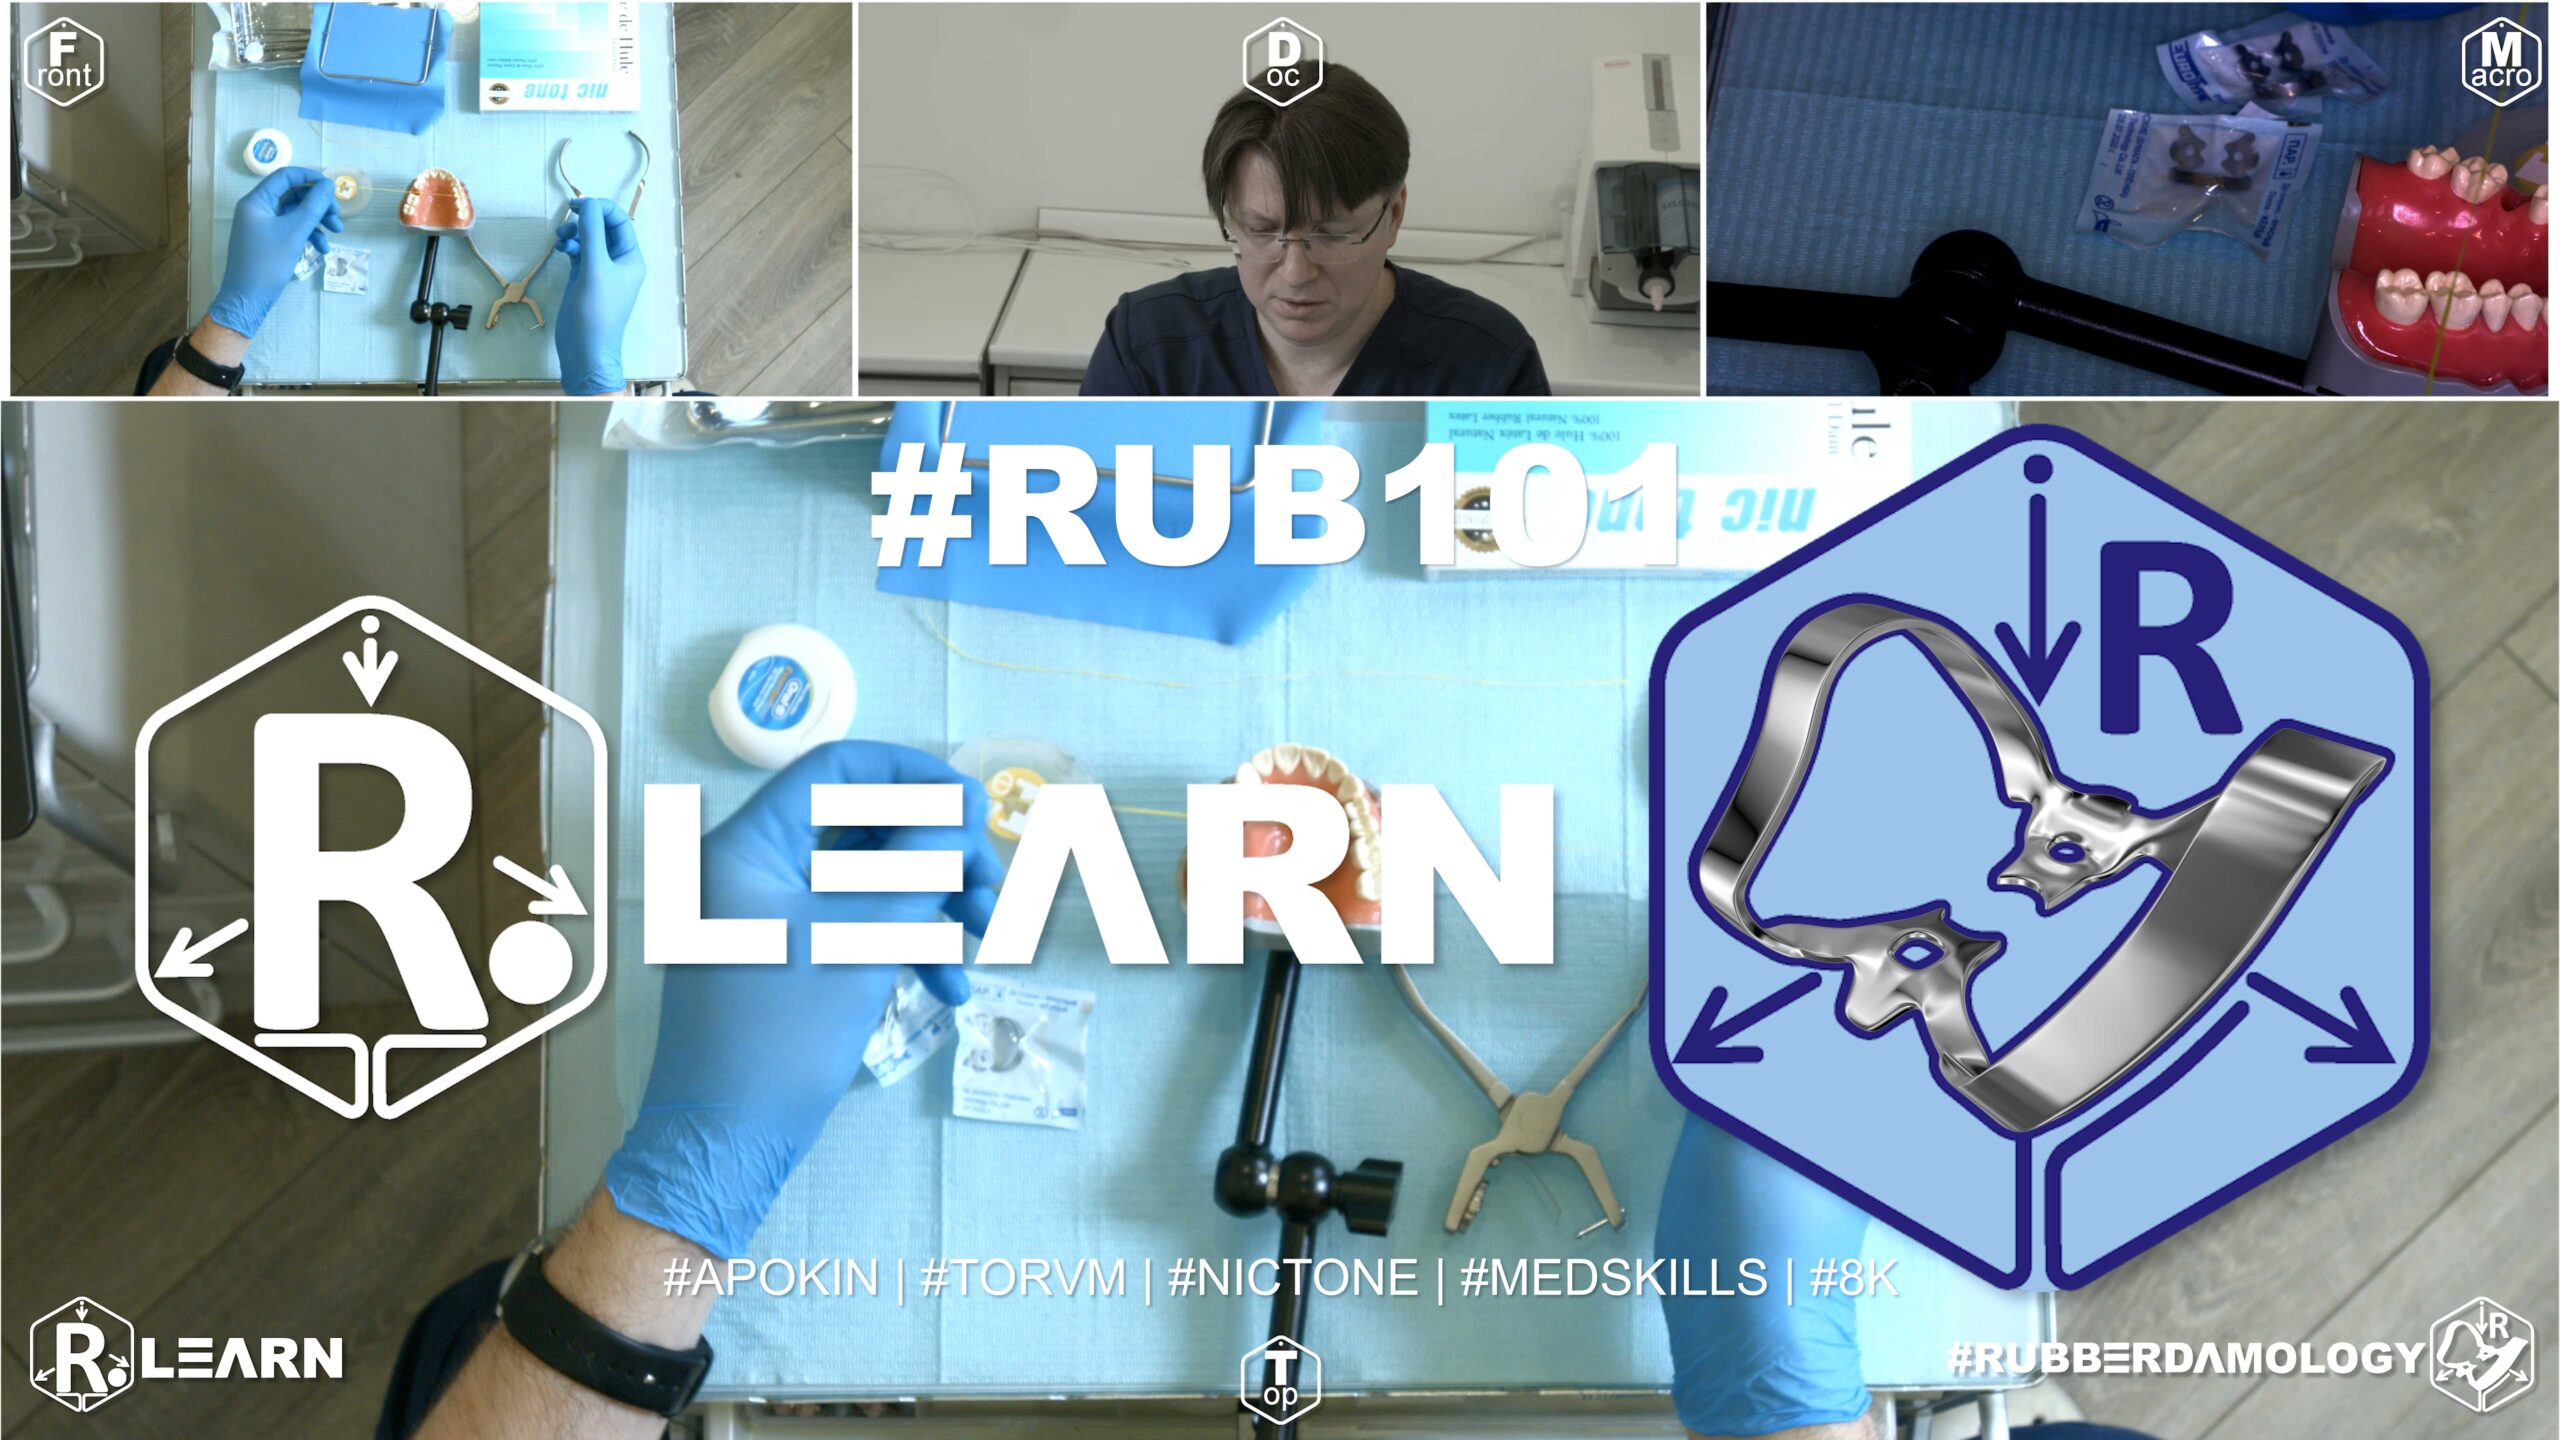
- Target Video Mapping: #RUB101 – Lesson 2 (Video Session 004)
- Core Mechanical Objective: Drive soft-tissue retraction without metallic clamp interference.
- Practical Execution Sequence: Form, loop, and cinch standard and inverting floss ligatures using waxed dental floss around the cervical margins of the anterior segment. Use a blunt tool to push the floss loop apically, forcing the latex cuff to flip into the sulcus.
1. Exercise Transcription & Notes (Floss Testing, Multi-Tooth Isolation & Ligature Preparation)
Dr. Alexander Apokin explains the critical clinical roles of dental floss in rubber damology, demonstrates a full anterior multi-tooth arch isolation (premolar to premolar), and showcases how to prepare single and double floss ligatures [00:30, 16:37].
- The Critical Role of Pre-Flossing (The Diagnostic Phase):
- The instructor emphasizes that dental floss must be used before placing any rubber dam sheets [02:12].
- Passing floss through the contact points tests whether the rubber sheet will be able to slide through successfully. If the floss shreds, catches, or breaks, it serves as a strict clinical diagnostic warning that there are overhangs, rough composite margins, or sharp carious edges that must be smoothed down with a dental bur before attempting isolation [02:29].
- Isolating an Anterior Segment (Full Arch From #14 to #24):
- The instructor mounts a Nic Tone sheet onto a standard metal U-frame [01:13].
- To isolate a full anterior segment from the upper right first premolar to the upper left first premolar (#14 to #24), eight consecutive perforations are needed [04:45].
- He matches punch wheel sizes to anatomy: larger holes for the anchor premolars, middle holes for the canines and central incisors, and smaller holes for the lower-diameter lateral incisors [05:00]. The layout must terminate at the center line of the frame canvas, keeping the top margin completely intact to cover the patient’s upper lip and philtrum [05:14].
- He warns against a devastating preparation error: punching seven holes instead of eight [09:57]. If discovered mid-procedure, a user cannot simply re-punch the sheet on the patient because the punch jaws will collide with the already seated anchor clamps, requiring a complete layout restart with a new sheet [10:11].
- Tor VM #2 wing-style premolar clamps are pre-loaded into the sheet (Wings-First technique) [05:59]. The instructor points out a common student mistake: seating a clamp backward. The structural metal bow of the clamp must always point distally (backward), never mesially (forward), otherwise, it blocks clinical vision and cannot sit in the mouth [06:59].
- Once the anchor clamps are seated on teeth #14 and #24, the rubber dam sheet is stretched over the remaining six anterior teeth. A sharp dental explorer probe is used to gently flip the dam material off the underlying metal clamp wings [08:34].
- Achieving Perfect Interdental Inversion:
- To prevent micro-leakage around the necks of the isolated incisors, the sheet must be rolled inward (inverted) subgingivally [12:32].
- The instructor demonstrates a two-handed flossing technique: anchoring the floss tightly across the contact point and sliding it back and forth dynamically, dragging the rubber edge into the sulcus [12:32]. He uses a dental probe on the palatal side to stabilize and tuck the edge completely around the cingulum (tuberculum) [11:46, 12:58].
- Knot Preparation for Floss Ligatures:
- When high-tension sheets threaten to snap out of the sulcus, a mechanical tie (ligature) is needed around the tooth neck [13:11, 16:37].
- He demonstrates cutting a string of colored dental floss (specifically using high-visibility yellow Edel White floss) to a length of roughly 25 cm [03:32, 15:40].
- Single Ligature: Prepared by taking a single strand of floss, identifying the midpoint, and forming a basic single sliding knot over the finger [18:32].
- Double Ligature: Prepared by looping the strand twice to double the thickness or creating a double-underhand sliding loop block, allowing a much sturdier grasp around the anatomical cervix of teeth requiring severe gingival retraction [17:04, 18:11].
2. Mentioned Items & Concepts (Armamentarium & Notation)
- Consumables & Materials:
- Structural Mechanics:
- Tor VM Clamp #2: Standard symmetric premolar anchor clamp featuring stabilization wings [05:59].
- Distal Orientation: The mandatory structural rule dictating that a clamp’s arc must always point toward the back of the mouth [06:59].
- Philtrum & Upper Lip Coverage: Keeping the top quadrant of the rubber sheet solid to protect the patient’s face [05:14].
- Anatomical Zones (ISO/FDI Notation):
3. Key Takeaways & Conclusions
- Floss as a Quality Control Tool: Floss is primarily a diagnostic tool before it is an isolation tool. If your testing floss strips or splits during the preliminary sweep, attempting to place a rubber dam sheet directly over that area will lead to torn sheets and immediate moisture isolation failure [02:29].
- The Math of Perforation Rules: When performing segment isolation, a perfect one-to-one mapping of tooth-to-hole count is mandatory. Missing a single hole count breaks the physical span of the canvas and prevents you from completing the frame inversion without tearing or starting over completely [09:57].
- Why Wingless Clamps Superior for Ligatures: When sliding loops and ligatures down onto a tooth next to an anchor, floss can easily catch on the sharp structural side-wings of a winged clamp, creating practitioner panic [13:59]. For seamless ligature workflows, Dr. Apokin prefers switching to wingless clamp designs (like W2, W3, or Brinker styles) to keep the subgingival path entirely free of metallic obstructions [14:13].
This section serves as the integration for Exercise 6 of your training track, detailing the technical mastery of the “Mechanical Safety Belt” of rubber dam isolation: the retaining floss ligature.
Fabricating Retaining Floss Ligatures
The retaining floss ligature is one of the most versatile tools in the clinician’s armamentarium. It serves as a secondary mechanical anchor, a tissue retraction aid, and a safety tether for the clamp. While the clamp secures the rubber dam to the tooth, the ligature secures the rubber dam to the gingiva. Understanding the physics of the ligature knot and the mechanics of apical tensioning is essential for creating a fluid-tight seal in cases where clamp anatomy fails to provide adequate cervical retention.
+-----------------------------------------------------------------------------+
|                      FLOSS LIGATURE MECHANICS: THE SAFETY BELT              |
+-----------------------------------------------------------------------------+
|                                                                             |
|   [ THE DOUBLE-LOOP LAW ]                                                   |
|    - A single loop is prone to slip; a double loop creates a self-locking   |
|      friction point on the cervical neck.                                   |
|                                                                             |
|   [ APICAL TENSIONING PRINCIPLE ]                                           |
|    - Ligatures do not just "hold"; they actively displace gingiva.          |
|    =====> EFFECT: Exposes subgingival margins without the need for clamps.  |
|                                                                             |
|   [ THE SAFETY REMOVAL PROTOCOL ]                                           |
|    - Cut the ligature on the side opposite to the knot, away from the        |
|      newly polished composite surface.                                      |
|    =====> EFFECT: Eliminates the risk of iatrogenic surface scratching.     |
|                                                                             |
+-----------------------------------------------------------------------------+
The Fabrication of the Loop Knot
The reliability of a ligature depends entirely on the knot’s ability to resist the elastic “recoil” of the latex sheet. A standard surgeon’s knot is often insufficient.
- The Double-Loop Technique: By creating a double-loop configuration, the floss creates a “friction lock” around the cervical neck. As the clinician pulls the ligature taut, the friction between the two loops prevents the knot from sliding coronally.
- Tactile Feedback: When the knot is placed correctly, the clinician will feel a subtle “click” as the ligature passes the height of contour and seats into the gingival sulcus.
Apical Tensioning and “Tail” Management
The ligature is not merely a static ring; it is an active mechanical device.
- Apical Inversion: After the knot is secured, the floss tails should be used to gently tuck the rubber dam margin into the sulcus, completing the inversion.
- Tail Tensioning: In multi-tooth isolation or difficult restorative cases, do not cut the floss tails immediately. Wrap the excess tails around the peripheral attachment screw of the rubber dam frame. By pulling the tails taut and securing them, you maintain constant apical traction on the ligature, ensuring the rubber dam margin stays locked against the root neck throughout the restorative procedure.
The Removal Protocol: Protecting the Restoration
One of the most frequent (and preventable) errors in cariology is damaging the freshly polished composite restoration during the removal of the isolation hardware.
- The “No-Scratch” Rule: Always use a sharp scalpel or specialized ligature cutter to snip the floss away from the tooth surface. Never drag a dull or thick instrument across the composite margin.
- The Release Point: Identify the main knot and cut the ligature on the opposite side of the tooth. This allows the loop to collapse and slide off the restoration without the knot catching or abrading the critical contact point geometry you just reconstructed.
By mastering Exercise 6, the clinician gains the ability to “tune” the rubber dam fit. If a clamp is too bulky for a specific interproximal space, or if the cervical margin is too deep for conventional retraction, the floss ligature becomes the primary solution for achieving an absolute, moisture-free field.
Exercise 7: Multi-Tooth Segment Isolation (35 to 45) Using Winged Clamps

- Target Video Mapping: #RUB101 – Lesson 3 (Video Session 010)
- Core Mechanical Objective: Efficiently isolate long structural spans under high tongue pressure.
- Practical Execution Sequence: Perforate a heavy rubber dam sheet for the entire mandibular anterior arch. Apply winged clamp #2 onto the terminal premolar anchors, carrying the entire rubber sheet to place in a single movement.
1. Exercise Transcription & Notes (Lower Jaw Premolar-to-Premolar Isolation)
This exercise focuses on isolating the lower anterior dental arch from the mandibular left second premolar to the mandibular right second premolar (Teeth #35 to #45 in the ISO/FDI system) using winged clamps [00:30].
1.Pre-Isolation Contact Testing:Diagnostic Stage.
Before preparing the rubber sheet, pass dental floss through every interproximal contact point from #35 to #45 [02:36]. This checks for tight contacts or sharp margins that could snap the sheet during placement [02:45].
2.Executing the Lower-Third Punch Pattern:Layout Rule.
When working on a mandibular case, do not punch holes in the spatial center of the canvas. Execute all perforations along the lower third of the rubber dam sheet [02:00]. This lower placement leaves a large protective canvas flap at the top to cover the patient’s upper jaw and open mouth completely [03:12]. Punch progressively from the central incisors outward to the premolars, adjusting hole sizes to match tooth diameters [03:59, 05:06].
3.Assembling and Seating the Anchor Clamps:Wings-First Method.
Test Tor VM #2 winged clamps directly on the model’s anchor premolars to check for stable, four-point seat engagement [06:12]. Remove them, load the clamp wings directly inside the matching outer perforations of the sheet [06:50], and carry the assembly to tooth #35 and then tooth #45 using clamp forceps [07:30].
4.Canvas Adaptation and Wing Release:Inversion Stage.
Stretch the main body of the rubber sheet over the intermediate front teeth [08:24]. Use a sharp therapeutic explorer probe to gently peel and slide the rubber margins off the metallic anchor wings so the sheet settles into the cervical sulcus [08:30]. Floss the dam down through the contacts to establish subgingival inversion (rolling the rubber edges inward) [09:29].
5.Applying a Secured Floss Ligature:Tension Control.
To prevent high-elastic tension from pulling the rubber dam up off the shallow necks of the lower incisors, prepare a double sliding loop floss ligature [13:09]. Seat it over tooth #32, tighten it, and anchor the long tails of the floss by winding them around the frame’s bottom prong, packing a small piece of rubber over it to keep it locked [14:29].
6.Disassembly Protocol:Removal Safety.
When treatment ends, follow a strict removal sequence [16:33]. First, open the protective corner catchment envelopes [16:46]. Next, use an explorer probe to pull the floss ligatures up coronally (toward the chewing surface) and cut them [17:04]. Never pull a rubber dam sheet away while ligatures are still tied. Finally, unseat the primary anchor clamps and gently lift the entire sheet away [17:30].
2. Mentioned Items & Concepts (Materials & Nomenclature)
- Consumables & Hardware:
- Nic Tone Thin Sheet: Light, highly elastic latex rubber dam canvas utilized for multi-tooth expansion [01:13].
- Tor VM Clamps: Winged clamps No. 2 selected for anchoring the premolars [00:53]. Wingless equivalents (WV2) are also highlighted as alternative tools [01:00].
- Standard Metal U-Frame: Heavy metal tension frame by Tor VM used to maintain canvas stability [01:13].
- Hand Instruments:
- Anatomical Zones (ISO/FDI Notation):
3. Key Takeaways & Conclusions
- The Lower-Third Shift Protects the Airway: Shifting your punch map to the lower third of the rubber dam canvas is critical for mandibular isolation. Centering the holes leaves too little material at the top, causing the sheet to pull taut across the patient’s open lips, which breaks the seal and leaves the upper oral cavity exposed.
- Ligatures Stabilize Mandibular Lingual Slopes: Lower incisors have highly vertical, slippery lingual anatomy that makes it easy for elastic rubber sheets to creep upward. Tying a double loop floss ligature and anchoring its tails to the frame pins mechanical tension downward, maintaining clean subgingival margins throughout the procedure.
- Post-Removal Canvas Inspection is Mandatory: After removing the rubber dam, lay the sheet flat on your bench and check the integrity of every hole [17:55]. If a fragment of the thin interdental rubber material is missing from the sheet, it means a piece has torn off and remained trapped under the patient’s gingival contact point, which will cause localized inflammation if not immediately flossed out.
This section integrates Exercise 7 into your textbook track, focusing on quadrant-level productivity and the specialized application of winged clamps for extensive lower arch segments.
Multi-Tooth Segment Isolation (#35 to #45) Using Winged Clamps
When moving from single-tooth endodontics to multi-tooth restorative quadrants (e.g., placing veneers or building up multiple Class II composites from #35 to #45), the primary technical hurdle is managing canvas tension. In an extensive nine-tooth span, the rubber dam sheet behaves as a large, elastic membrane; if the tension is not balanced perfectly across the arch, the rubber will “drift,” pulling margins away from the cervical necks and creating inevitable moisture leakage. Winged clamps are the clinician’s best defense against this drift.
+-----------------------------------------------------------------------------+
|                      WINGED ANCHOR KINETICS: QUADRANT STABILITY             |
+-----------------------------------------------------------------------------+
|                                                                             |
|   [ THE WINGED GUIDE PRINCIPLE ]                                            |
|    - Clamp wings act as temporary "anchors" to hold the sheet during        |
|      the seating process, preventing canvas recoil.                         |
|                                                                             |
|   [ THE 9-TOOTH TENSION LAW ]                                               |
|    - In a 35-45 span, tension must be distributed from anchor to anchor,    |
|      not just center-out.                                                   |
|    =====> EFFECT: Prevents sheet distortion and "black triangle" gaps.      |
|                                                                             |
|   [ THE SYSTEMATIC INVERSION SEQUENCE ]                                     |
|    - Always invert from the anchor teeth inward toward the center.          |
|    =====> EFFECT: Maintains a consistent apical seal along the arch.        |
|                                                                             |
+-----------------------------------------------------------------------------+
The Advantage of Winged Anchors in Long Spans
In a single-tooth isolation, wingless clamps are often preferred for visibility. However, in a full quadrant isolation, winged clamps provide a crucial ergonomic advantage. The wings serve as rigid handles that catch the rubber dam margins outside the mouth.
- The Pre-Loading Protocol: By mounting the rubber dam onto the winged clamp before carrying it intraorally, you create a “pre-stretched” assembly. When the assembly is seated onto the distal anchor teeth (#35 and #45), the wings hold the latex in a taut, predefined position, preventing the sheet from sagging or twisting during transport.
The 9-Tooth Tension Management
Isolating the mandibular premolar-to-premolar segment requires precise hole placement. The clinician must resist the urge to place all perforations in a perfectly straight line. Because the mandibular arch follows a parabolic curve, the rubber sheet must accommodate this geometry to remain stable.
- The Punching Grid: When punching holes for #35–#45, follow the natural curve of the model/patient arch. If you punch a straight line, the rubber between the canine and the premolar will be under-stretched, leading to “bunching” and potential leakage.
- Tension Distribution: Once the anchors are seated, you must check the tension. The sheet should be taut but not blanched. If there is visible “waviness” in the septum between two teeth, it indicates that the perforations are too far apart or that the frame tension is misaligned.
Systematic Inversion: The Anchor-to-Center Workflow
With nine teeth isolated, a random inversion sequence is a recipe for disaster. If you invert teeth #38 and #41 first, the central portion of the dam will be stretched, and the tension will “pull” the rubber away from the distal anchors.
- The Inversion Sequence: Always invert from the primary anchors (#35 and #45) toward the center of the arch. This ensures that the tension is “locked in” at the ends of the segment, allowing you to gradually work the intermediate septa into the interproximal spaces without losing the apical seal.
- Floss as a Sealer: Use the floss ligature method (as refined in Exercise 6) to lock the rubber sheet into the sulcus of each tooth in the segment. In long spans, the floss acts as the definitive seal, ensuring that even if the patient moves their jaw, the rubber dam remains perfectly adapted to every cervical neck.
By mastering Exercise 7, the clinician gains the ability to isolate an entire restorative quadrant in under two minutes—a necessary skill for high-productivity adhesive dentistry where efficiency and moisture control must coexist.
Exercise 8: Multi-Tooth Segment Isolation (35 to 45) Using Wingless Clamps
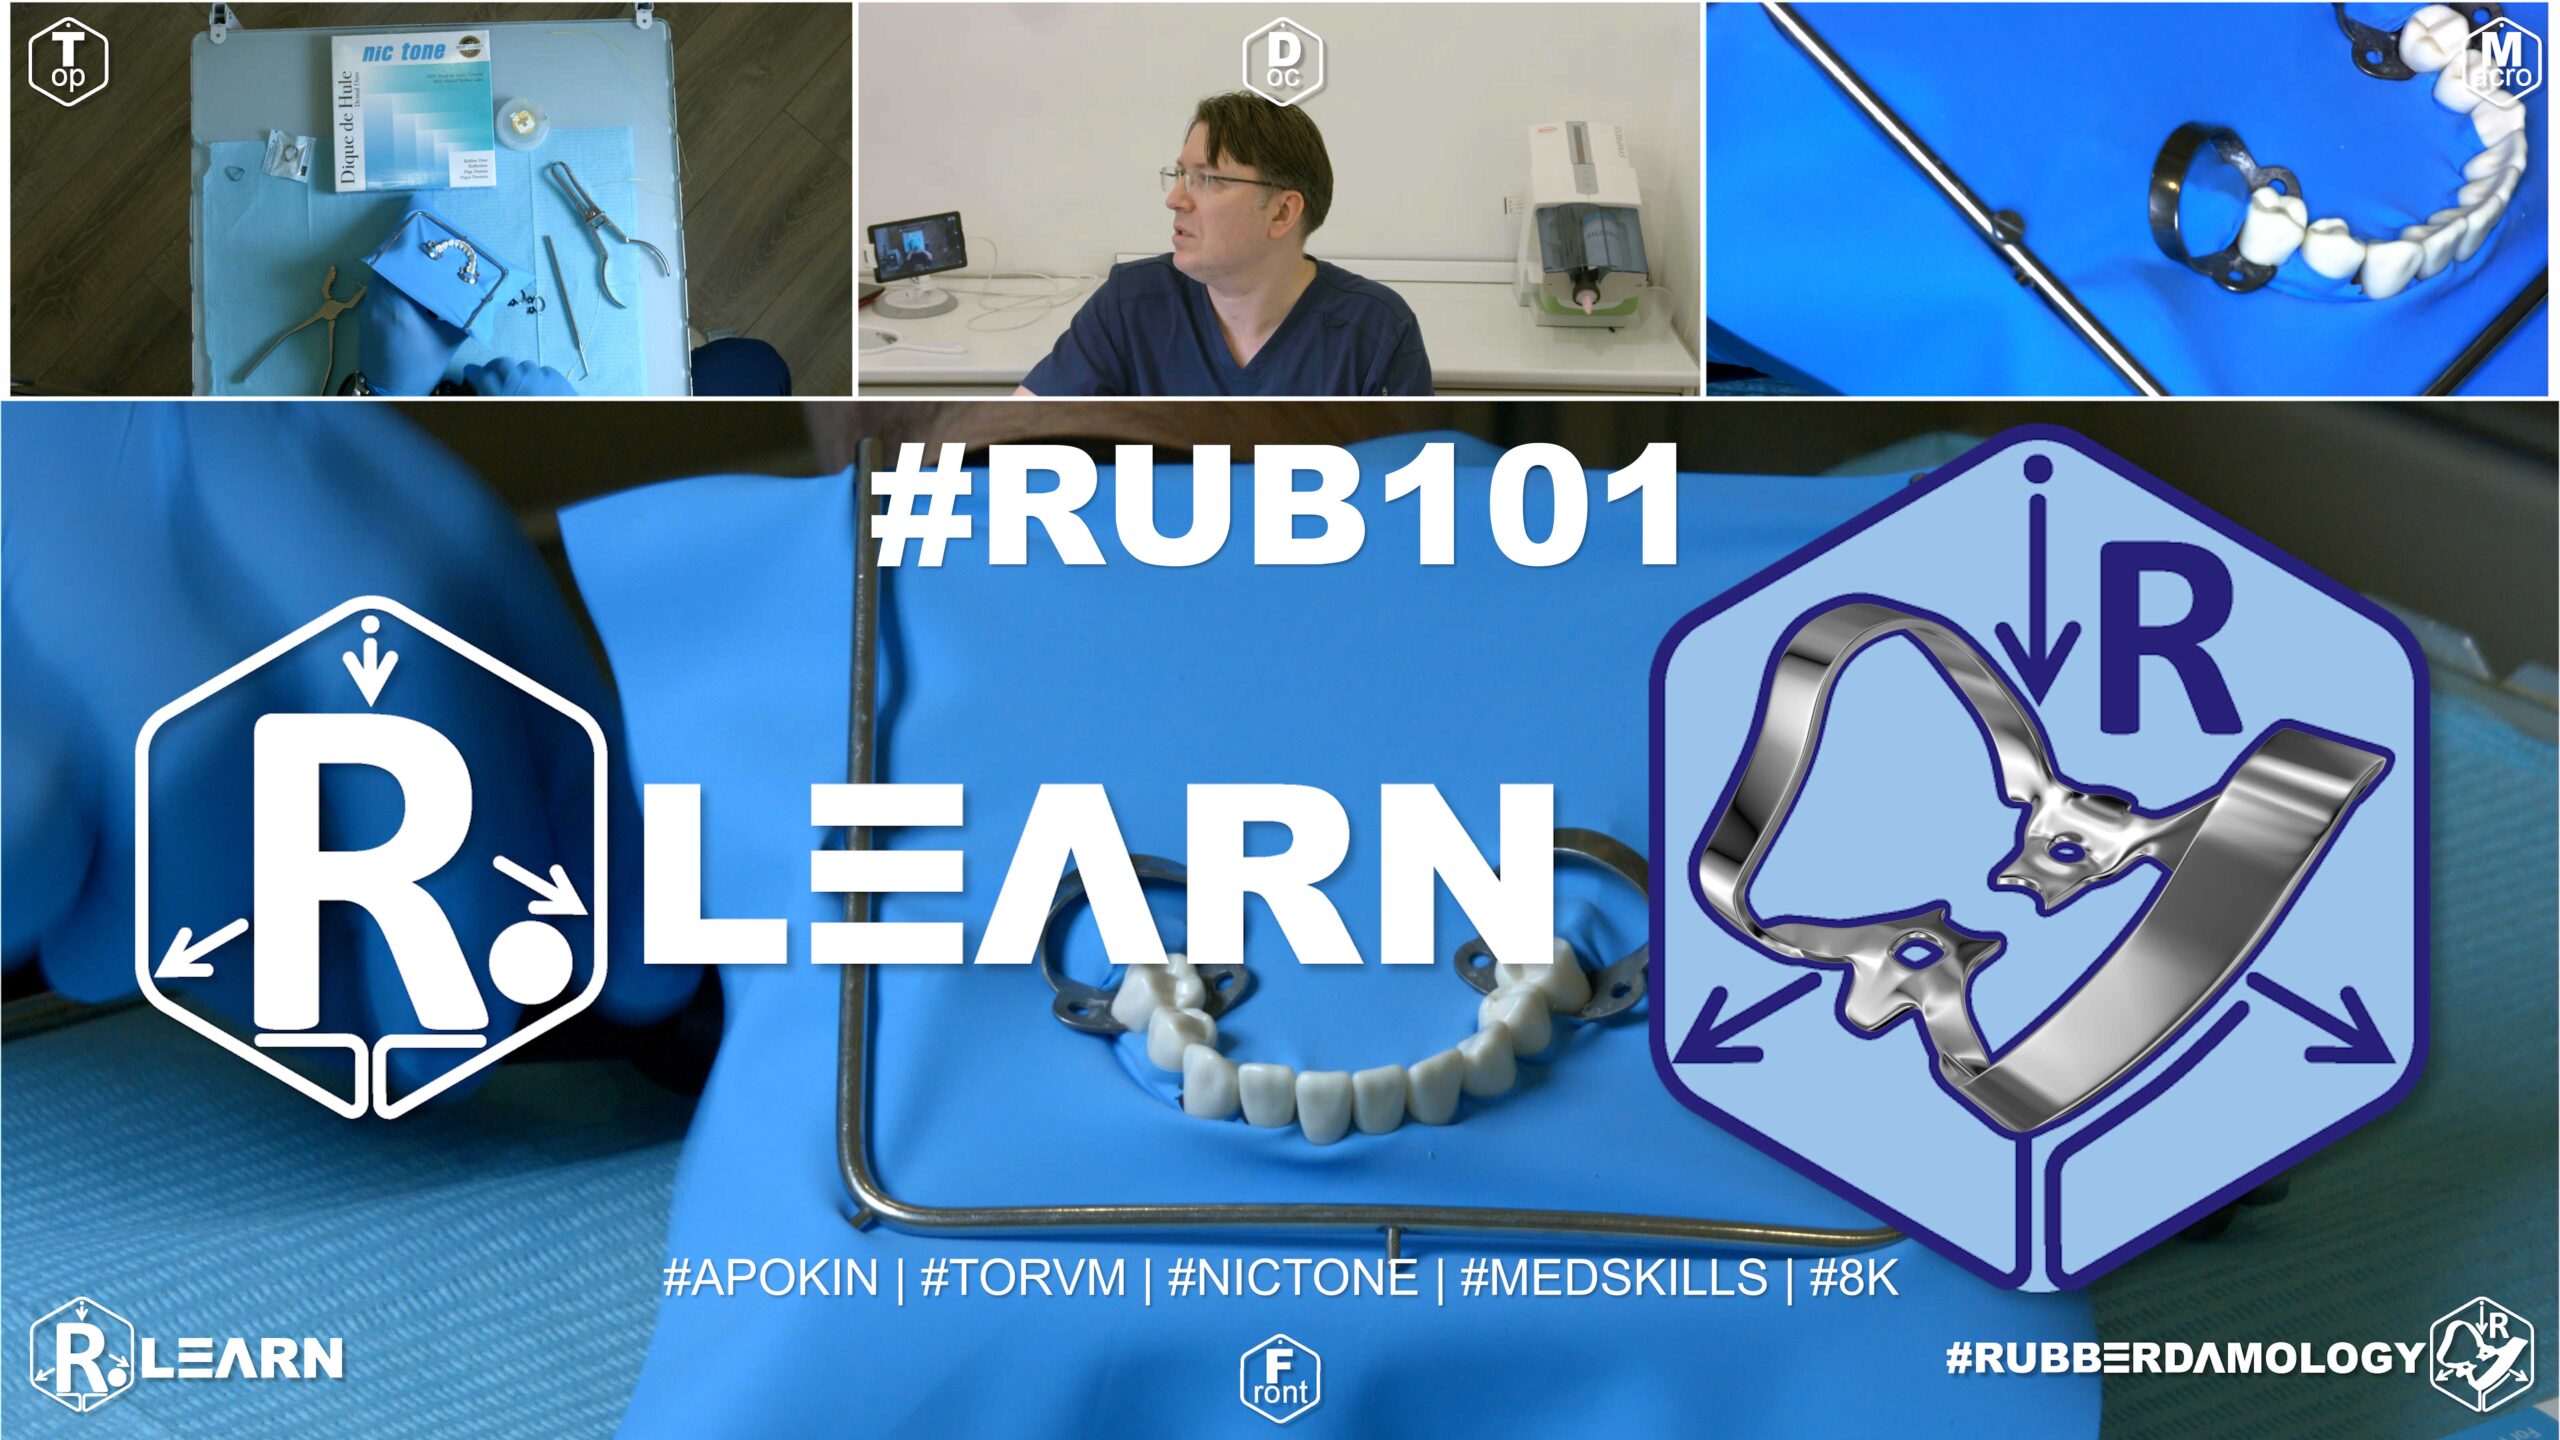
- Target Video Mapping: #RUB101 – Anterior teeth, Lesson 4 (Video Session 011)
- Core Mechanical Objective: Master the “clamp first, sheet second” workflow options.
- Practical Execution Sequence: Secure wingless clamps #W2 directly onto the terminal premolar teeth. Stretch the corresponding terminal holes of the rubber dam over the bows and jaws of the seated clamps, then adapt the remaining sheet across the front segment.
1. Exercise Transcription & Notes (Lower Jaw Premolar-to-Premolar via Wingless Clamps)
Dr. Alexander Apokin demonstrates an alternative technical approach to full lower arch segment isolation (teeth #35 to #45) by substituting traditional winged clamps with compact wingless premolar clamps (Tor VM W2 / WV2) [01:00]. The tutorial covers hole calculation adjustments, layout mistakes, and two distinct wingless application techniques.
- Hole Calculation Adjustments & Layout Safety:
- The instructor reminds the viewer that rubber dam sheets have a glossy side (facing the patient) and a matte side (facing the practitioner to eliminate distracting light reflections) [01:40].
- The frame must sit underneath the outer borders of the rubber dam canvas, leaving a small, clean canvas lip at the upper margin [02:30].
- The Bottom-Punch Trapping Error: He demonstrates a common student layout mistake—punching lower arch holes from the very bottom edge of the frame upward [04:18]. If the loose canvas folds inward during the punch stroke, the jaws will punch a duplicate, accidental set of holes through the excess material, ruining the canvas seal [05:08]. To avoid this, always keep the sheet completely flat and punch from the upper margin downward toward your visual layout line [05:47].
- Spacing: Six small-diameter holes are punched for the mandibular incisors, stepping up the wheel size for the two canines and two anchor premolars, maintaining a strict 5 mm inter-hole distance [04:18, 04:59, 19:46].
- Diagnostic & Stability Assurances:
- Pass testing floss through every interproximal contact point first to verify physical clearance [07:08].
- Gingival Margin Seating Rule: When testing the stability of the wingless W2 clamp, use forceps to gently seat the rigid jaw tips roughly 1 mm coronal to (above) the free gingival margin [08:23]. Placing it too deep causes unnecessary trauma to the soft tissue attachment, while placing it too shallow causes the clamp to slip and pop off under tension [07:31, 21:28].
- Wingless Placement Technique A (Dam-Over-Bow Method):
- The instructor seats the standalone wingless clamps onto the anchor premolars (#35 and #45) first [08:50].
- He detaches the rubber dam sheet from the frame temporarily to maximize its elasticity [10:00]. Using his fingers, he expands the terminal holes and stretches the rubber sheet directly over the metal bows of the pre-wedged clamps [09:21]. Once the anchor holes clear the bows and snap beneath the clamp bellies, the sheet is re-tensioned onto the frame corners [10:25].
- Wingless Placement Technique B (Clamps-In-Dam Method):
- Alternatively, the instructor demonstrates pre-loading the wingless clamps directly into the rubber dam sheet holes while outside the mouth [21:59].
- Because wingless clamps lack projectable side wings, the metal spring body of the clamp is pushed completely through the hole like a ring until the rubber margins tightly encircle the subgingival jaws [22:08].
- He detaches the sheet from the frame, inserts the forcep tips into the clamp seating holes, stretches the assembly, and seats both clamps and the sheet onto teeth #35 and #45 simultaneously [22:58].
- Interdental Inversion & Cervical Retraction:
- The intermediate canvas is slipped over the incisors. Avoid pushing two adjacent holes into a single interdental space, as this leaves a tooth completely exposed and breaks the moisture barrier [12:29].
- Floss is looped and carried down through the tight contact points [11:46]. He holds the lingual rubber margin secure using a sharp dental explorer probe while sliding the floss outward laterally to flip the sheet edge subgingivally [14:10, 24:59].
- For cases involving cervical (Class V) decay, he carries a specialized Brinker subgingival retractor over the isolated tooth, using a probe to retract the rubber dam margin apically before seating the retractor jaws deep on the tooth neck [27:12, 27:32].
- Aseptic Breakdown Protocol:
- To disassemble the assembly hygienically without splashing saliva or contaminated aerosols, release the corner catchment envelopes [29:40].
- Never pull or yank a multi-tooth rubber dam sheet off dynamically [16:43]. Slide dental scissors beneath the stretched facial canvas and snip each individual interdental rubber septum [30:04]. Once all intermediate tracks are severed, remove the anchor clamps and lift the sheet away in a single, clean motion [30:27].
2. Mentioned Items & Concepts (Equipment Inventory)
- The Hardware Set:
- Tor VM W2 / WV2 Clamps: Specialized wingless anchor clamps designed specifically for lower premolars [01:00, 06:54].
- Brinker Gingival Retractors: Aggressive subgingival clamps used to achieve extreme apical exposure in cervical decay zones [27:12].
- Sanctuary Dental Punch & Forceps: Specialized armamentarium used for processing and seating the rubber components [03:59, 07:44].
- Tor VM Metal U-Frame: Rigid tensioning frame [01:13].
- Consumables:
- Nic Tone Thin Latex Sheets: Ultra-elastic canvas sheets used to tolerate extreme stretching over standalone metal clamp bows [01:10].
- Dental Floss & Sharp Explorer Probe: The necessary hand tools used for physical contact tracking, wingless inversion stabilization, and margin control [07:08, 14:10, 24:59].
- Anatomical Targets:
3. Key Takeaways & Conclusions
- Wingless Clamps Offer Superior Spatial Compactness: While winged clamps are easier to load outside the mouth, wingless W2/WV2 clamps are far more compact once seated [22:28]. This extra clearance keeps the treatment area free of metallic projections, providing better access for your handpiece and restorative instruments.
- The Dam-Over-Bow Method Improves Visual Safety: For beginners training with wingless clamps, placing the standalone clamp onto the tooth neck first (Technique A) ensures maximum visual clarity [08:50]. This allows you to confirm a stable, four-point seat above the gingival attachment before stretching the rubber sheet over it, minimizing the risk of a loose clamp snapping off mid-procedure [21:28].
- Sectional Snipping Controls Cross-Contamination: Tearing or yanking a taut rubber dam sheet out of tight interproximal spaces at breakdown releases immediate elastic energy, which can spray patient saliva and blood across the operatory [16:43]. Snipping each individual interdental rubber septum with scissors before lifting the dam ensures a safe, controlled, and hygienic removal workflow [30:04].
This section integrates Exercise 8 into your textbook track, contrasting the structural methodology of Exercise 7 (Winged) with the technical precision required for wingless clamp systems.
Multi-Tooth Segment Isolation (#35 to #45) Using Wingless Clamps
The transition from winged to wingless clamps for the mandibular anterior-posterior segment represents a shift in clinical philosophy: from “utility and guidance” to “unobstructed visual access.” Wingless clamps (e.g., Tor VM W-series) eliminate the metal “ears” that can obstruct the path of matrix bands, composite instruments, and light-curing tips. However, this aesthetic and ergonomic advantage comes at the cost of delivery stability. Without wings to catch and hold the rubber dam canvas during transport, the clinician must possess a higher degree of manual dexterity and a refined tactile sense to ensure the barrier is seated perfectly.
+-----------------------------------------------------------------------------+
|                      WINGLESS ANCHOR KINETICS: VISUAL FREEDOM               |
+-----------------------------------------------------------------------------+
|                                                                             |
|   [ THE CLAMP-FIRST DELIVERY LAW ]                                          |
|    - Unlike winged systems, wingless clamps often require a "Clamp-First"   |
|      approach to avoid slipping the sheet during transport.                 |
|                                                                             |
|   [ TACTILE SEATING VERIFICATION ]                                         |
|    - Absence of wings means no visual "stop" for the rubber margin.         |
|    =====> EFFECT: Verification must be strictly tactile and visual check.   |
|                                                                             |
|   [ SOFT TISSUE CLEARANCE ]                                                 |
|    - Low-profile jaw design minimizes soft tissue "pinch."                  |
|    =====> EFFECT: Superior access for cervical margin preparations.         |
|                                                                             |
+-----------------------------------------------------------------------------+
The Wingless Delivery Challenge
In winged isolation, the wings act as mechanical “hooks” that allow the dam to be pre-mounted and carried as a single, stable unit. In wingless isolation, the rubber dam sheet does not “lock” onto the clamp jaws until they are fully seated on the tooth.
- The Technique: Clinicians often employ the “Clamp-First” technique for wingless systems. The clamp is seated onto the tooth (#35 or #45) prior to stretching the rubber dam over the jaws. This ensures the clamp is correctly centered on the root neck without the weight of the frame pulling it askew.
- The Dam-Over-Jaw Sequence: Once the clamp is secure, the rubber dam is stretched over the jaws. Because there are no wings, the clinician must use a dull explorer or a plastic instrument to “tuck” the rubber margin underneath the jaw rim, ensuring a subgingival seal.
Tactile Seating Verification
Without the wings to act as visual markers, it is easy to assume a clamp is seated when it is actually resting on the gingiva rather than the root neck.
- The Rocking Test: After seating, perform a subtle rotational test on the clamp. A correctly seated wingless clamp will be rigid. If it has any “give” or rocking motion, it is likely catching on the interproximal papilla or the soft tissue.
- Visual Access: The primary benefit of this configuration is realized once the dam is inverted. With the wings gone, the “access window” to the interproximal space is wider. This is critical for building anatomically correct contact points, as it allows the sectional matrix ring to be placed deeper and with better angulation than is possible with winged hardware.
Managing the “Floating” Membrane
Because the wingless clamp does not hold the dam during transport, the U-frame tension becomes the primary stabilizer. For the #35–#45 segment, ensure the frame is adjusted to provide sufficient apical tension. If the rubber dam feels “loose” at the distal anchor, it is a sign that the frame size or the orientation of the sheet is suboptimal.
By mastering Exercise 8, the clinician stops relying on the “crutch” of winged clamps and moves toward an isolation technique that favors clinical freedom. The wingless technique is the professional standard for aesthetic adhesive dentistry, where every millimeter of visual access is a prerequisite for a flawless restoration.
Exercise 9: Adapting the Maxillary Rubber Dam Envelope
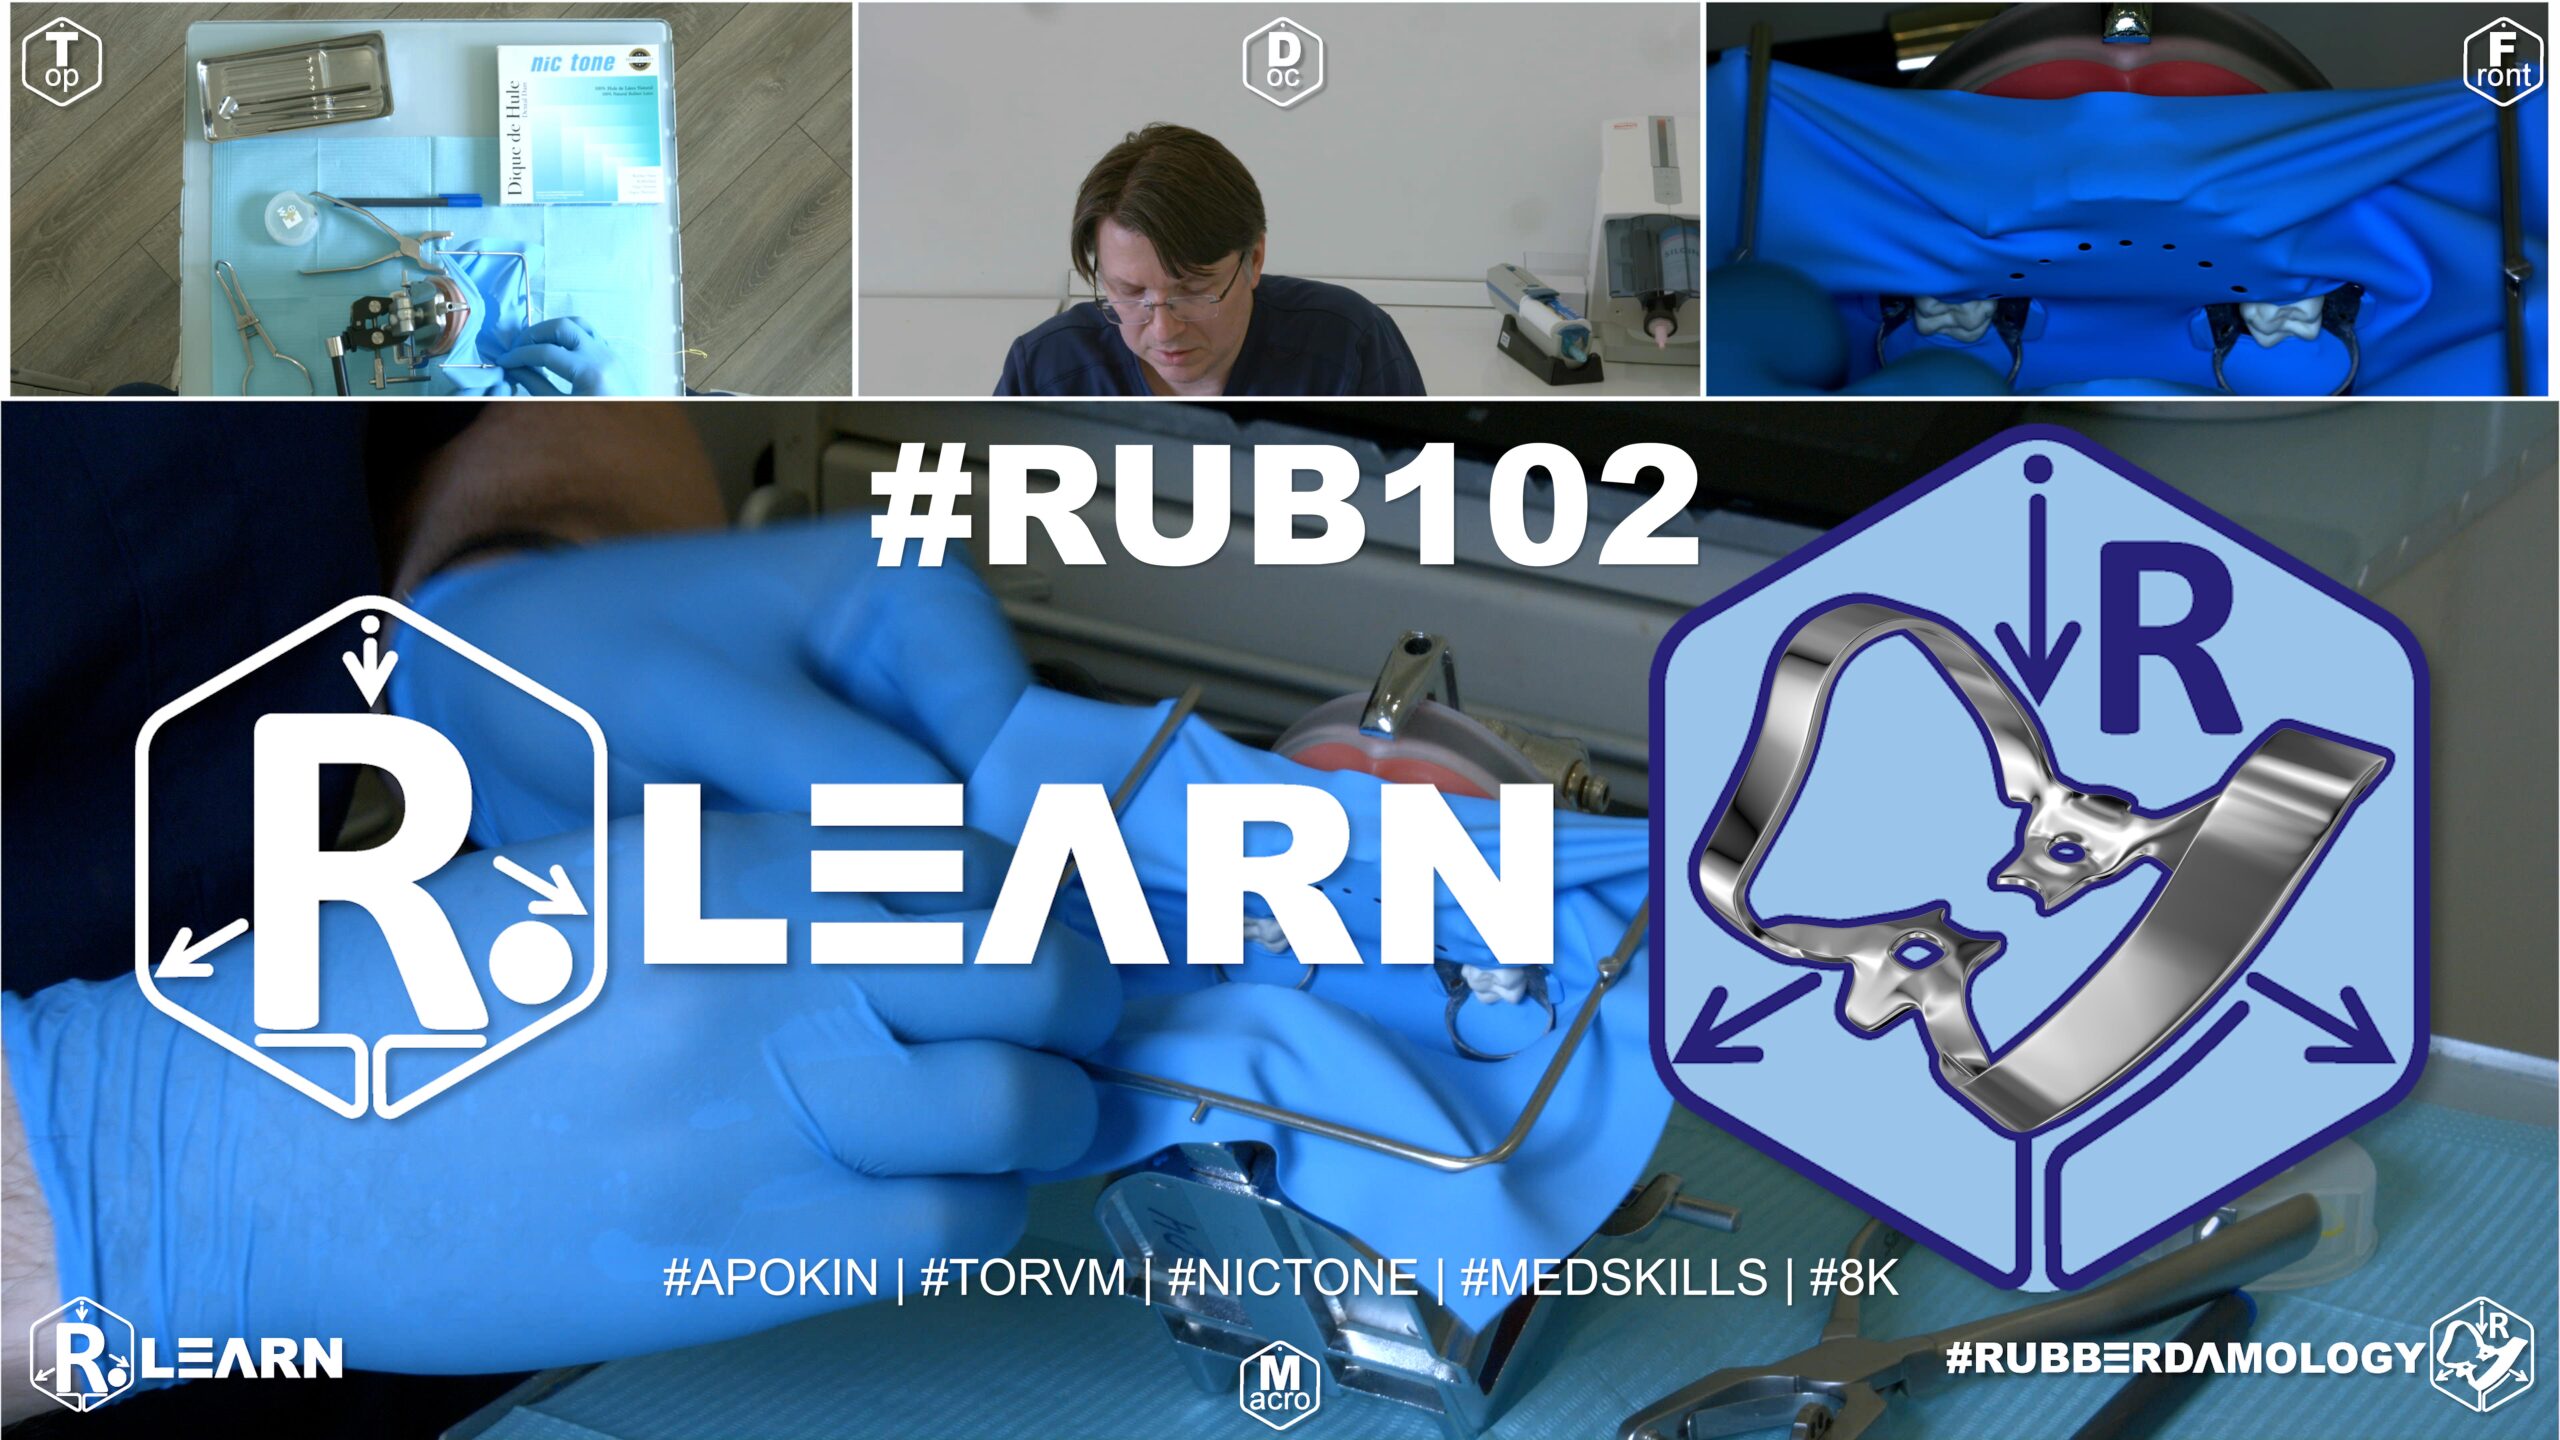
- Target Video Mapping: #RUB101 – Lesson 5 (Video Session 024)
- Core Mechanical Objective: Prevent loose sheet clutter from blocking the light source.
- Practical Execution Sequence: Fold and secure the loose outer borders of the latex plate against the maxillary arms of the frame, forming a clean, fluid-tight palatal shield that keeps the airway clear and maximizes visibility.
1. Exercise Transcription & Notes (Upper Jaw Segment Isolation & Patient Ergonomics)
Dr. Alexander Apokin details advanced segment isolation for the maxillary arch from the upper right first molar to the upper left first molar (Teeth #16 to #26 in the ISO/FDI system) [01:31]. The module focuses on the precise folding mechanics of a protective catchment envelope and ergonomic modifications to optimize patient breathing and suction placement [14:16, 17:47].
- Pre-Isolation Mapping & Assembly:
- The instructor utilizes a new model generation from Med Skills featuring an ultra-elastic soft pink plastic base and anatomically tight interproximal contact zones [01:00, 02:29].
- He passes diagnostic testing floss across all targets to confirm structural clearance [02:29].
- Molar anchor clamps (Tor VM #28 and #11A) are tested on teeth #16 and #26 for stable four-point seating under light touch [01:31, 03:40].
- The Pre-Tensioning Protocol: Dr. Apokin strongly critiques the chaotic strategy where an assistant holds a loose rubber sheet in their bare hands while a dentist attempts to punch holes [04:13]. This practice is labeled as highly inefficient and wasteful. Instead, the raw sheet must be systematically pre-tensioned onto the metal U-frame first [04:32].
- The Zero-Template Punch Path: Divide the canvas area inside the frame perfectly at the midline [05:04]. Execute two central incisor perforations exactly on this line, and work progressively outward to the molars with an even 5 mm spacing, stepping up punch wheel diameters to match the target root necks [05:38].
- The winged anchor clamps are pre-loaded directly into the terminal molar holes (Wings-First method) outside the mouth [07:00]. The assembly is then transferred sequentially to teeth #26 and #16 [08:00].
- Clinical Adaptation & Wing Inversion:
- Once the anchor clamps are locked onto the molar necks, the intermediate rubber sheet is rolled downward over the premolars, canines, and incisors [09:32].
- Dr. Apokin advises against using fingers to push the rubber margins off the clamp wings because intraoral spaces are too tight [10:13]. Instead, position a sharp dental explorer probe or the smooth backend handle of a mouth mirror to gently peel the rubber sheet down off the metal wings [10:23].
- Pass dental floss smoothly through the contacts to invert the sheet margins into the sulcus, pulling the tails out laterally [10:43].
- Patient Ergonomics & Envelope Construction:
- The Nasal Airway Shield: When isolating the maxillary arch, the taut top margin of the rubber dam sits directly under the patient’s nose, blocking airflow and catching water spray [14:16]. Dr. Apokin advises packing a clean cotton roll or compress between the patient’s philtrum/nasal base and the upper canvas lip. This opens a clear physical breathing channel and intercepts handpiece water mist [14:16].
- Tension Management: To avoid pulling the molar anchor clamps loose, minimize elastic tension on the lower frame prongs [14:43]. Place small cotton padding behind the metal frame where it touches the skin to eliminate pressure sores [15:43].
- The Catchment Envelope: Fold the lower loose boundary of the sheet upward symmetrically and lock it onto the upper frame corners [16:16]. This forms a fluid-tight catchment pouch that captures all debris and irrigation runoff [17:47].
- High-Volume Suction Hooking: To keep the operating field entirely clear, Dr. Apokin curves the high-volume suction tip into a fixed hook shape and nests it directly into the dependent floor of the envelope [18:31]. Removing the standard rubber tip cover allows the bare metal tube to form a tight seal against the inner sheet, extracting pooled water continuously without blocking the operator’s vision or handpiece movements [18:57].
2. Mentioned Items & Concepts (Equipment Inventory)
- Simulator & Mechanical Stabilization:
- High-Precision Isolation Kit:
- Aids, Ergonomics, & Ties:
- Mouth Mirror & Sharp Explorer Probe: Used to seat, adapt, and invert the rubber sheet margins apically [10:23].
- High-Volume Suction HVE Tip: Modified by removing its cover and anchoring it directly into the canvas envelope [18:31].
- Dental Cotton Rolls: Repurposed as nasal spacers and skin padding underneath the metal frame prongs [14:16, 15:43].
- Self-Locking Floss Ligature: Prepared using a specialized knot loop and anchored onto tooth #12 to manage localized tension [19:39].
3. Key Takeaways & Conclusions
- Frame Pre-Tensioning Eliminates Workspace Chaos: Never allow an assistant to hold a loose, un-mounted rubber sheet during the layout and punching stages [04:13]. Pre-tensioning the sheet onto the metal U-frame before punching provides a flat, stable surface that ensures highly accurate hole positioning and saves clinical time [04:32].
- Nasal Padding Restores Patient Comfort: Maxillary isolation naturally covers the patient’s nose, causing respiratory discomfort and anxiety. Wedging a simple cotton roll beneath the upper canvas margin instantly creates an open airway, making long restorative procedures highly tolerable for the patient [14:16].
- Continuous Evacuation via HVE Envelope Hooking: Instead of forcing an assistant to manually hold a suction tip inside a cramped oral cavity, remove the rubber cover from your high-volume evacuator tip and hook the bare metal end directly into the base of the rubber dam envelope [18:31]. This sets up a hands-free drainage system that clears water runoff automatically while maximizing the dentist’s line of sight [18:57].
This section serves as the integration for Exercise 9 of your training track, focusing on the ergonomic finalization of the isolation field: the creation of the Maxillary Catchment Envelope (the “Reservoir”).
Adapting the Maxillary Rubber Dam Envelope (The Catchment Protocol)
In maxillary isolation, gravity is the clinician’s primary adversary. Because the patient is reclined, water, saliva, and debris naturally pool toward the oropharynx. If the rubber dam is merely a flat sheet, fluids will inevitably creep around the corners, triggering the patient’s gag reflex and causing unnecessary disruption. Exercise 9 focuses on the fabrication of the “Catchment Envelope”—a reinforced fold in the inferior margin of the rubber dam that acts as a reservoir for fluids, keeping the field bone-dry and the patient comfortable.
+-----------------------------------------------------------------------------+
|                      THE CATCHMENT ENVELOPE ARCHITECTURE                    |
+-----------------------------------------------------------------------------+
|                                                                             |
|   [ THE RESERVOIR PRINCIPLE ]                                               |
|    - The envelope is a 1-2cm fold; it creates a structural "pocket" for     |
|      fluids to pool rather than flow toward the throat.                     |
|                                                                             |
|   [ THE HVE TARGET ZONE ]                                                   |
|    - The envelope serves as the precise landing zone for the High Volume    |
|      Evacuation (HVE) tip.                                                  |
|    =====> EFFECT: Facilitates seamless, hands-free suction control.         |
|                                                                             |
|   [ AIRWAY INTEGRITY ]                                                      |
|    - The envelope must remain open and unblocked by the patient's chin.     |
|    =====> EFFECT: Maintains unobstructed nasal breathing and comfort.       |
|                                                                             |
+-----------------------------------------------------------------------------+
Gravity Management and Pharyngeal Protection
The maxillary arch presents a unique challenge: the flow vector of cooling water from the high-speed handpiece is directed backward, toward the back of the throat. A flat, unfolded rubber dam margin offers no resistance to this flow. By constructing an envelope—a deliberate, firm fold along the bottom edge of the dam—the clinician creates a physical barrier that traps debris and directs water away from the pharyngeal pillars.
The HVE-Envelope Interface
The efficiency of this exercise depends entirely on the dentist-assistant synergy. The catchment envelope is not a passive pocket; it is an active suction target.
- Assistant Positioning: The assistant should keep the HVE tip nestled within the folds of the catchment envelope. This allows the assistant to vacuum up the pooled water without ever needing to touch the patient’s tongue or obscure the dentist’s line of sight.
- The Reservoir Volume: The envelope must be sized according to the procedure. For long sessions (e.g., full-arch veneer bonding), the envelope should be slightly deeper to handle the accumulation of cooling water from the handpiece.
Maintaining Tension and Structural Shape
A common error is creating an envelope that collapses under its own weight.
- Frame Integration: The envelope relies on the frame to hold its shape. The bottom corners of the rubber dam must be firmly attached to the frame prongs at the correct tension. If the rubber is too loose, the envelope will flatten out and lose its reservoir capacity. If it is too tight, the envelope will invert or “roll up,” spilling its contents onto the patient’s chest.
- The “V-Fold” Technique: When folding the margin, ensure the crease is sharp. A soft, rounded fold will leak. A firm, sharp crease provides the structural rigidity needed to hold the reservoir open for the duration of the appointment.
By mastering Exercise 9, the clinician moves beyond mere moisture “blocking” to active fluid management. The catchment envelope transforms the rubber dam from a passive plastic sheet into a dynamic, integrated part of the ergonomic restorative workflow, allowing for longer, more productive appointments with minimal patient interference.
Exercise 10: Adapting the Mandibular Rubber Dam Envelope
- Target Video Mapping: #RUB101 – Lesson 6 (Video Session 025)
- Core Mechanical Objective: Evacuate heavy water mist during long procedures.
- Practical Execution Sequence: Adapt the mandibular borders of the rubber dam to form a pocket envelope that moves the sublingual tissues out of the way and directs water from the handpiece straight toward the high-volume saliva ejector.
1. Exercise Transcription & Notes (Full Lower Arch Segment Isolation & Cross-Jaws Ergonomics)
Dr. Alexander Apokin integrates previous modules to demonstrate full-arch mandibular segment isolation from the lower right first molar to the lower left first molar (Teeth #46 to #36 in the ISO/FDI system) [01:38]. The tutorial emphasizes systematic frame shifting to accommodate open-mouth vectors, tension reduction across facial tissues, and stable ligation anchor tracking [04:47, 12:56, 19:15].
- Pre-Isolation Clearances & Frame Positioning:
- The instructor uses checking dental floss to confirm interproximal patency across the full lower arch segment before placing the sheet [02:11].
- Molar anchor clamps (Tor VM #30A and #12A) are seated and finger-tested directly on the typodont’s lower first molars [01:38, 03:05].
- The Mandibular Frame Offset Rule: While centering a rubber sheet on a metal U-frame works perfectly for the upper jaw, it creates excessive vertical pulling forces on the lower jaw [04:36]. Dr. Apokin modifies the layout for the mandibular arch by mounting the sheet onto the frame with an intentional 1 cm offset at the top prongs [05:01]. This leaving a larger slack pocket at the bottom border, preventing the rubber material from pulling the lower anchor clamps out of position [04:47].
- The Inline Punch Path: Punching steps are executed down along the bottom third boundary of the frame canvas [05:44]. Four close-set small holes are punched for the mandibular incisors, stepping up wheel diameters for the canines, premolars, and the primary molar anchors [05:44, 06:43, 07:42].
- The asymmetric winged clamps are pre-loaded directly into the terminal molar punch holes (Wings-First technique) outside the mouth [07:51]. Using forceps, the assembly is seated onto tooth #36 and then carefully carried over to tooth #46 without forcing the patient to stretch their jaw excessively wide open [08:42, 09:05].
- Clinical Adaptation & Relaxation Techniques:
- Once the anchor clamps are locked onto the molar necks, the sheet is unrolled over the intermediate arches. A dental explorer probe and the smooth handle of a mouth mirror are used to peel the rubber sheet down off the metal clamp wings [09:44, 10:23].
- The Direct Contact Push: Instead of relying entirely on flossing, Dr. Apokin stretches the ultra-elastic Nic Tone latex sheet with his fingers and pushes the interdental rubber strip straight into the tight contacts [11:41]. This manual push saves considerable time before final flossing is done [11:53].
- The Muscle Relaxation Step: A full-arch sheet exerts constant force against the lower jaw. To prevent patient jaw fatigue, Dr. Apokin unhooks the rubber dam sheet from the top frame prongs, slacking the canvas [12:56]. This allows the patient to close their mouth slightly or rest their jaw muscles comfortably without dislodging the molar clamps [13:20].
- Advanced Floss Ligation & Catchment Envelope Integration:
- Soft Tissue Retraction via Floss: Dr. Apokin ties a double sliding loop knot around the premolar (#34) and central incisor (#41) [18:30, 20:26].
- By pulling the long tails of the floss ligature tight, he uses the cord to physically press the patient’s lower lip downward out of the operating field, increasing visibility [19:26].
- Tied Ligature Anchoring: The long floss tails must be managed so they do not catch on instruments. Release the frame’s bottom corner prong, wrap the floss tails tightly around the frame screw pin, and lock it in place by folding the rubber sheet back over it [19:34].
- The Mandibular Pouch: Complete the routine by folding the loose lower border of the sheet upward symmetrically and locking it onto the upper frame prongs [14:38]. This forms a fluid-tight catchment pouch that catches all cooling spray and restorative debris [15:33].
- As shown in previous exercises, the high-volume suction (HVE) tube cover is removed, and the bare metallic tip is hooked into the floor of the pouch for continuous, hands-free liquid evacuation [16:25, 17:46].
- Safe Breakdown Protocol:
- First, unhook and fold down the catchment envelope [23:33].
- Unwrap the floss tails from the frame screw pins [23:50].
- Use a sharp explorer probe to catch and pull the ligature knots up coronally, sliding them completely off the tooth necks [24:04].
- Only after all ligatures are fully removed may you unseat the primary molar clamps and lift the sheet cleanly away from the interdental spaces [24:12, 24:27].
2. Mentioned Items & Concepts (Equipment Inventory)
- Core Workstation Systems:
- Med Skills Dual-Jaw Typodont Base: Set up inside an anatomical phantom mounting rig to replicate a full patient mouth environment [01:07].
- Tor VM Molar Clamps #30A and #12A: Stiff, asymmetric winged anchor clamps optimized for mandibular molar positioning [01:51].
- Nic Tone Medium Latex Sheets: High-elongation rubber canvas providing excellent tear resistance during full-arch stretching [03:41].
- Standard Metal U-Frame & Sanctuary Dental Punch: Core bench armamentarium [04:02, 05:44].
- Hand Tools & Evacuation:
- Dental Explorer Probe & Mirror Backend: Hand tools used to release rubber sheet margins from clamp wings and lift floss knots safely during breakdown [10:23, 24:04].
- Bare Metal HVE Suction Tube: Hooked into the catchment envelope for automatic fluid evacuation [16:25].
- Dental Floss: Used for diagnostic clearance checks, interdental inversion loops, and custom soft-tissue retraction ligatures [02:22, 12:34, 18:05].
3. Key Takeaways & Conclusions
- The Mandibular Frame Offset Prevents Clamp Dislodgement: Centering a rubber sheet on a frame pulls it too tight across a lower arch case. Shifting the sheet to create a 1 cm offset at the top prongs leaves a larger, looser pocket of material at the bottom, eliminating the elastic snap-back that often pulls molar clamps loose [05:01].
- Intentionally Loosening Tension Reduces Patient Fatigue: Full-arch isolation creates significant tension against the mandibular arch, which can cause patient jaw joints to ache. Unhooking the sheet from the upper frame corners relaxes the canvas, letting the patient close down slightly and rest their jaw muscles without risking isolation failure [12:56].
- Floss Tails Double as Retraction Cords: Long floss ligature tails can be used for more than just securing the dam subgingivally. Pulling them taut and locking them around the frame pins pulls the patient’s lower lip down and away, widening your visual field and protecting the soft tissues from rotating burs [19:26].
This section integrates Exercise 10 into your textbook track. While Exercise 9 focused on the maxillary pharyngeal barrier, Exercise 10 addresses the specific biomechanics of the mandibular arch, where the primary antagonists are the tongue and the pooling of fluids in the floor of the mouth.
Adapting the Mandibular Rubber Dam Envelope (The Tongue-Management Protocol)
Isolation of the mandibular arch presents a distinct gravitational and anatomical challenge. Unlike the maxillary arch, where fluids pool toward the throat, the mandibular arch is constantly threatened by the tongue’s mobility and the accumulation of cooling water and debris in the buccal vestibule and the floor of the mouth. The Mandibular Catchment Envelope is not merely a fluid reservoir; it is a structural “caging” mechanism designed to depress the tongue and isolate the oral cavity from the restorative field.
+-----------------------------------------------------------------------------+
|                      THE MANDIBULAR CATCHMENT ARCHITECTURE                  |
+-----------------------------------------------------------------------------+
|                                                                             |
|   [ THE TONGUE-WALL PRINCIPLE ]                                             |
|    - The envelope provides the rigidity to keep the rubber dam "wall"       |
|      upright, physically blocking the tongue from the working field.       |
|                                                                             |
|   [ VESTIBULAR POOLING CONTROL ]                                            |
|    - Folding the side and bottom margins prevents lateral pooling of        |
|      debris in the buccal vestibule.                                        |
|    =====> EFFECT: Maintains a clear visual field and dry margins.           |
|                                                                             |
|   [ HVE STABILITY ZONE ]                                                    |
|    - The envelope acts as a secure seat for the High Volume Evacuator (HVE). |
|    =====> EFFECT: Facilitates hands-free fluid control by the assistant.    |
|                                                                             |
+-----------------------------------------------------------------------------+
Gravity and Lingual Interference
In the lower jaw, cooling water does not flow “back” toward the throat as in the maxilla; it pools “down” into the sublingual space. If the rubber dam is left flat, this pool of water effectively creates a “lake” that can seep over the margins of the clamps or through the interproximal spaces.
- The Structural Wall: By folding the mandibular envelope, the clinician creates a rigid, upright edge. This edge serves as a tactile guide for the tongue; when the patient tries to push their tongue forward, it hits the “wall” of the envelope rather than the rubber dam sheet itself. This significantly reduces the patient’s tendency to manipulate the isolation with their tongue.
Vestibular and Lingual Management
The mandibular envelope must be adapted differently than the maxillary version.
- The Lateral Fold: Because the buccal vestibule in the lower jaw is often deep, we frequently need to create an “L-fold”—a fold that covers both the bottom margin and the lateral (buccal) margin. This creates a continuous channel that prevents water from leaking into the buccal space.
- The “Tongue-Depression” Effect: A well-adapted mandibular envelope naturally depresses the floor of the mouth slightly. When the assistant places the HVE tip into this fold, it further helps to pull the tongue away from the teeth, granting the dentist superior access to the lingual surfaces of the molars and premolars.
Tension and Frame Calibration
Mandibular isolation is prone to the “droop” effect—where the heavy frame pulls the rubber dam away from the anchor teeth.
- Dynamic Calibration: The mandibular envelope adds mass to the bottom of the rubber dam. You must adjust your U-frame tension after the envelope is folded. A fold that is too heavy can act as a counterweight, pulling the cervical margins of the dam out of the sulcus. Always finalize your inversion after the envelope is constructed to ensure the tension is balanced.
- HVE Seating: The assistant must be trained to seat the HVE tip deep into the fold of the envelope without pulling it off the frame prongs. The envelope should be a “landing pad” for the suction, not a structural anchor.
By mastering Exercise 10, the clinician gains control over the most “active” environment in the mouth. The mandibular envelope effectively converts a chaotic, moisture-prone environment into a disciplined, dry workspace, allowing for the reliable execution of posterior restorative and endodontic protocols.
Exercise 11: Total Maxillary Arch Block Isolation (16 to 26)
- Target Video Mapping: #RUB101 – Lesson 7 (Video Session 013)
- Core Mechanical Objective: Control the entire aesthetic zone for extensive multi-unit treatments.
- Practical Execution Sequence: Punch independent holes from molar to molar. Isolate the entire upper arch from tooth #16 to #26, utilizing heavy molars clamps for terminal distal anchorage and completing floss inversions across the entire anterior span.
1. Exercise Transcription & Notes (Maxillary Full Anterior Segment Isolation & Accessory Interference Management)
Dr. Alexander Apokin demonstrates comprehensive segment isolation of the maxillary anterior arch [00:39]. He details two separate anchoring strategies: a narrow span (premolar-to-premolar, #14 to #24) and an expanded full-segment span (molar-to-molar, #16 to #26) [02:30, 03:43]. The training core focuses on eliminating structural interference between primary anchor clamps and cervical retraction accessories like Brinker retractors [04:00, 33:53].
- Technique A: Narrow Arch Span Selection (Premolar to Premolar, #14 to #24):
- The instructor notes that isolating only the incisors can fail if you anchor directly onto the canines [02:30]. Maxillary canines possess a highly irregular, tapered facial contour that prevents rubber dam clamps from achieving a stable grip, causing them to slip [02:30]. Therefore, to isolate the incisors safely, you must extend your span outward and anchor onto the first premolars (#14 and #24) [02:30].
- He passes testing dental floss through the contacts to confirm interproximal patency [04:38].
- Wingless premolar clamps (Tor VM W2) are finger-tested directly on the anchor premolars to ensure stable, rock-free seating above the gingival lines [02:56, 05:15].
- The Symmetrical Philtrum Margin Rule: The raw Nic Tone latex sheet is pre-tensioned onto the metal U-frame first [06:08]. Dr. Apokin tracks the absolute vertical midline of the canvas, ensuring that no perforations are executed above the middle quadrant line [07:59]. This preserves a clean canvas flap at the top to cover the patient’s upper lip and philtrum [08:12].
- Using the middle hole settings on a Sanctuary Dental punch, he executes a symmetrical inline pattern, matching hole diameters to the teeth [08:29, 09:09].
- The wingless W2 clamps are pre-loaded directly inside the terminal premolar holes outside the mouth, and the assembly is carried into the mouth to seat onto teeth #14 and #24 simultaneously [10:00, 10:58].
- Interdental Inversion & Floss Extraction Mechanics:
- The intermediate canvas is rolled down over the front teeth [11:27].
- Dr. Apokin emphasizes a strict law when flossing the rubber septa through tight contact zones: always extract your dental floss laterally (sideways) or pull it completely through to the vestibular side [12:30]. Never pull the floss back upward coronally through the contact point, as doing so will drag the rubber septum right back out of the interproximal space, ruining your inversion [12:48].
- Technique B: Expanded Arch Span Selection (Molar to Molar, #16 to #26):
- When treating multiple anterior teeth for porcelain veneers or widespread cervical (Class V) decay, a narrow premolar anchor span can create an tight, restrictive workspace [01:14]. To solve this, Dr. Apokin demonstrates expanding the isolation out to the first molars (#16 and #26) using wingless molar clamps (Tor VM W3) [03:43, 28:56].
- Eliminating Accessory Interference: The massive advantage of anchoring further back on the molars with wingless W3 clamps is that it leaves the premolar regions entirely open and free of metal clamp projections [04:00]. This allows you to easily place secondary matrix rings or attach Brinker subgingival retractors (like B4) onto the front teeth without them colliding with your primary anchor clamps [04:00].
- He pre-loads the wingless W3 clamps into the molar punch holes, sets the assembly onto teeth #16 and #26, adapts the intermediate canvas, and performs lateral floss inversion sweeps across the entire ten-tooth segment [29:15, 31:25].
- To isolate deep cervical margins on the front teeth, he spreads the rubber sheet apically using an explorer probe and seats Brinker B4 retractors directly onto the root necks of teeth #11 and #21 [33:53, 34:58].
- The Floss-Tuck Breakdown Method:
- The routine concludes by folding the lower loose border of the sheet upward to form a standard fluid catchment envelope [14:14, 35:27].
- At breakdown, surgery scissors are used to cut each intermediate rubber septum to prevent snap-back cross-contamination [36:58]. If a floss ligature was tied, an explorer probe is hooked into the loop to lift it coronally off the tooth neck before lifting the sheet away [36:25].
2. Mentioned Items & Concepts (Equipment Inventory)
- Mechanical Retainers & Selection:
- Consumables & Hardware:
- Anatomical Target Metrics:
- Maxillary Canine Geometry: The highly tapered, irregular anatomy of canines that makes them unstable anchor points [02:42].
- Full Segment Spans: Trajectories bridging #14–#24 and #16–#26 [00:02:30, #00:03:43].
3. Key Takeaways & Conclusions
- Canines are Unreliable Primary Anchors: Avoid placing primary rubber dam anchor clamps on maxillary canines [02:30]. Their tapered, highly wedge-shaped facial profiles do not provide stable, four-point mechanical seat engagement. Always extend your isolation span outward to the first premolars or first molars to guarantee a stable anchor [02:42].
- Always Extract Inversion Floss Laterally: When flossing rubber septa into tight interproximal contact zones, never pull the floss back upward coronally [12:30]. This upward motion drags the rubber material back out of the space, destroying your seal. Always slide the floss out sideways (laterally) or pull it completely through to the facial side to maintain a perfect subgingival inversion [12:48].
- Molar Anchoring Eliminates Accessory Collision: When performing extensive anterior cosmetic bonding or treating multiple cervical lesions, anchor your rubber dam further back on the first molars using wingless W3 clamps [04:00]. This clears all metal projections from the front of the mouth, giving you plenty of room to adapt matrix bands or seat aggressive Brinker retractors without any hardware interference [04:11].
This section integrates Exercise 11 into your textbook track, elevating the focus from segmental quadrant isolation to the comprehensive Total Maxillary Arch Block (#16 to #26). This exercise represents the highest level of mastery in rubber dam isolation, where the entire dental arch is managed as a unified, high-tension system.
Total Maxillary Arch Block Isolation (#16 to #26)
Total arch isolation is the “Gold Standard” for comprehensive restorative dentistry. By isolating the entire maxillary arch, the clinician creates a pristine, controlled environment that eliminates the interference of lips, cheeks, and tongue, allowing for high-efficiency, multi-quadrant adhesive procedures. This exercise moves beyond the “segmental” logic of earlier modules; it requires the clinician to manage the rubber dam sheet not as a series of holes, but as a single, structurally unified membrane under sustained arch-tension.
+-----------------------------------------------------------------------------+
|                      THE TOTAL ARCH BLOCK PHILOSOPHY                        |
+-----------------------------------------------------------------------------+
|                                                                             |
|   [ THE PARABOLIC PUNCH PRINCIPLE ]                                         |
|    - The arch is a curve, not a line. Perforations must follow the          |
|      parabolic anatomy to avoid canvas "bunching" in the anterior.          |
|                                                                             |
|   [ THE ANCHOR-DISTRIBUTION LAW ]                                           |
|    - With 11 teeth isolated, the tension at the anchors (#16, #26) is       |
|      the only thing keeping the sheet stable.                             |
|    =====> EFFECT: Use heavy-duty, wingless molar clamps for maximum grip.   |
|                                                                             |
|   [ AIRWAY & FRAME ASYMMETRY ]                                              |
|    - Full-arch isolation creates a large latex "sail." Asymmetry is         |
|      mandatory to keep the nasal airway clear and comfortable.              |
+-----------------------------------------------------------------------------+
The Parabolic Punch Logic
The most frequent cause of “total arch failure”—where the dam holds at the back but tears or gaps in the front—is poor punch geometry. A common mistake is punching in a straight line or a wide, flat arc.
- The Curvature Requirement: When punching from #16 to #26, the punch pattern must strictly mirror the natural curvature of the dental arch. If the line is too “flat,” the rubber dam will be under-tensioned at the canines and premolars, creating unsightly “waviness” and preventing a subgingival seal.
- The Inter-hole Integrity: In a full-arch block, the interdental septa (the rubber between the holes) are under significant stress. Ensure the distance between perforations is consistent. A single oversized hole or a thin septum will propagate a tear during the final stretch of the frame mounting.
Anchor-to-Anchor Tension Management
In a 11-tooth span, the rubber dam acts as a dynamic elastic bridge.
- The Anchor Choice: For total arch isolation, use heavy-duty, wingless molar clamps (e.g., Tor VM W56 or similar) as the terminal anchors. Wingless clamps are preferred here because they keep the restorative field completely open.
- Sequential Seating: Seat the anchors first, then unroll the dam. The tension must be established distally before any inversion occurs. If you invert anterior teeth before the distal anchors are fully seated and tensioned, the dam will “creep” forward, resulting in a loss of seal at the posterior molars.
Managing the “Sail” Effect
A full maxillary arch dam creates a significant surface area of latex. This acts like a sail, catching the patient’s breath and the clinician’s hand movements.
- Nasal Airway Protection: The dam must be mounted asymmetrically (higher on the frame than the bottom) to ensure the patient’s nose is not covered by latex.
- Patient Stabilization: With a full arch isolated, the dam is less prone to “shifting” due to tooth movement, but more prone to shifting due to patient movement. Remind the patient that the dam is acting as a “protective shield.” Ensure the frame is positioned comfortably so the patient can swallow without fighting against the frame tension.
The “Block” Inversion Workflow
Total arch isolation is not inverted tooth-by-tooth in a random order. It is inverted as a system.
- Anchor Check: Confirm distal seals at #16 and #26.
- Posterior Inversion: Invert the molars and premolars first.
- Anterior Inversion: Invert the incisors and canines last.
- The Final Seal: Pass the floss through every interproximal contact. In a total arch block, the final floss pass through the anterior contacts acts as the definitive “lock” for the entire anterior segment.
By mastering Exercise 11, the clinician achieves the pinnacle of isolation skill. This technique transforms a complex multi-tooth restorative session into a predictable, dry, and highly professional clinical experience.